From my previous post of Deployment of System Center Data Protection Manager 2012R2 (Here), I have discussed about designing, Installing and configuring the DPM, from this post I’m going to discussed on plan and implement protection groups which will backup workloads on short term and long term. And let’s create protection groups for Active directory and File server.
Configuring storage pools
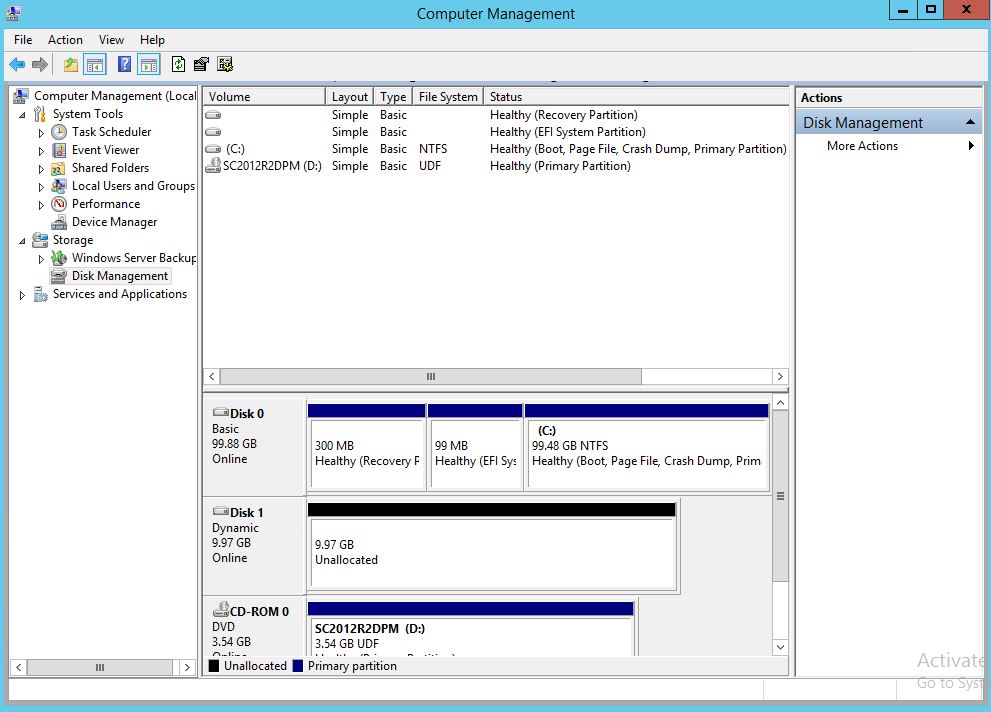
Before creating protection groups, you have to assign storage to the DPM to save the backup data. You can use SAN, iSCSI or attached disks. In this LAB I’m using locally attached disks, when you use disks it should be unallocated and converted to Dynamic disks. Because DPM can only works with dynamic disks.
- Login to the DPM server, Disk management and initialize the attached disk
- If the disk is a Basic Disk, right click and convert it to Dynamic Disk
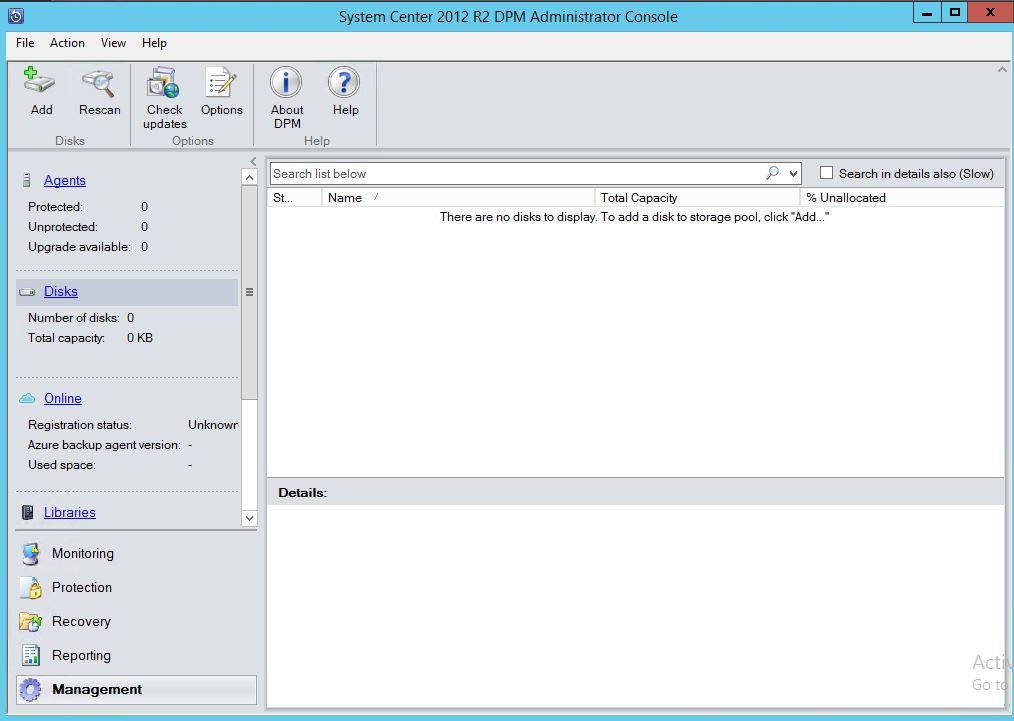
- Open the DPM console, go to Management tab and click ADD
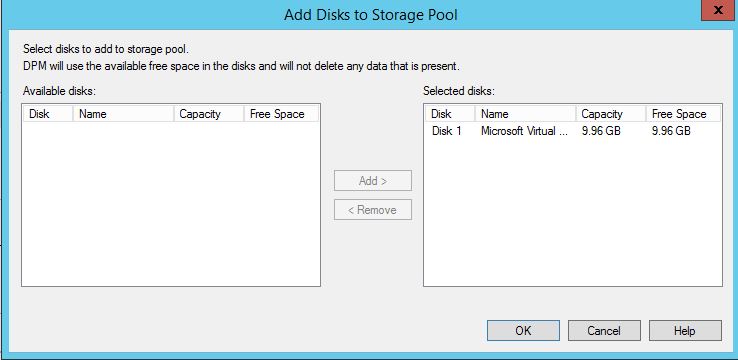
- Select the Disk and Add
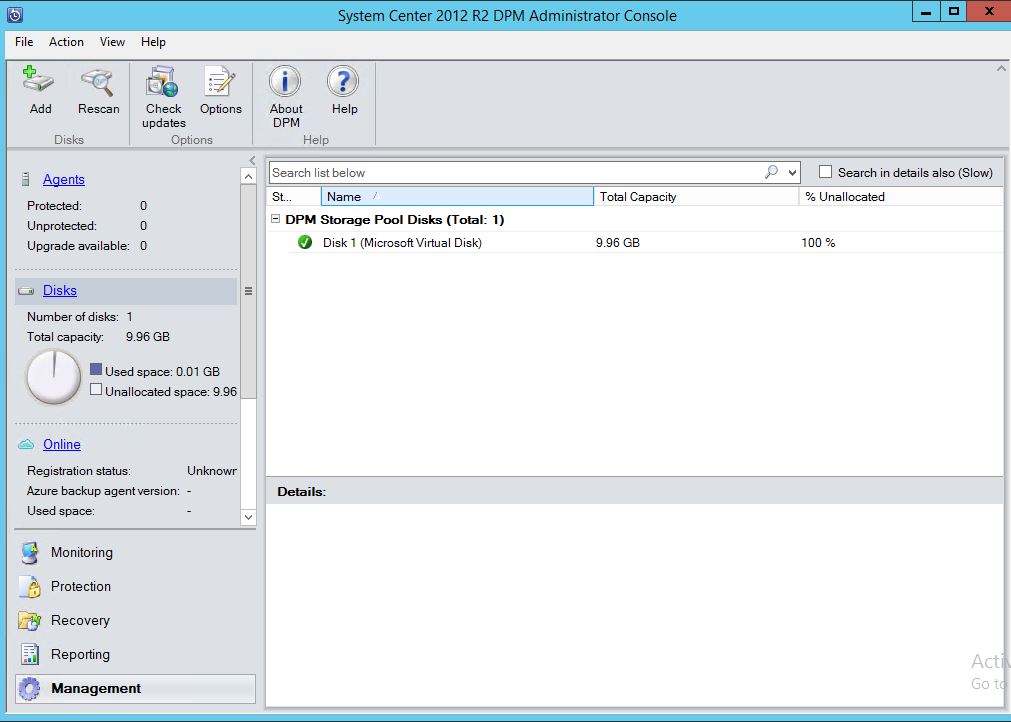
- After successfully added all disks you can get the utilization from, Management – Disks
Agent Deployment
Before protecting workloads, DPM agent have to deploy to the protected servers or workstations. DPM agent performs the following functions.
- Identifies data that DPM can protect and recover
- Records any changes to protected data in a change journal. The protection agent creates a separate change journal for each protected volume and stores the journal in a hidden file on that volume.
- Transfers the change journal from the protected computer to the DPM server so that DPM can synchronize the data with the replica.
- Allows the DPM server to browse the shares, volumes, and folders on the protected computer.
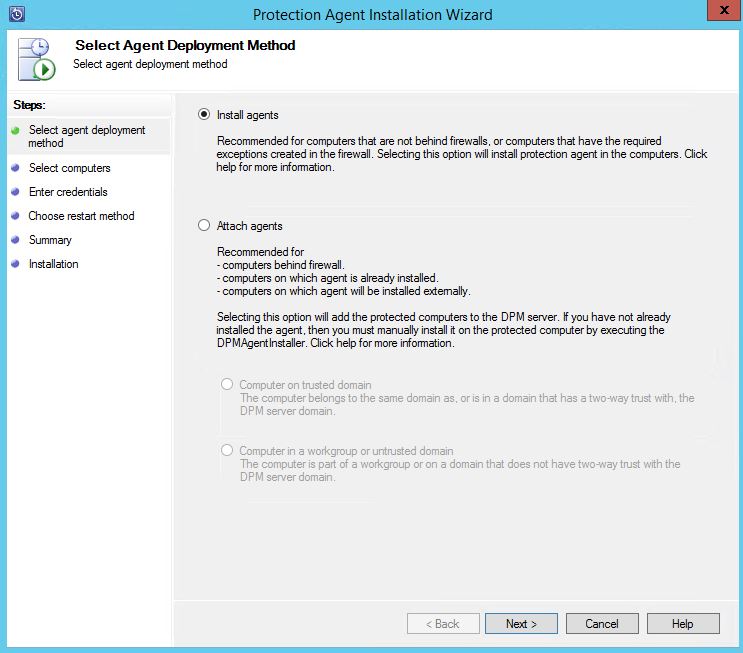
DPM agent can be deployed using DPM console or running the setup manually. Manual agent installation is useful when protected servers that are behind in a firewall or DMZ. Agent setup files are located in the installation location of DPM server. To install DPM agent using console, follow the steps.
- Login to the DPM server and open the console
- Go to the Management tab – Agents
- Click Install and select install agents
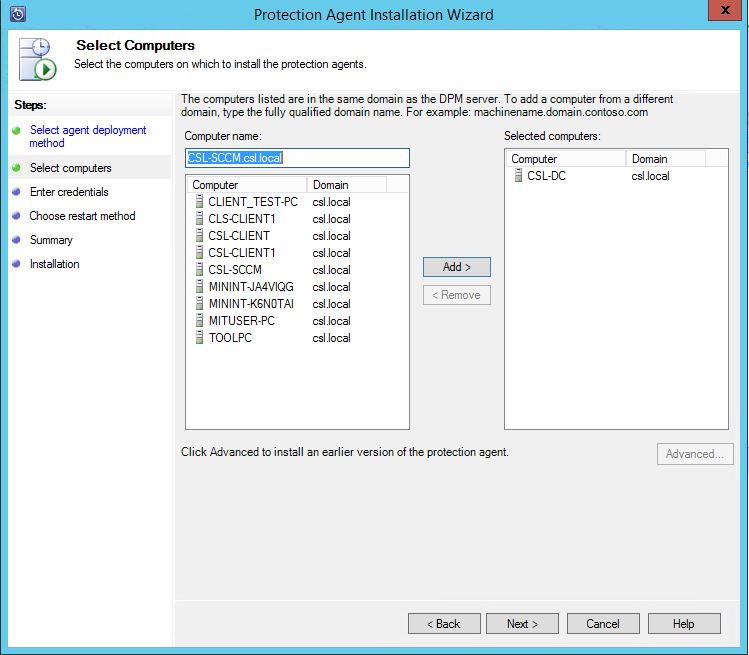
- Select the computer account you want to install the agent and click next
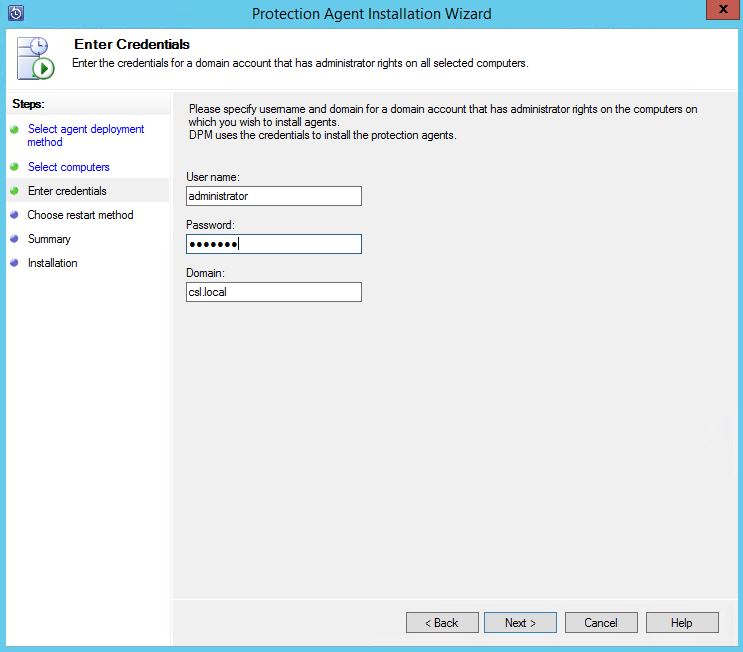
- Enter a domain admin privileged account or account with the local administrator privileges of the agent installation computer.
- A restart is required after the agent installation, so you can either select auto restart or you can manually restart the computer later.
- Select install
Create protection groups
Protection group is where we can configure the backup settings, such as backup schedule, backup type and backup destination among a single or multiple servers within the group. Before creating the protection group, DPM agent should be deployed to the protected item. Then protection group can identify the backing up data such as SQL server, Exchange DAG, System state, Hyper-V virtual machines, SharePoint and File servers.
Following two examples are for creating System state backup for Active directory and protecting file server shares.
Protecting Active Directory – System State
- Deploy the DPM agent to a Domain controller
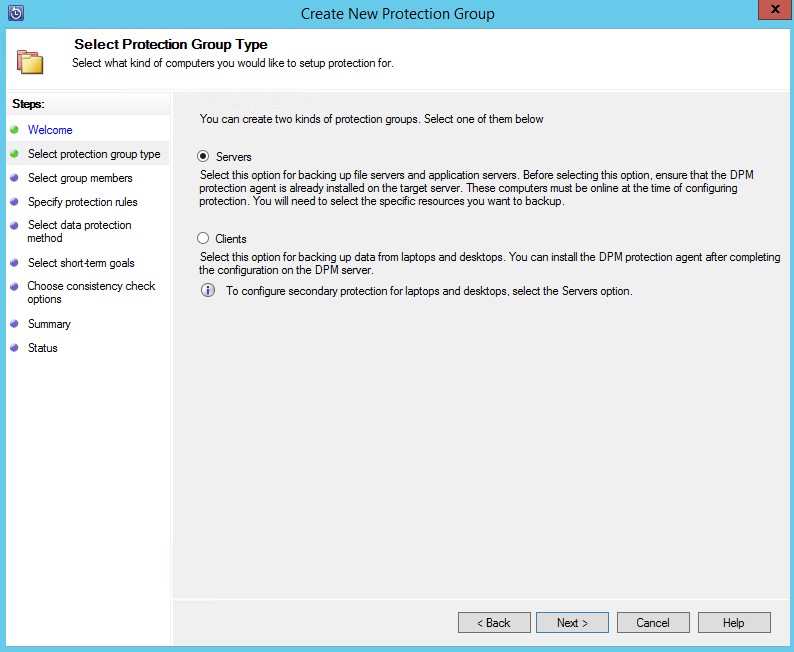
- Login to the DPM Console, Protection group tab, Click New
- Click next and select Servers for Protection group type
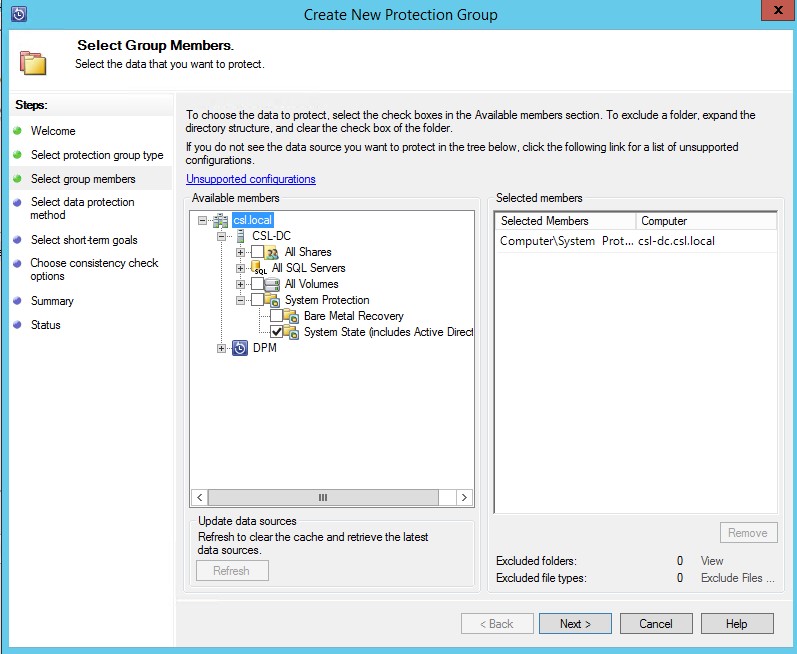
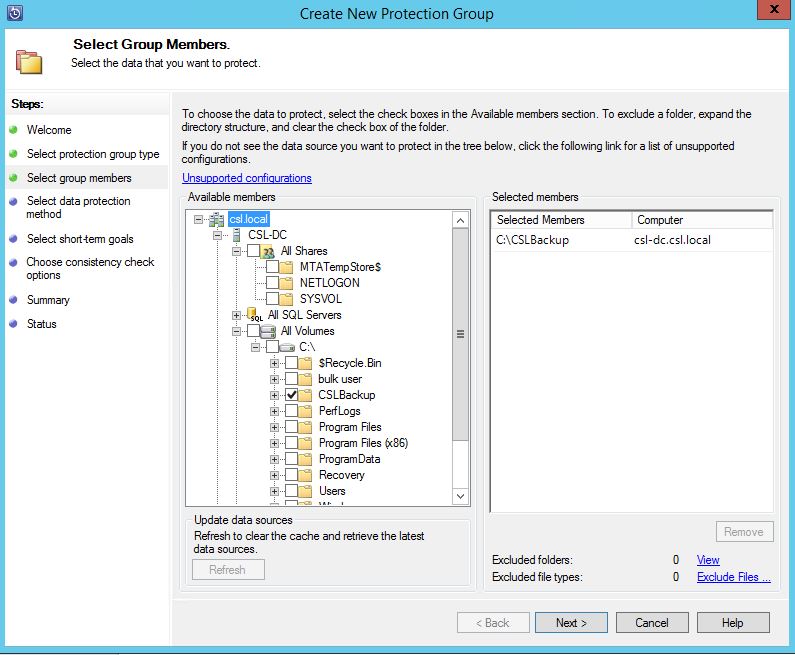
- In the Select group Members page, select the domain controller and expand, again expand the System State folder then tick the System State and Next.
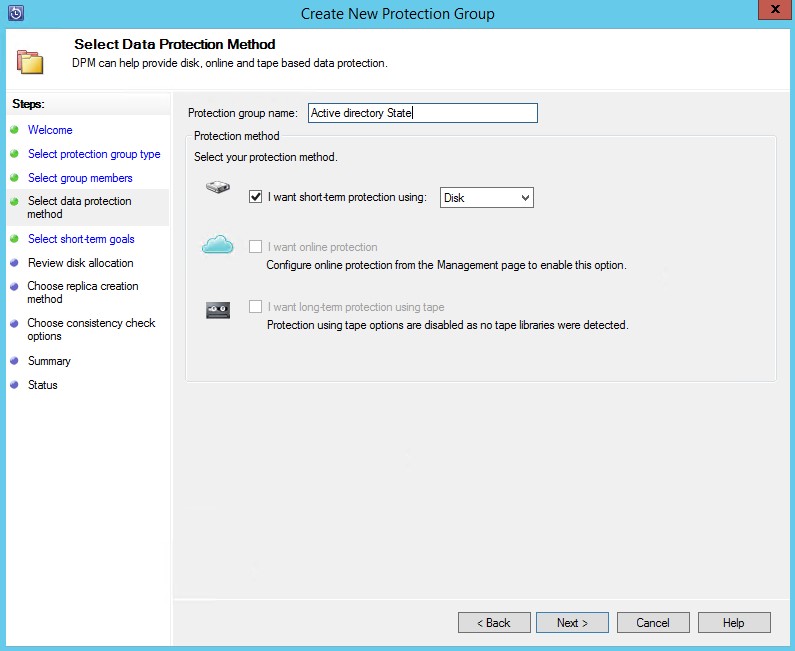
- Name the Protection Group and select the protection method, short term disk and long term tape
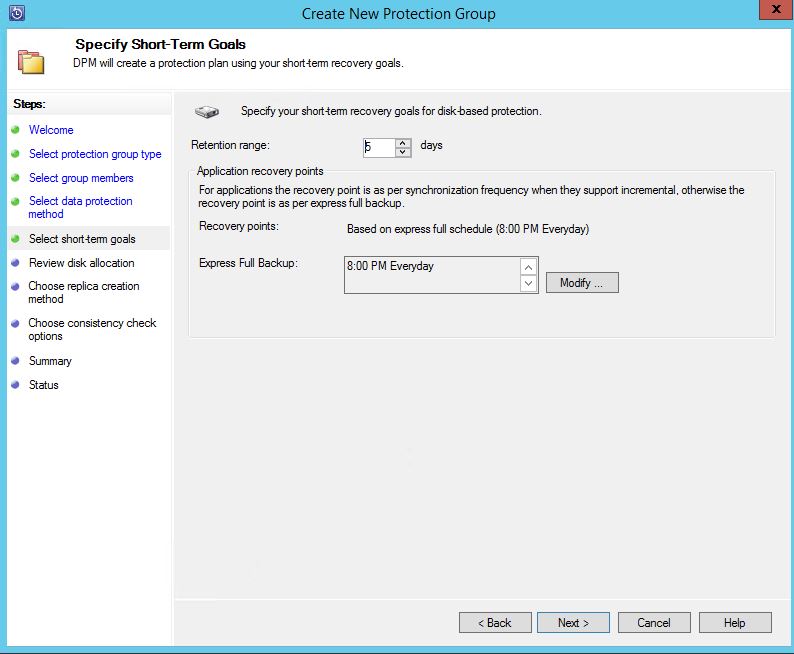
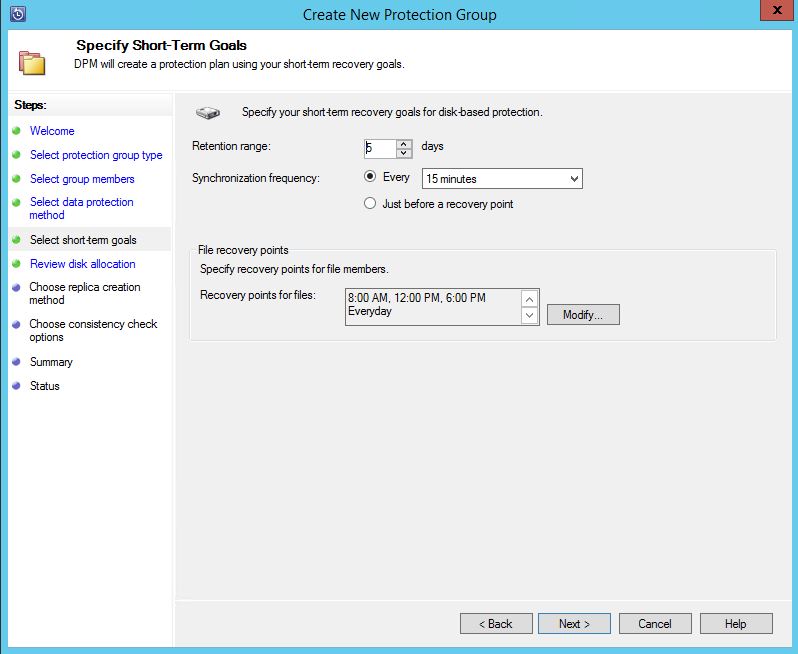
- Specify the retention range for disks and backup time
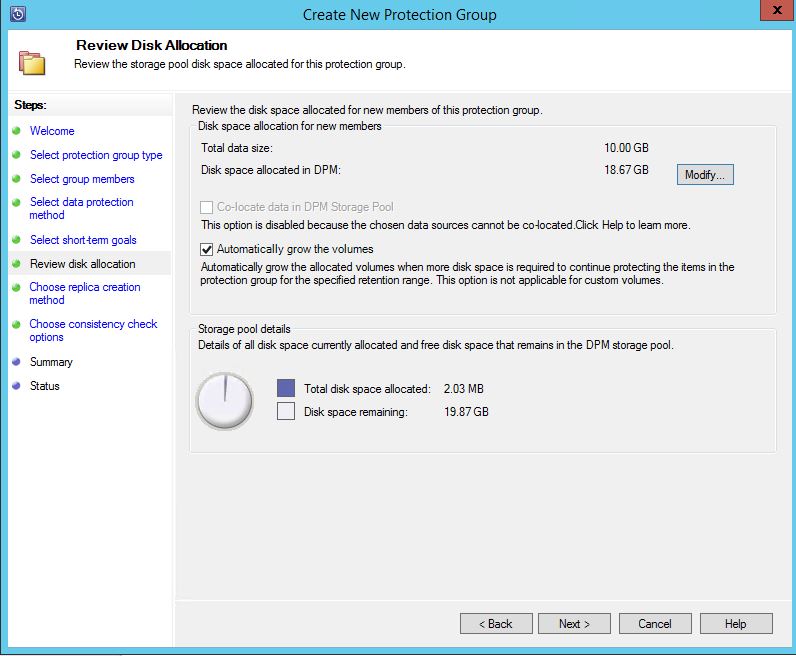
- Review the disk allocation, if you are run into insufficient disk space, reduce the retention period.
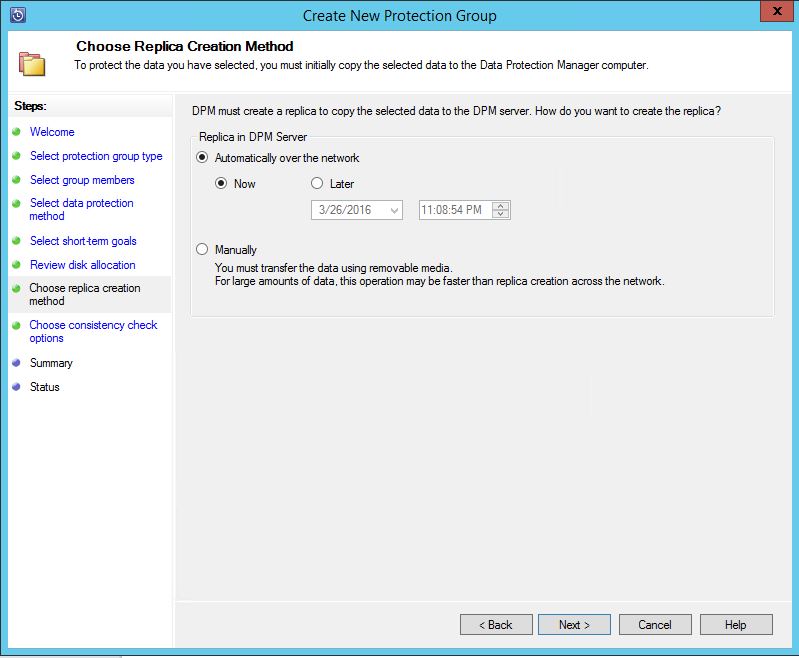
- Schedule the replica creation, it’s better to get it right away.
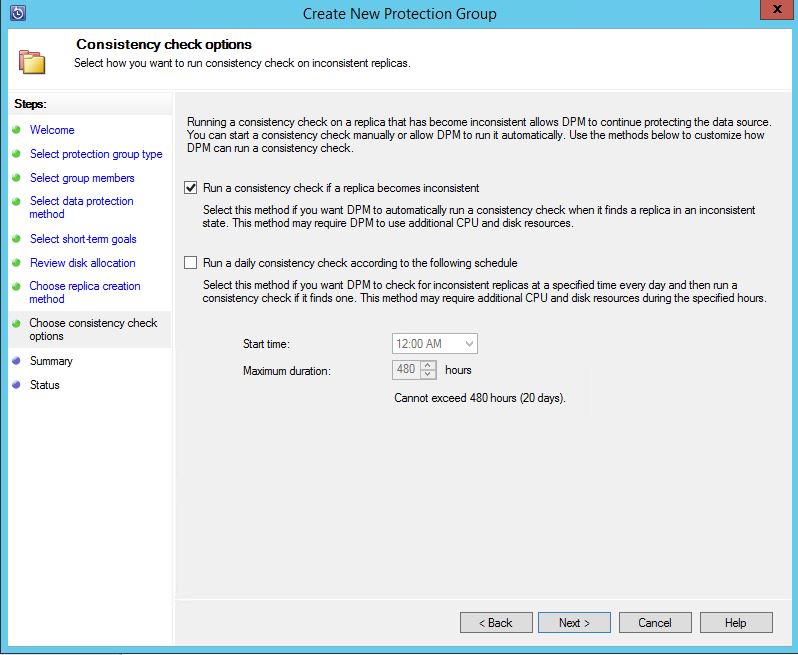
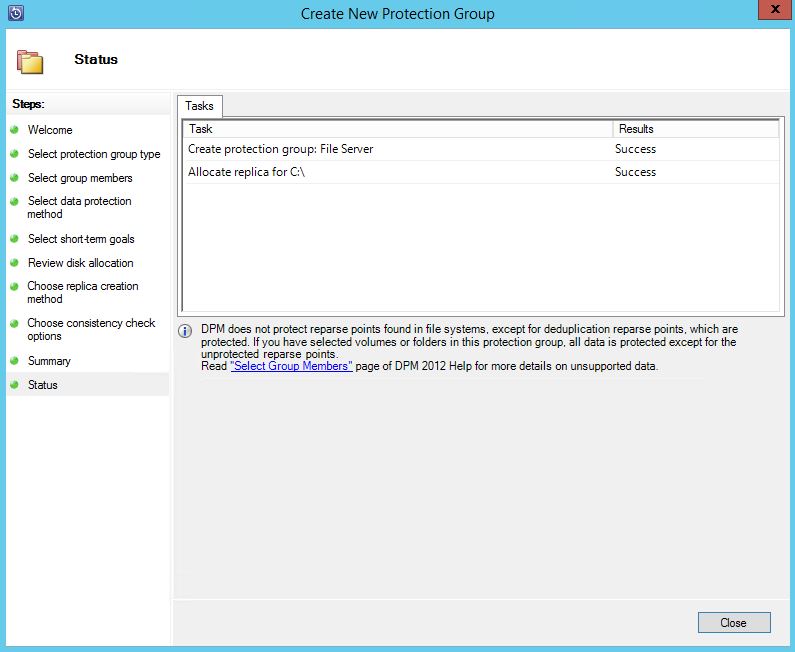
- Run the consistency test and create the group
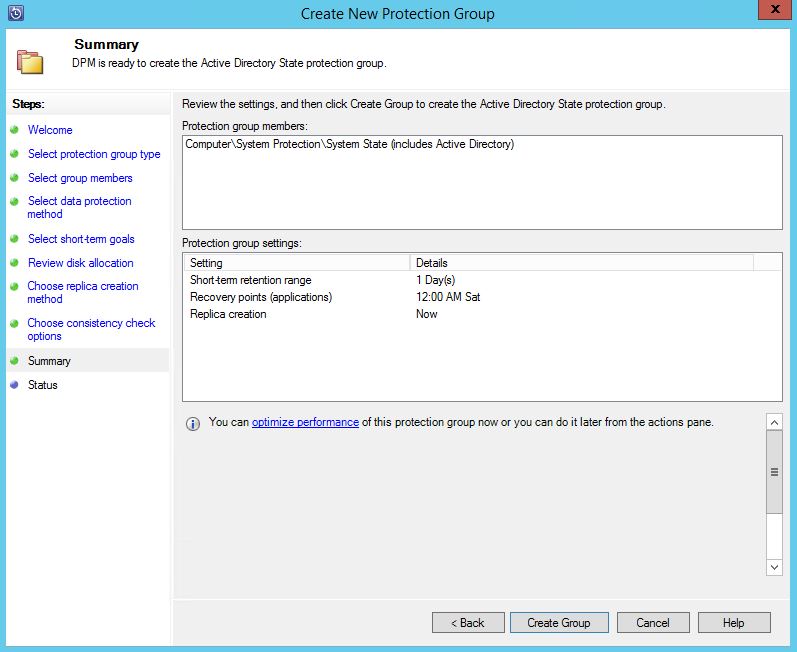
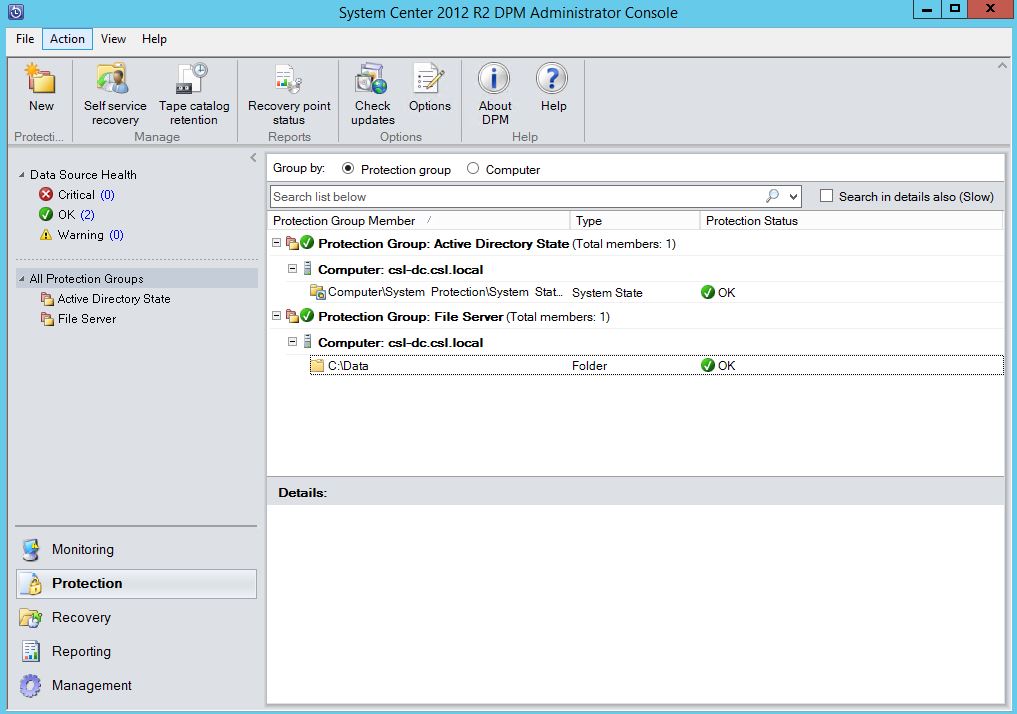
After creating the group, first it will create the replica, you can check this by Monitoring tab. Then regular check for alerts of success or failures in jobs.
Protecting file servers
- As described earlier, first deploy the DPM agent to the file server then create the protection group.
- In select group member’s page, expand the server and select the share folder or the drive that required to be backed up.
- Select the retention period and the synchronization interval, Synchronization frequency will regularly update the backup with the changes.
- Create the group
Hope this information is useful
Asitha De Silva
