This is the second part of the 3 articles which will cover installing System center configurations manager 2012 R2. This post will cover installing SQL server 2012 and Installing Configuration Manger Primary Site server. Before installing SCCM you have to install all prerequisites which is covered in SCCM 2012 R2 Installing and Configuring – Part 02. For the overview and features of SCCM please follow the article of SCCM 2012 R2 Installing and Configuring – Part 01 Overview.
SCCM Service Accounts
For this installation I’m creating two user accounts and one Group. SCCM admin is a domain admin account for all the SCCM activities and SQLSCCM for SQL service account.
- SCCMAdmin – Domain admin (Client Push, Network access,AD Discovery )
- SQLSCCM – Domain user (SQL Reporting, SQL service account)
- SCCMAdmin Group – SCCM Admin access users.
Create these accounts and make SCCMAdmin account member in SCCMAdmin Group. For more information on SCCM account follow the TechNet article.
https://technet.microsoft.com/en-us/library/hh427337.aspx
SQL installation
When installing Configuration Manager 2012R2, if you have System Center licenses always use SQL that buddle with the System Center. It’s free and right to use for SCCM. So no need to purchase additional licenses. If it’s for POC or testing purpose, please download a supported SQL version.
https://technet.microsoft.com/en-us/library/gg682077.aspx
- Load the installation media to the SCCM site server and run the setup.
- Select New SQL server Stand-along installation.

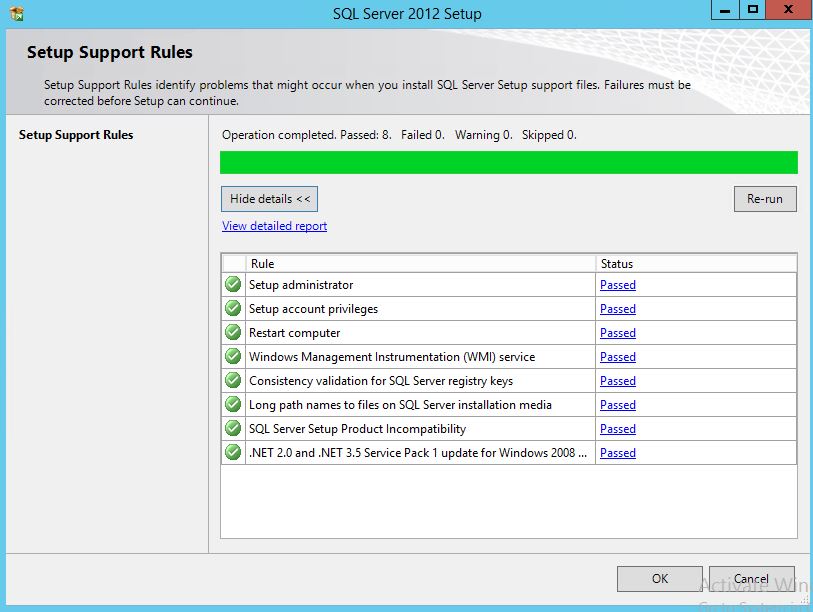
- Press next and check verify rules, then accept the license agreement and next.
- Provide the licenses details
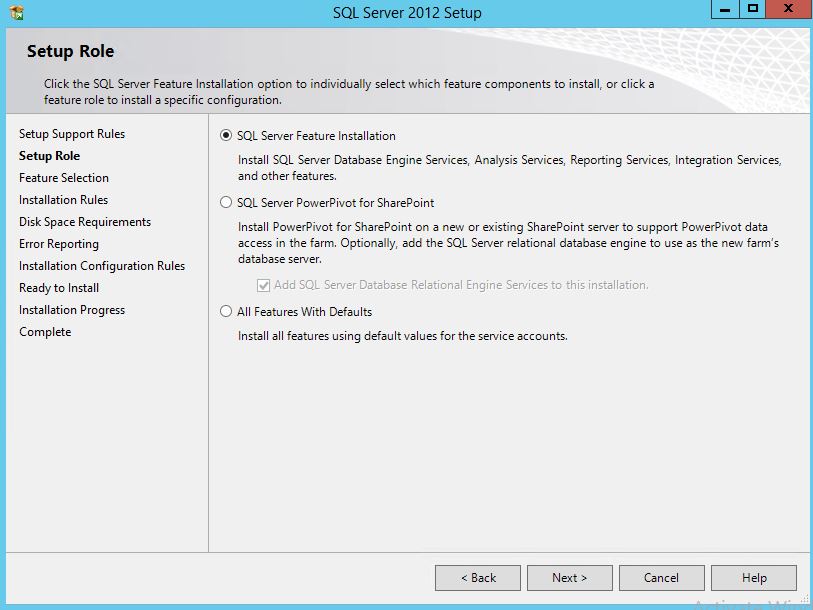
- Select the features, Database engine service, Reporting services, and Management tools complete.

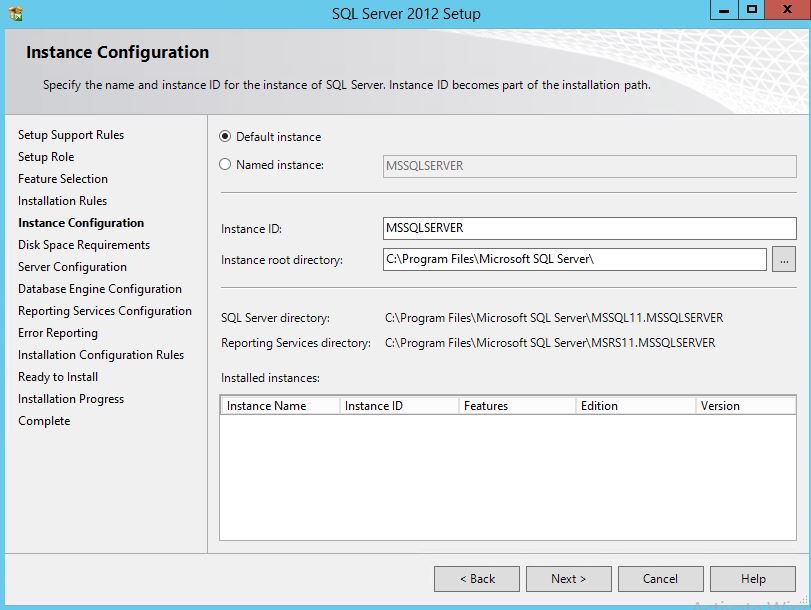
- Use the default instance

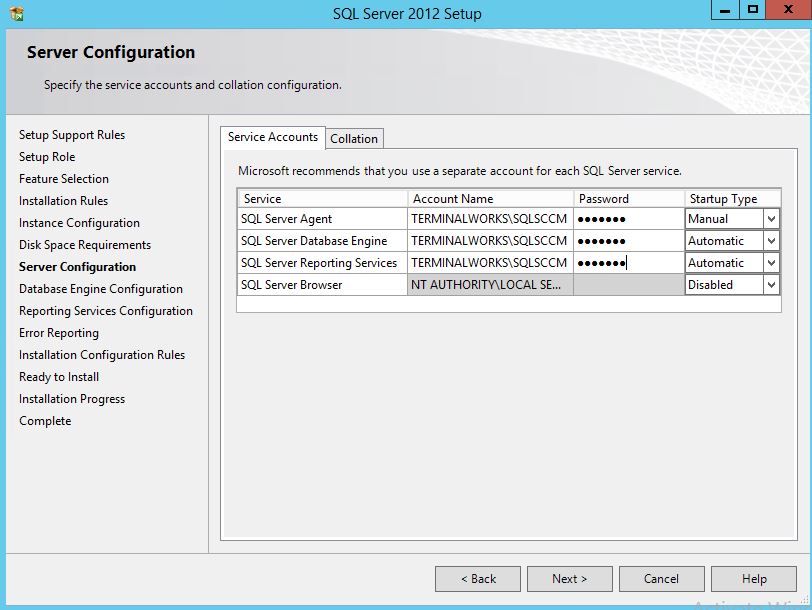
- Provide the previously created SQLSCCM account for all the services.
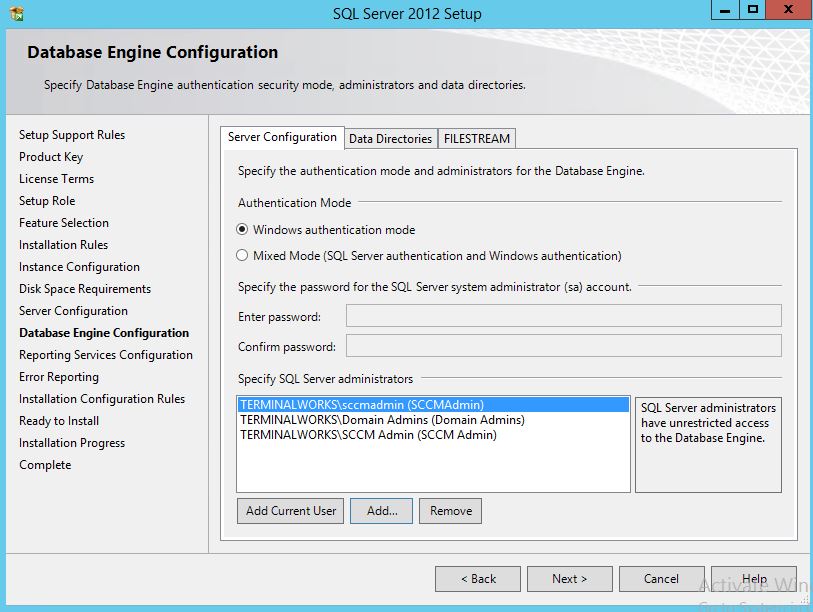
- In Database Engine Configurations, Add the current user (SCCM Admin), Domain admin group and SCCM Admin group.
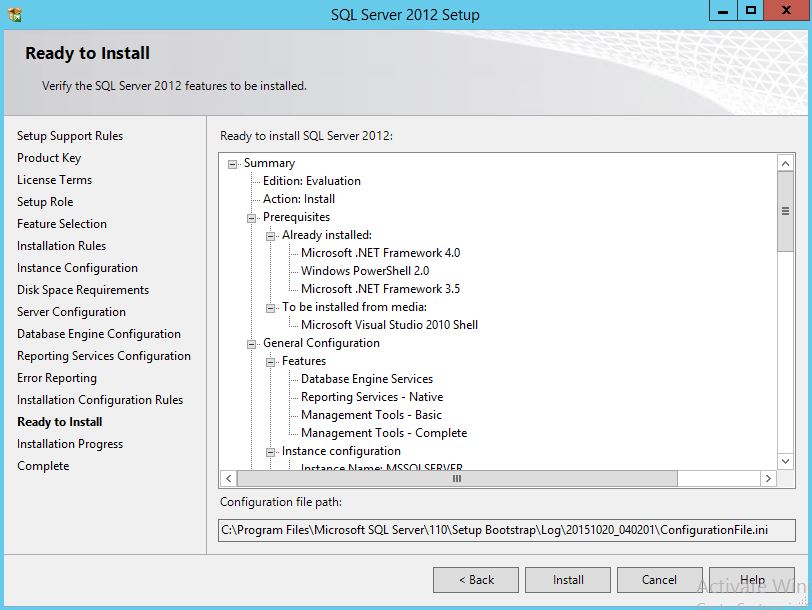
- Click next in Reporting services, and next on other pages and install
Running Prerequisites Checker
There is a Prerequisites Checker tool with SCCM installation media. You can use this to check the reediness of the Site system server and if there are missing prerequisites or configurations, they can be installed before the configuration manager installation.
- Open a command prompt and locate the following folder
D:\SMSSETUP\BIN\X64
- Run Prereqchk.exe /local
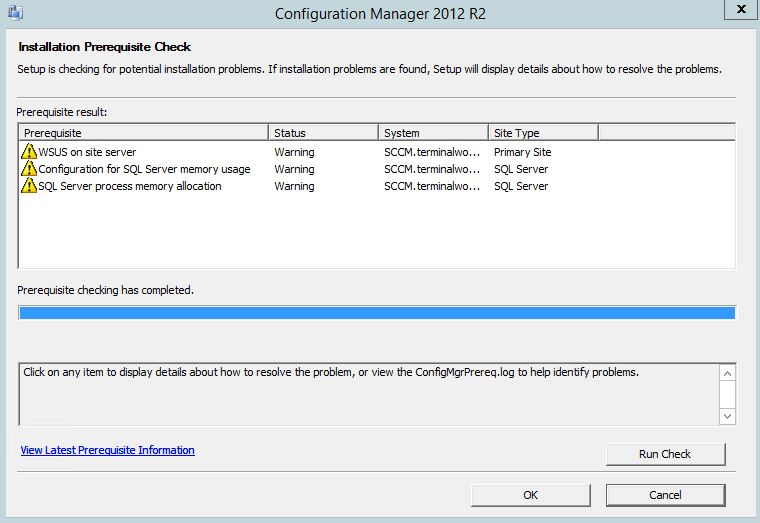
- Make the changes and run the Prerequisites checker again.
Installing WSUS on the Site Server
Before installing SCCM, you can install the WSUS role in the server. Make sure to do this after installing the SQL server, so SQL database can be help to host the WSUS database. In windows server 2012R2 you can use the Add roles and Features to install the WSUS. But if you are using Windows 2008 R2 to as the site server, you have to download and install WSUS 3.5 manually.
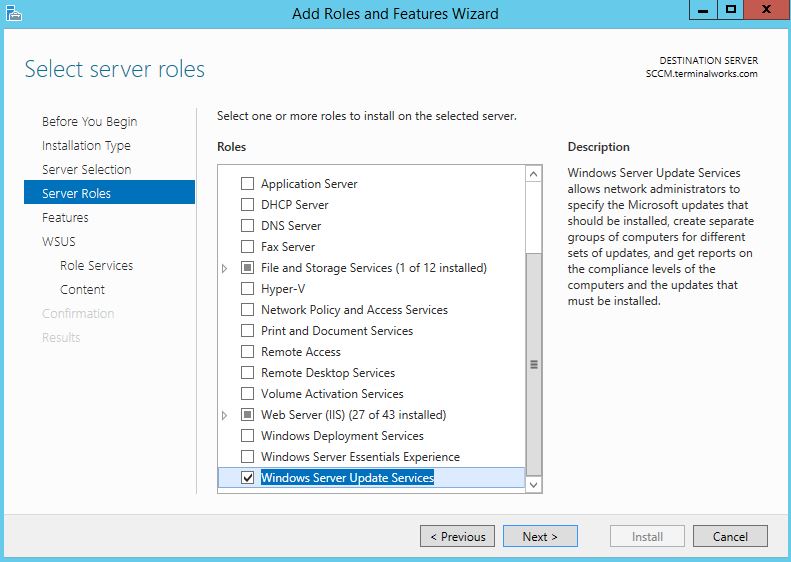
- Go to the Server Manager, Click Add Roles and Features
- Select Windows Server Update Services and click next
- Click next in the features and WSUS
- In WSUS role services, Tick only WSUS Services and Database

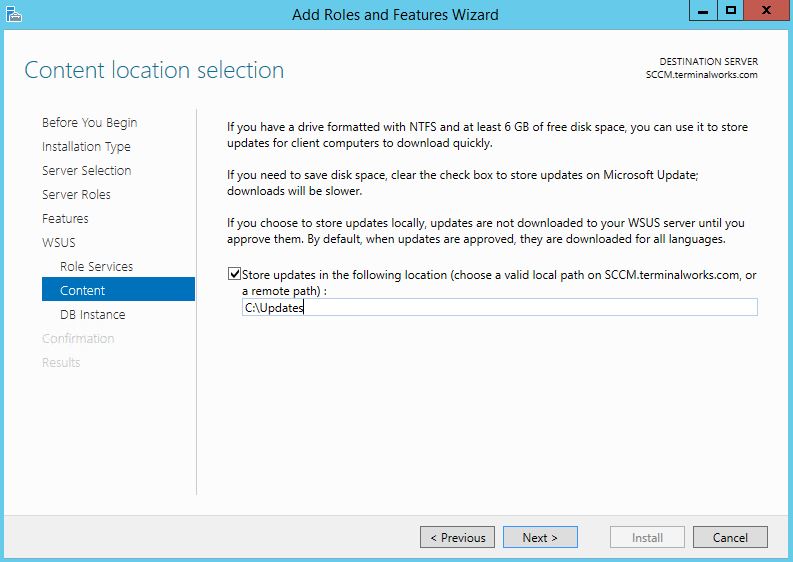
- Provide a local server path to copy Updates and Synchronization data.
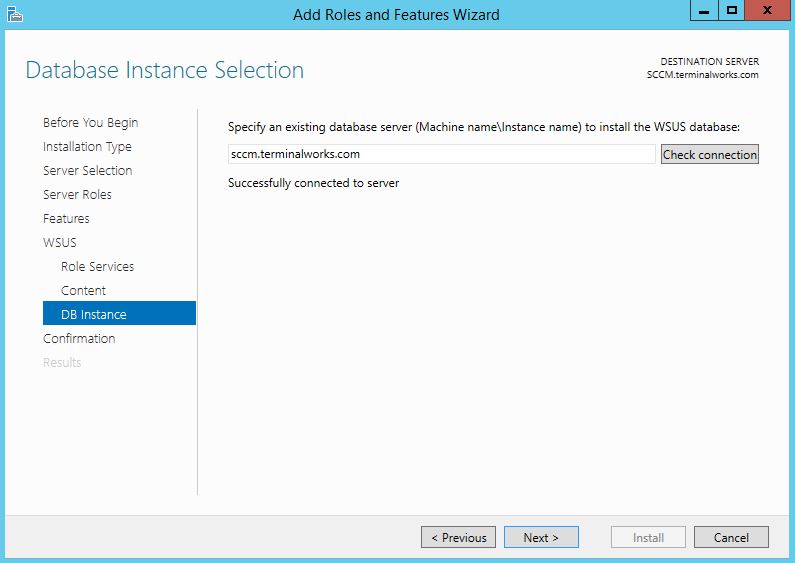
- In the Database Instance Selection page provide the full qualified domain name of the Site system server which is installed the SQL Standard. And click check connection.
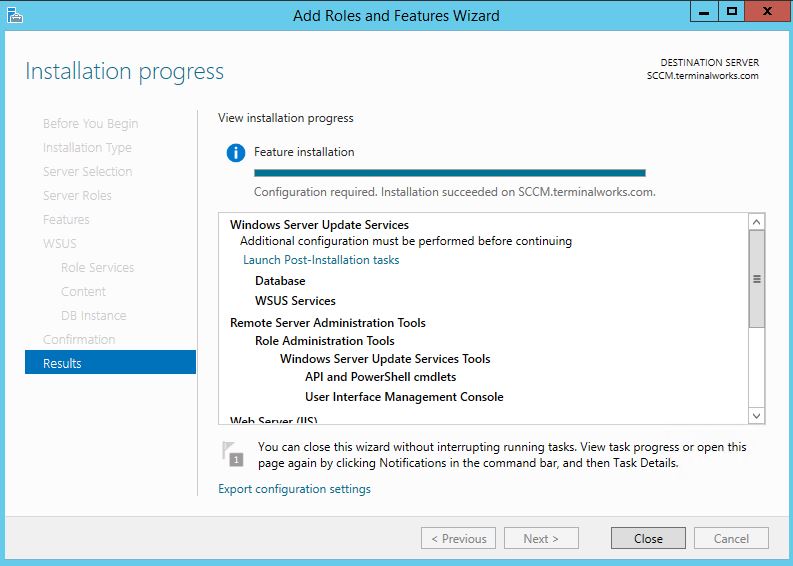
- Click install and check for the progress
- Go to the Server Manager and run Windows Server Update Services Post-Installation tasks
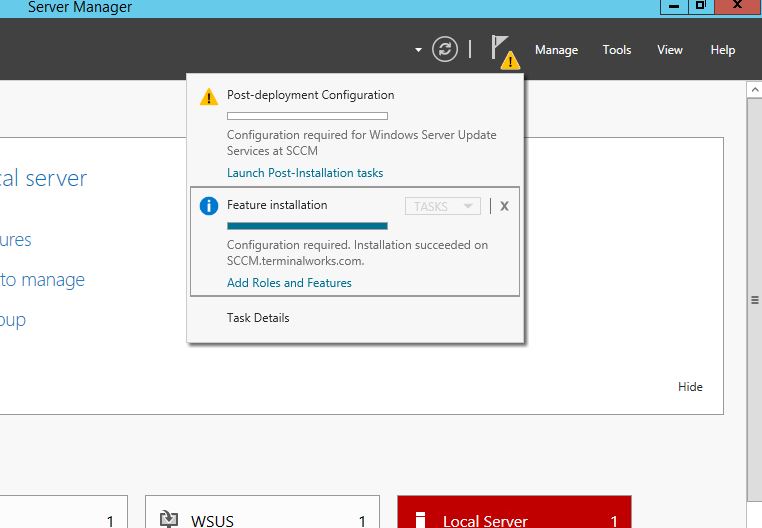
- Press ok and close the WSUS window
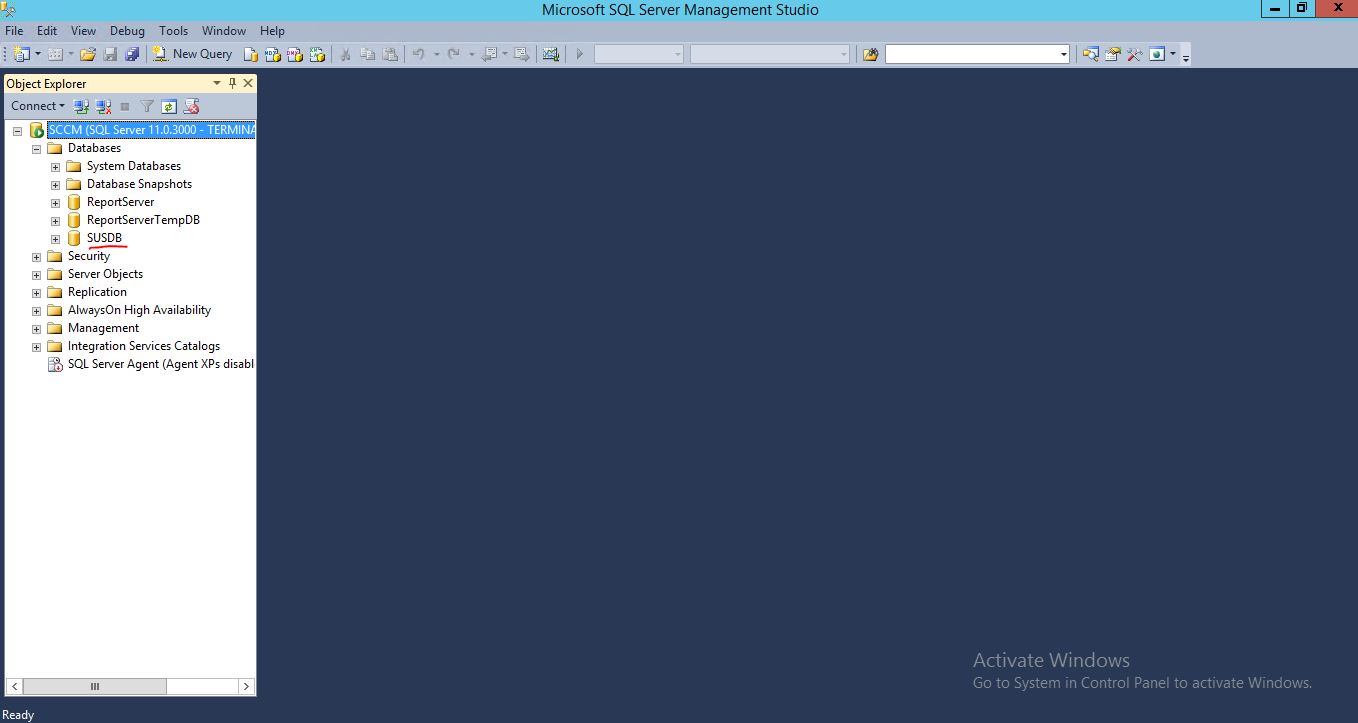
- Check for the Database in SQL Server Manager
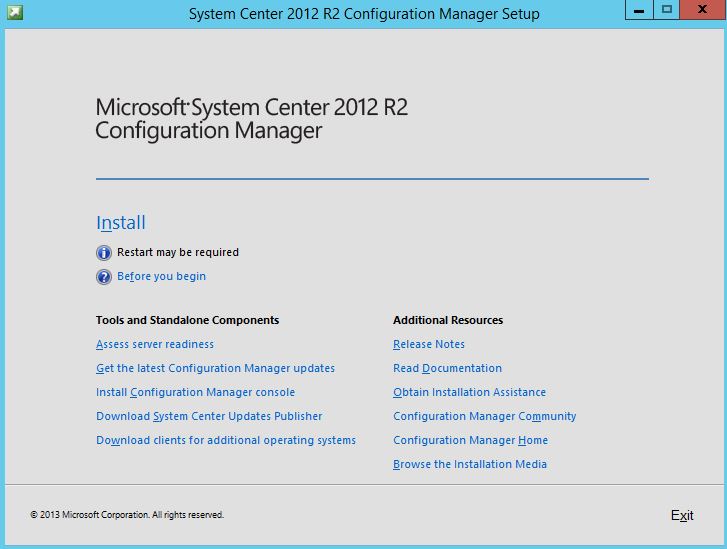
Installing Configuration Manager 2012R2
- Mount the Configuration manager installation media and run Splash.exe
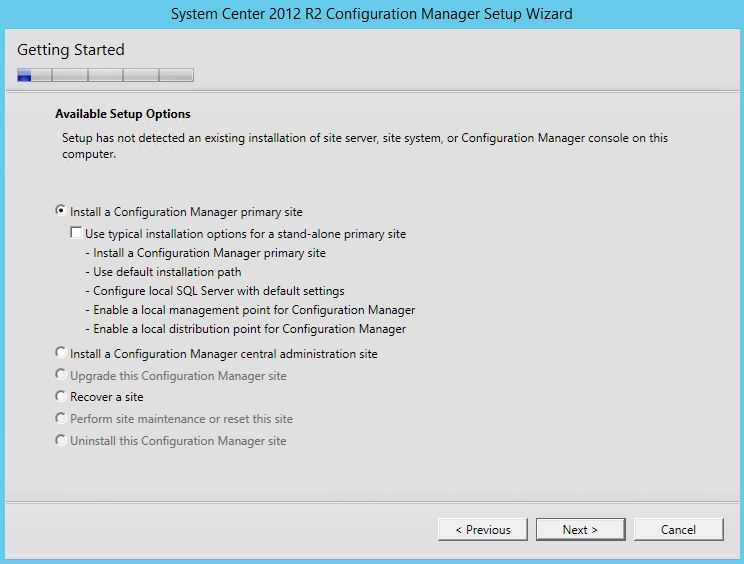
- Press next and select Install a Configuration Manger primary site
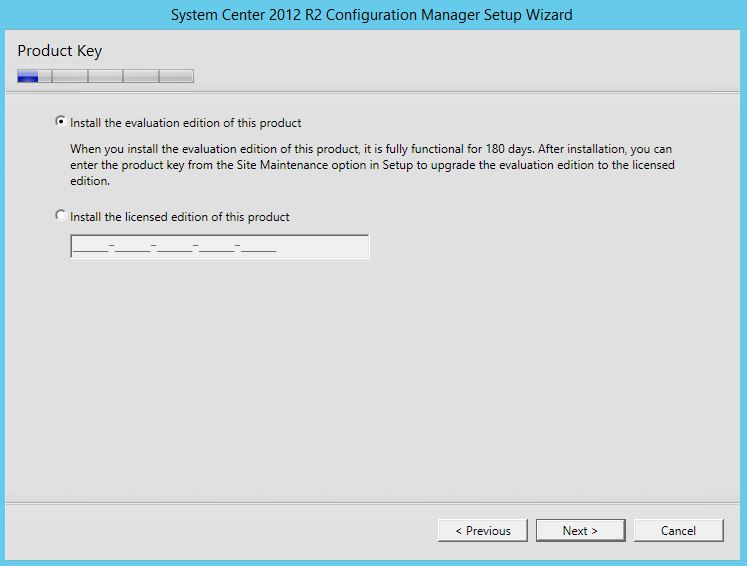
- Provide the licensing details
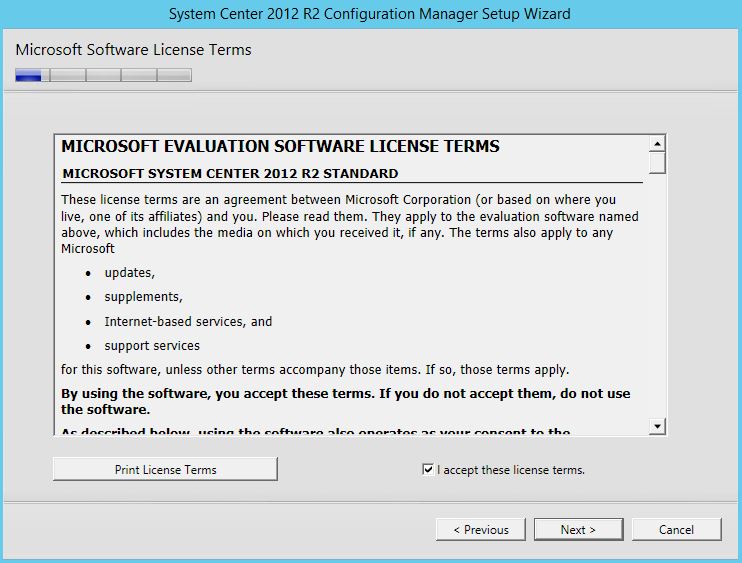
- Accept the License agreement
- Download the updates or you can use previously downloaded updates
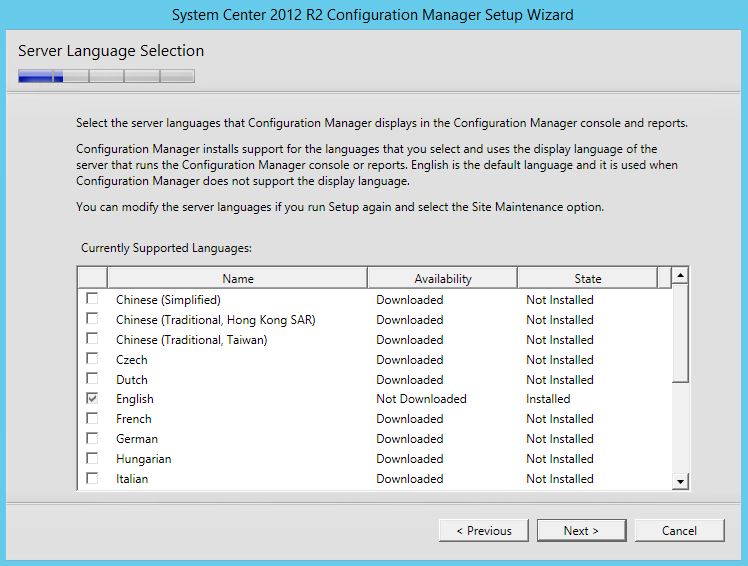
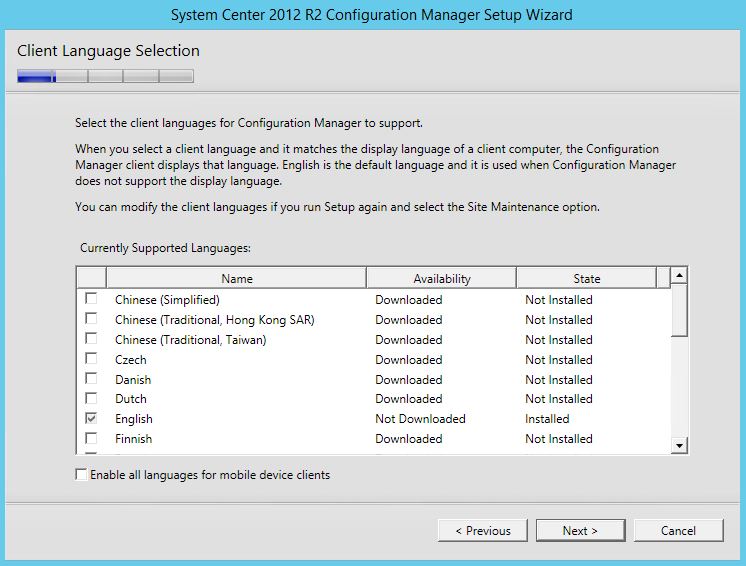
- Select the Language as English
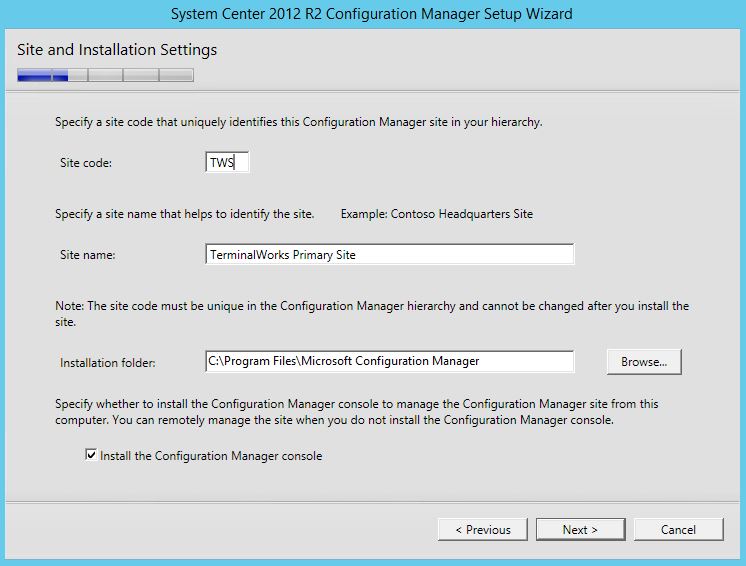
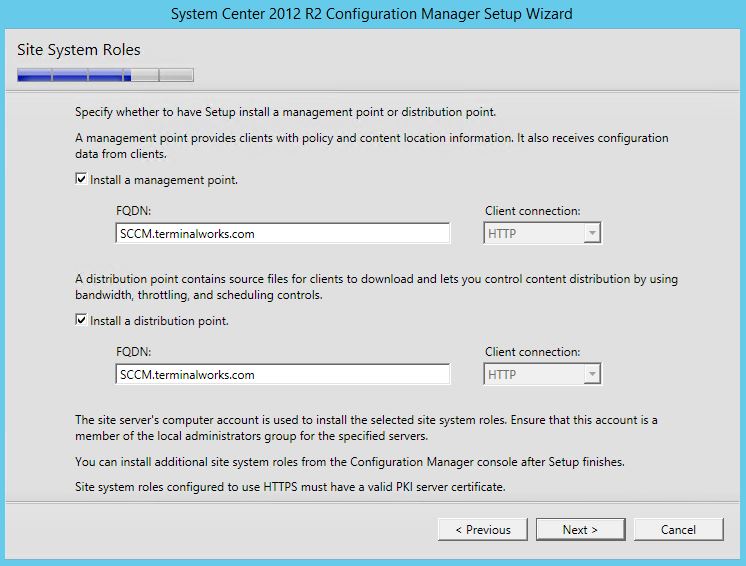
- Specify the Site Code and Site name, Site code is 3 character unique code that you can identify clients belongs to which site, this is important when you having multiple site server (Primary or Secondary). Site name is the name implies by the site code.
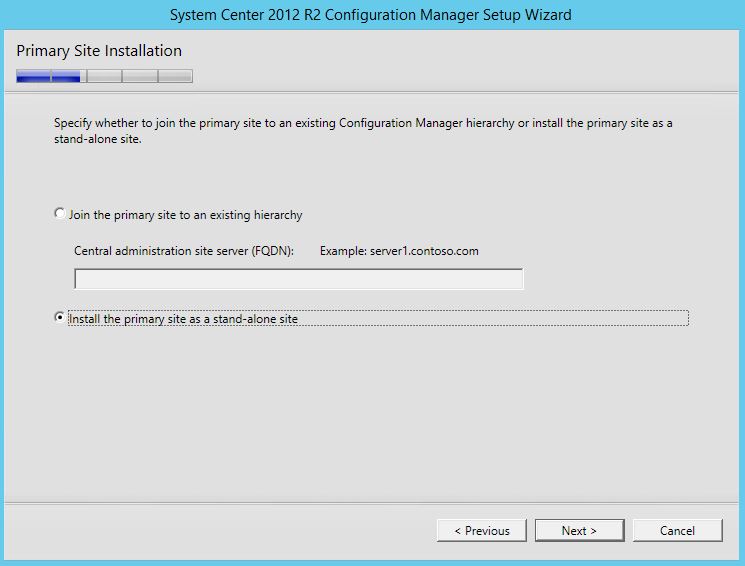
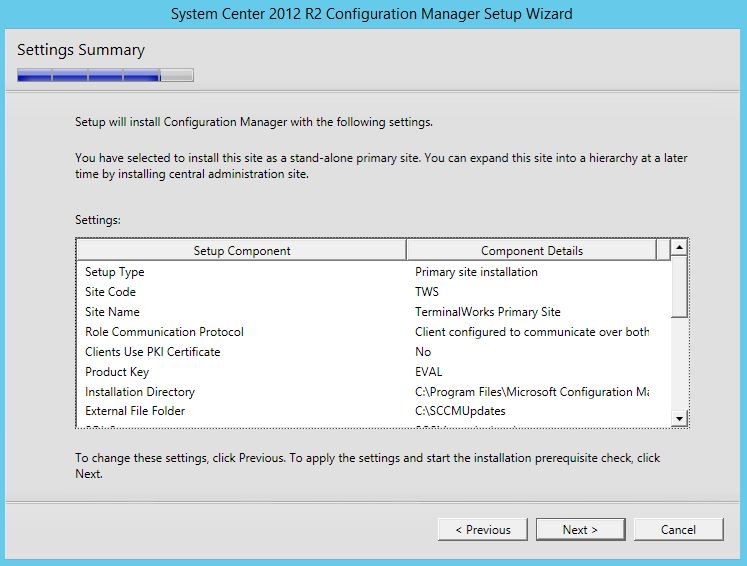
- Install the Primary site as a Stand-along site
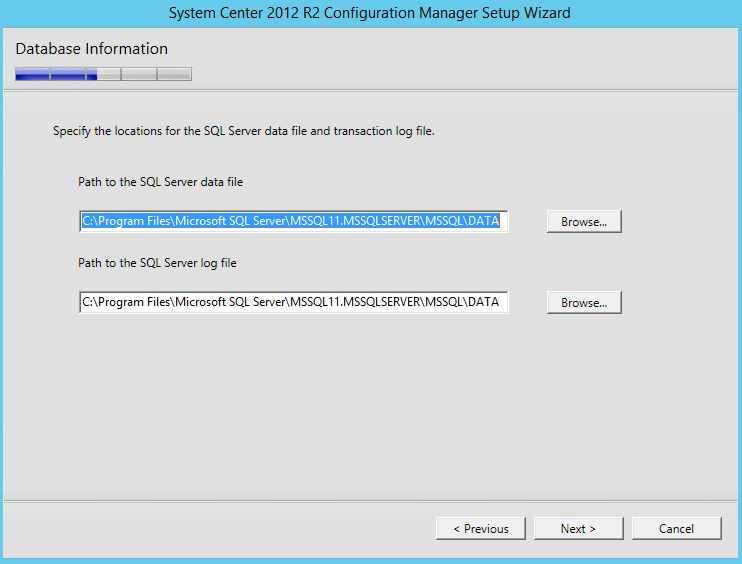
- In database selection, Provide the defaults


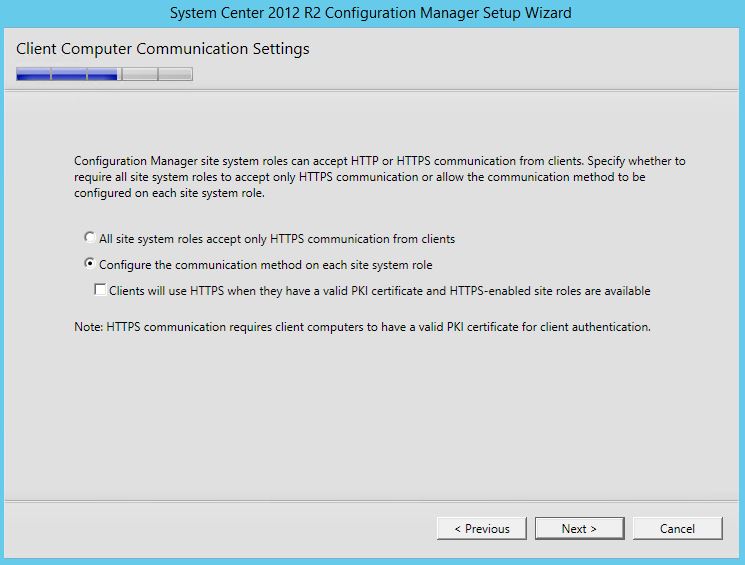
- Set client communication to HTTP
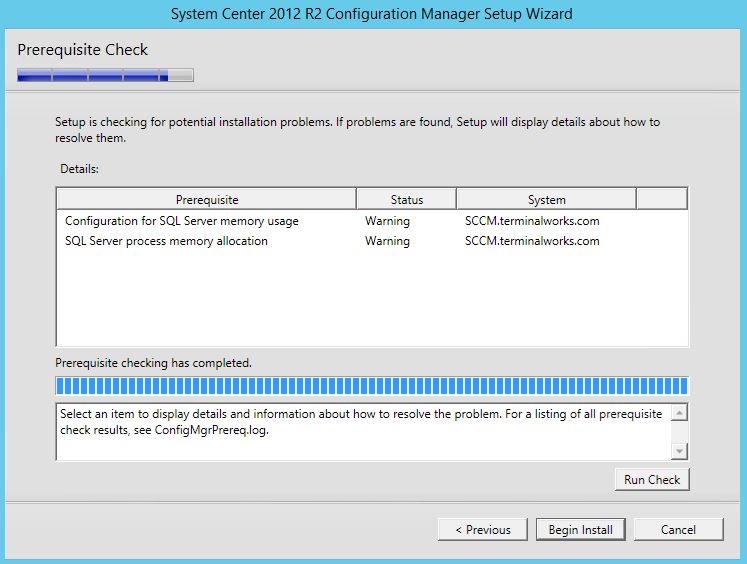
- Begin installing in prerequisites
- Start Installing
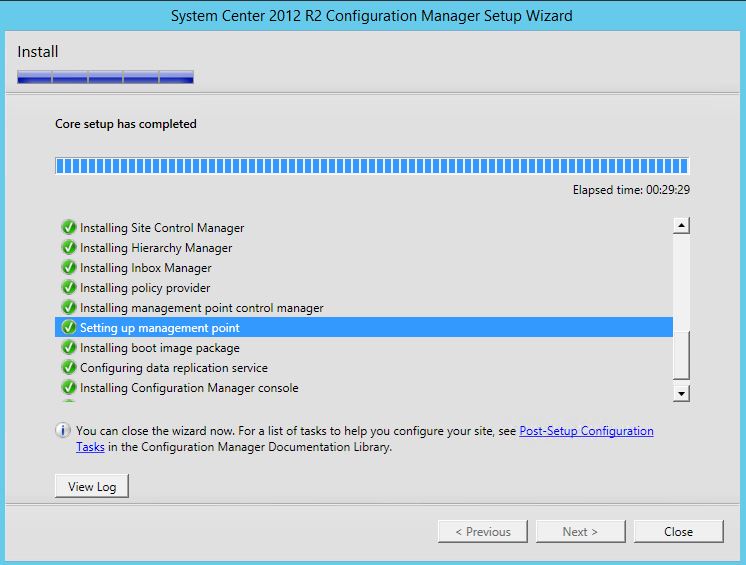
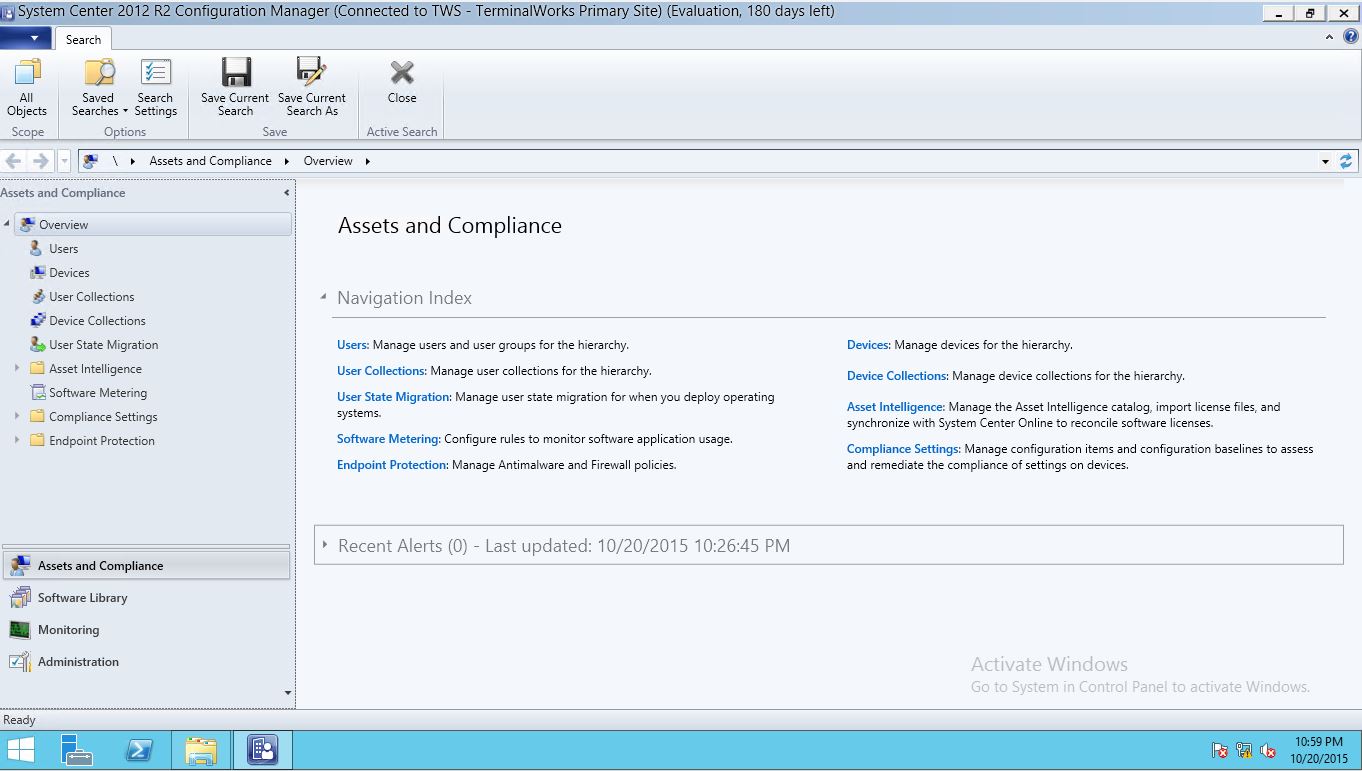
- After successfully completed the installation, Open the config manager console
For all the prevhouse posts of System Center Configuation Manager, follow the following links.
Cheers
Asitha De Silva
