System Center Data Protection Manager used to back-up its data to disk and tape, with new improvements it can backup to Azure backup services in cloud. While number of gigabytes of backup increasing to terabytes, managing tapes and disks is a not an easy job. Uploading these data to Azure backup services with geo redundancy will ensure the security and the reliability of your backup data. And you need to play for the size of your data bulk in azure.
Prerequisites
- Azure Subscription
day trial can be created from following link
https://azure.microsoft.com/en-us/pricing/free-trial/
- Azure backup vault
Backup vault is where you backup data from server or client to geographical area of Azure cloud.
- Vault Credentials
Vault credentials are used to authenticate on-prem DPM server and azure backup services. This is a unique certificate which generate by the backup vault and can be downloaded from azure portal. This certificate can be used when registering the DPM server to the azure backup vault.
- Install and configure azure backup agent in DPM server
Azure backup agent can be downloaded from the backup vault in azure portal.
Create Azure backup vault
- Login to the Azure Portal (manage.windowsazure.com)
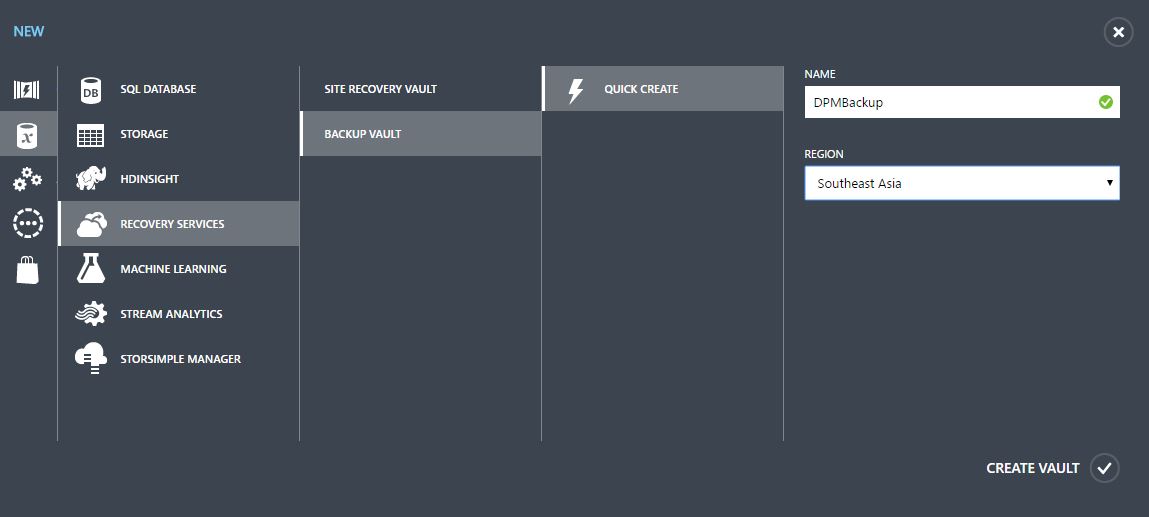
- Click New – Data Services – Recovery Services – Backup Vault – Quick Create
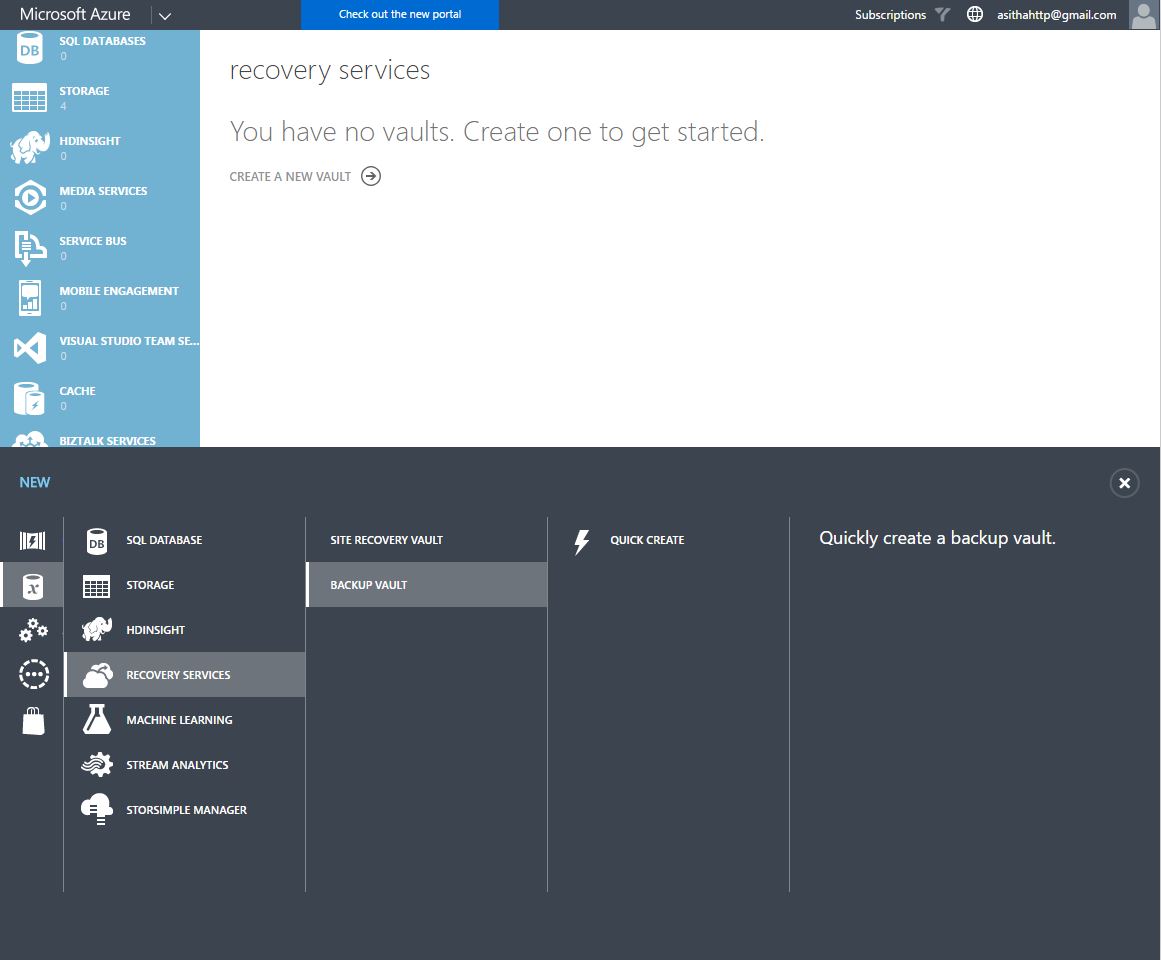
- Enter a Name and a Region and create vault, it will take few minutes to create the backup vault
- Backup vault can be locally redundant or Geo redundant as for your requirement. You can change this by configuring the vault.
Downloading Vault Credentials
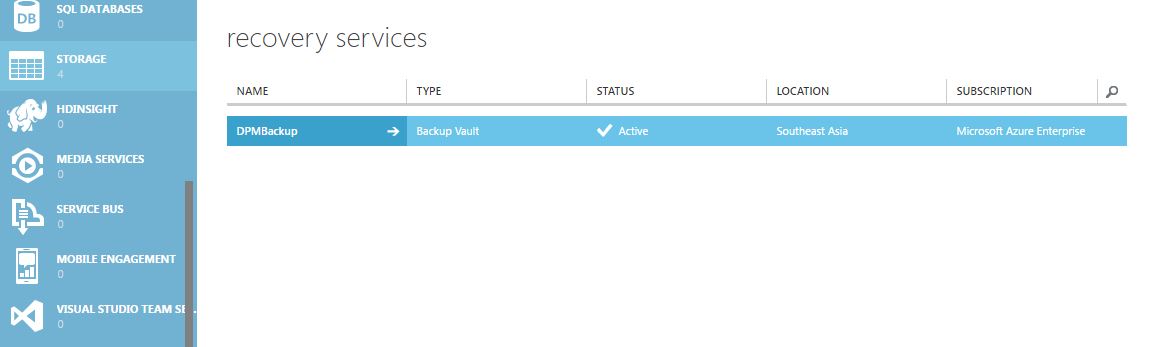
- Login to the Management portal, Recovery services and click the name of the Vault that created before
- Click Download vault credentials and save it in the local machine
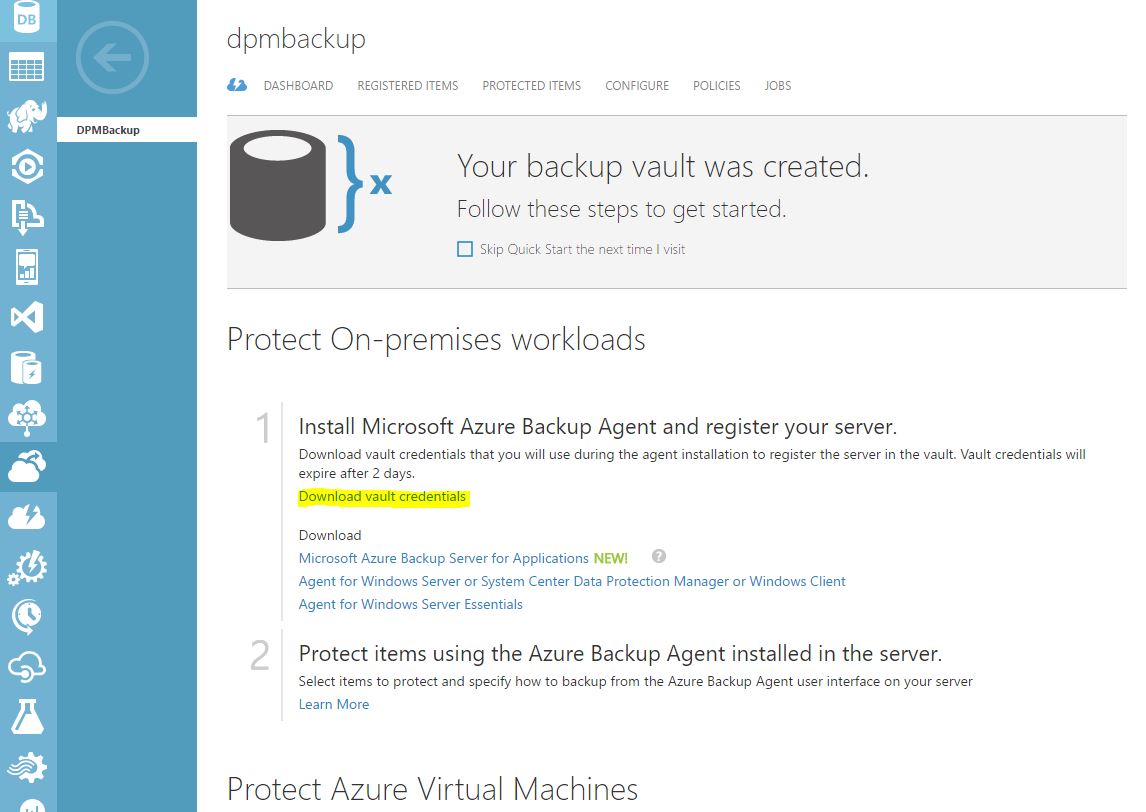
Download and install Azure backup agent in DPM server
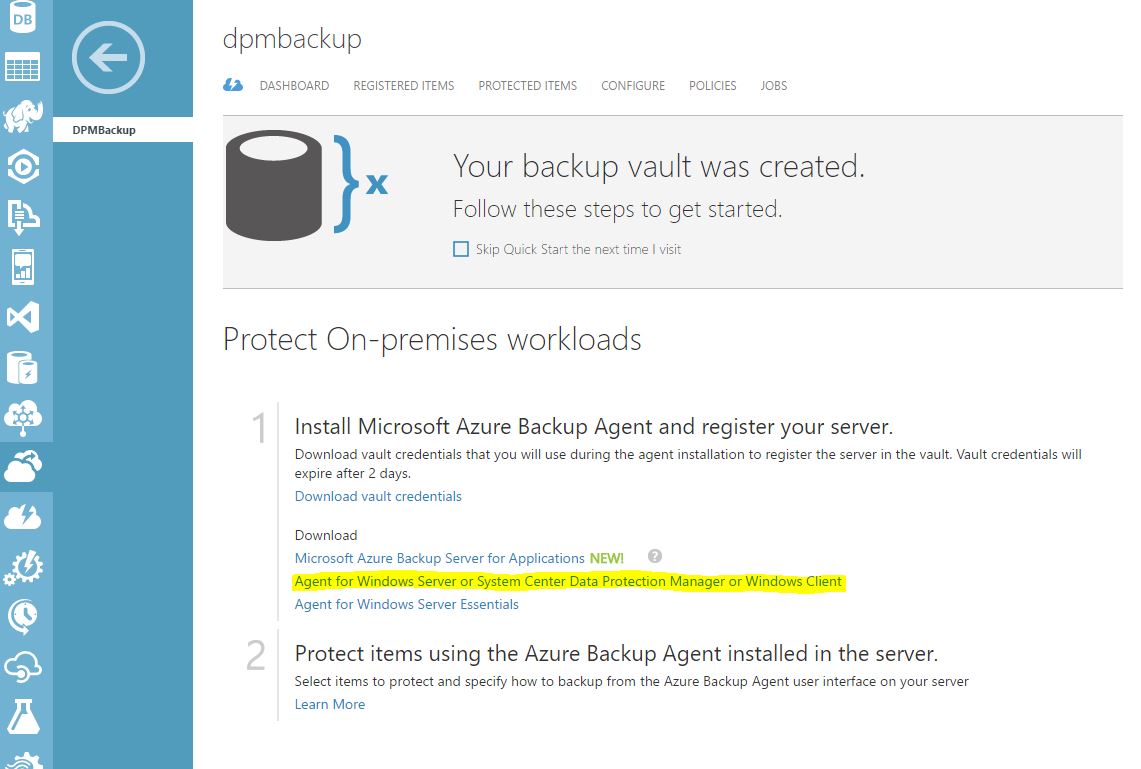
- Login to the Azure management portal, click on the backup vault previously created.
- Click on the Agent for Windows server or System center data protection manager, download the agent and save locally.
- Copy the agent installation and certificate to the DPM server.
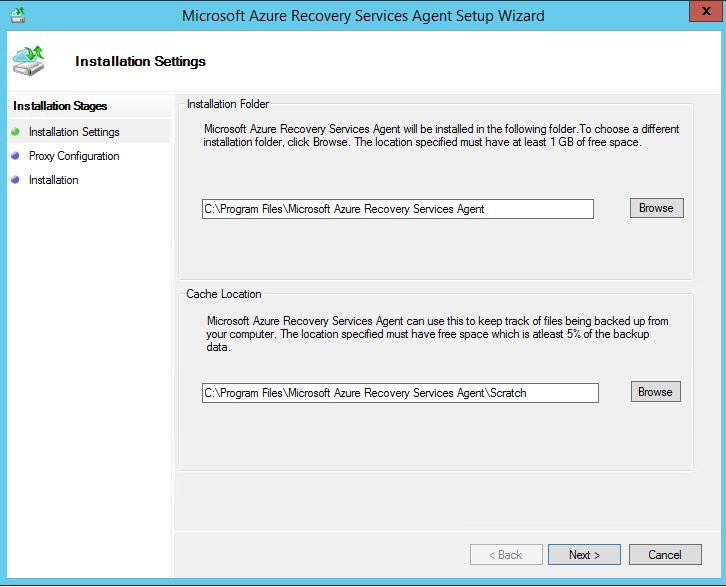
- Install the agent in DPM server, select the location and proxy configurations if required.
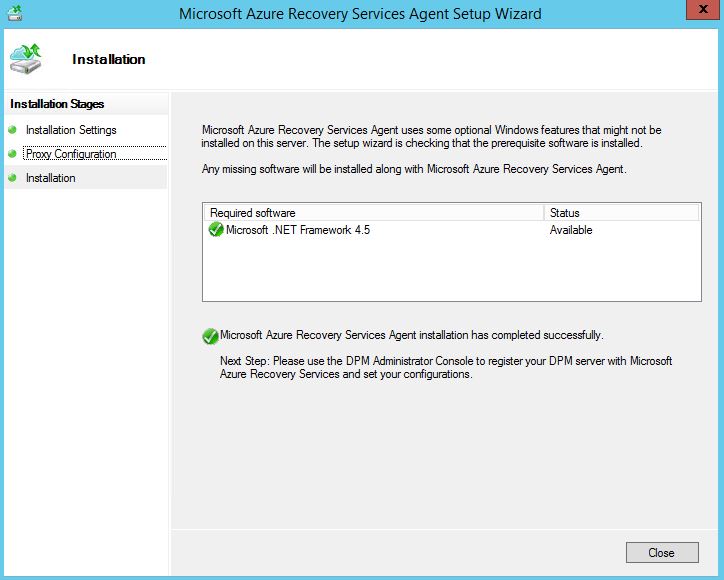
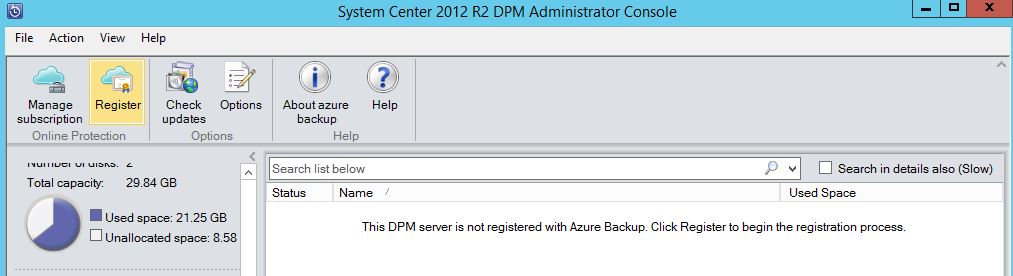
- After successfully installed the Backup agent, open the DPM console to register it with backup vault. Management – Register.
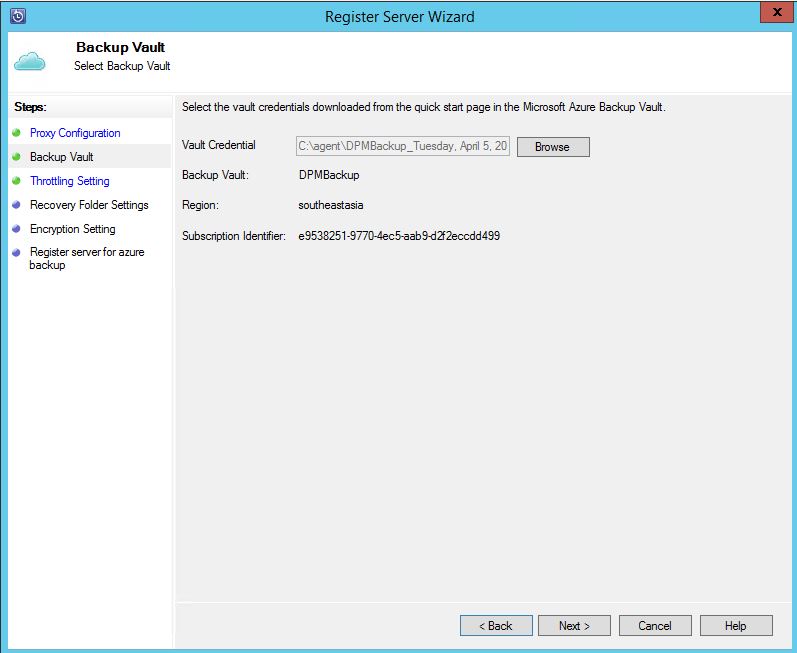
- Select the proxy, and in backup vault credentials, browse the certificate file.
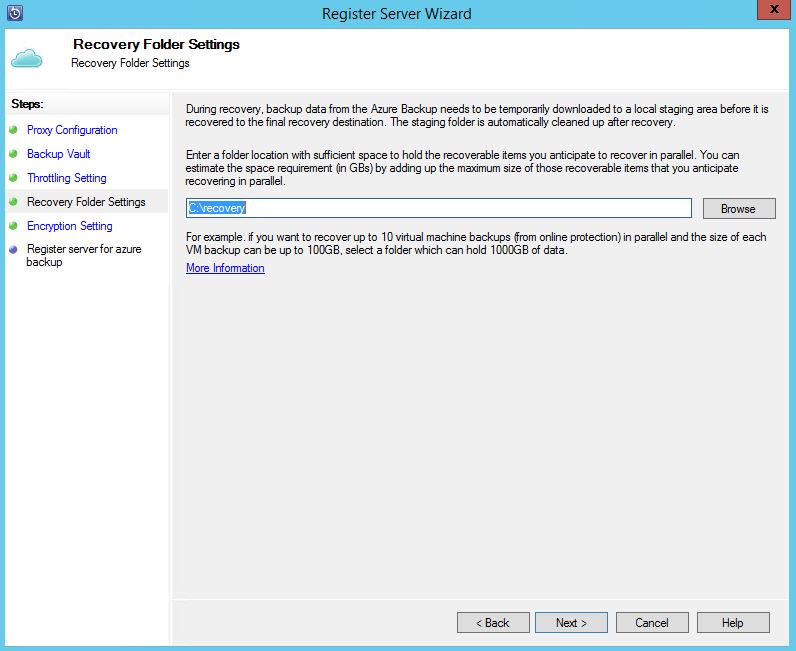
- Enter a location to store data temporarily when recovery process occur.
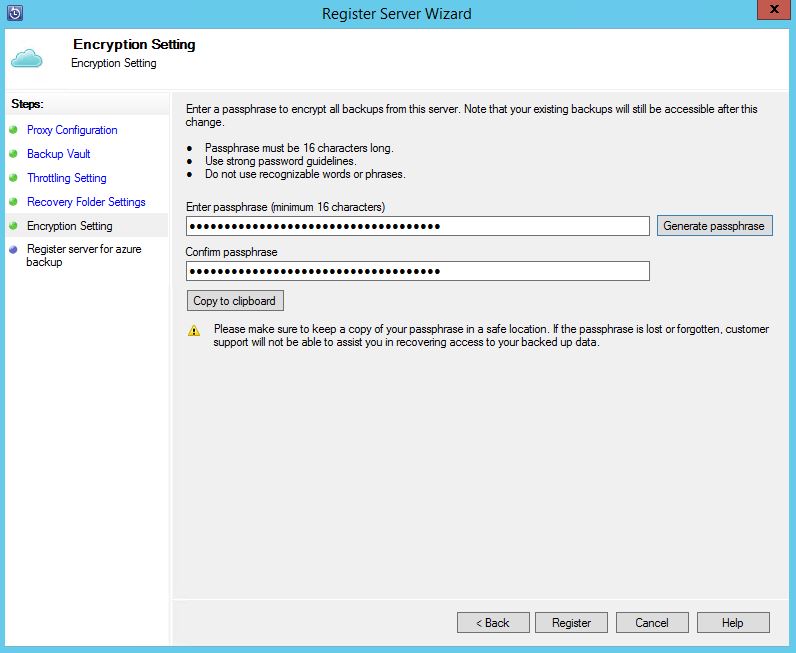
- Generate an encryption key, copy and save it in a safe place and Register the server.
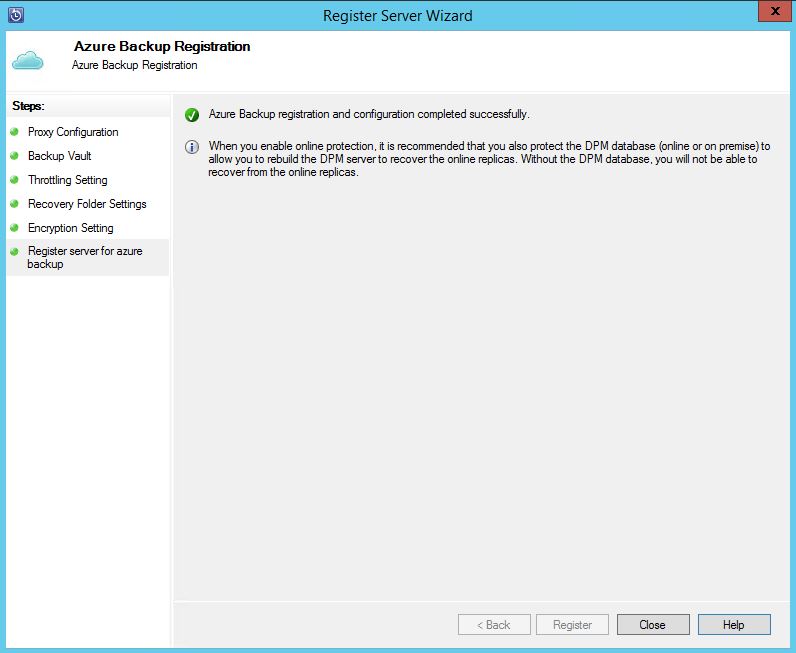
- If you want to change the settings, click Online and Configure in Management tab.
Configure Protection group for Online Backup
Either you can configure a new protection group or edit an existing protection group to backup data to Azure backup vault, here is how you modify an existing protection group.
- Select the Protection group, right click and modify
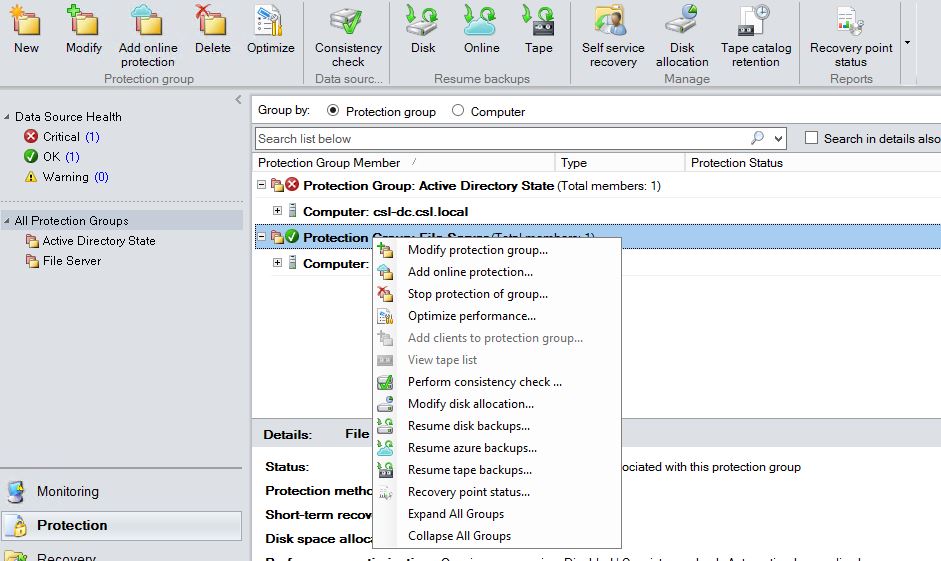
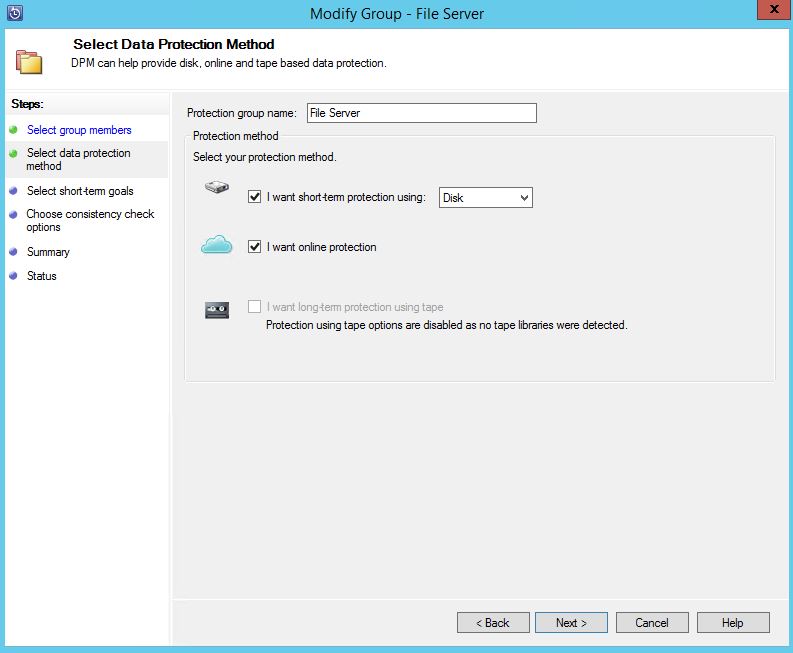
- Click next and tick I want online protection
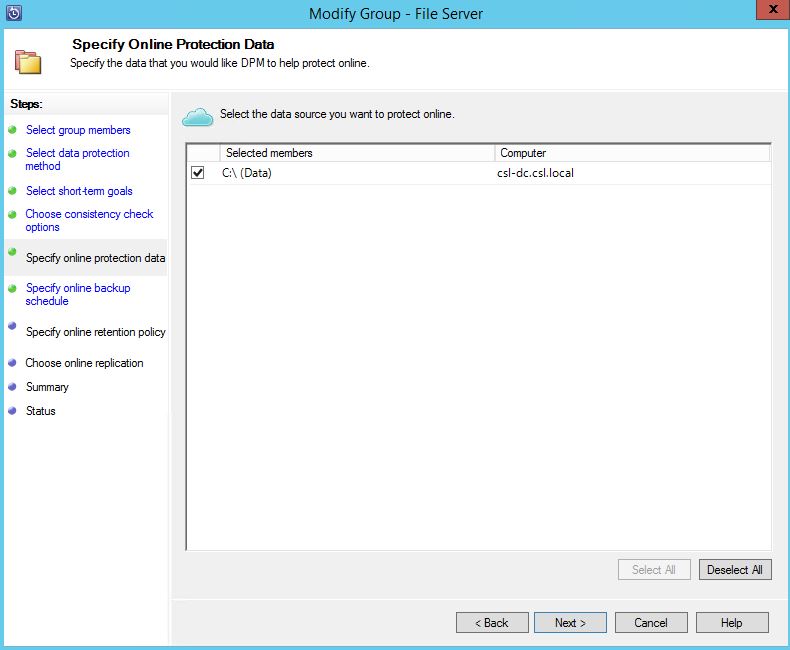
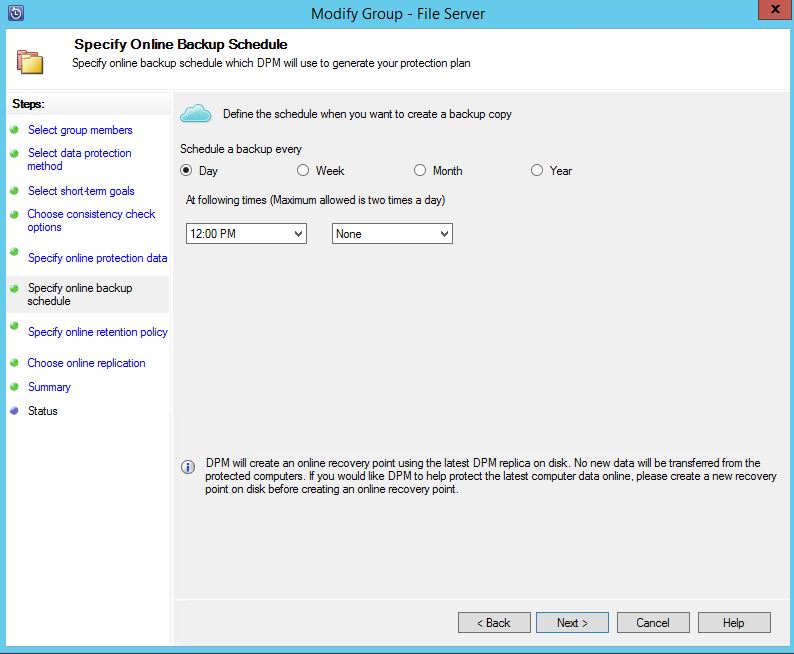
- Next and select the data source for Online protection, also define the backup schedule
- Specify the retention period and update the group.
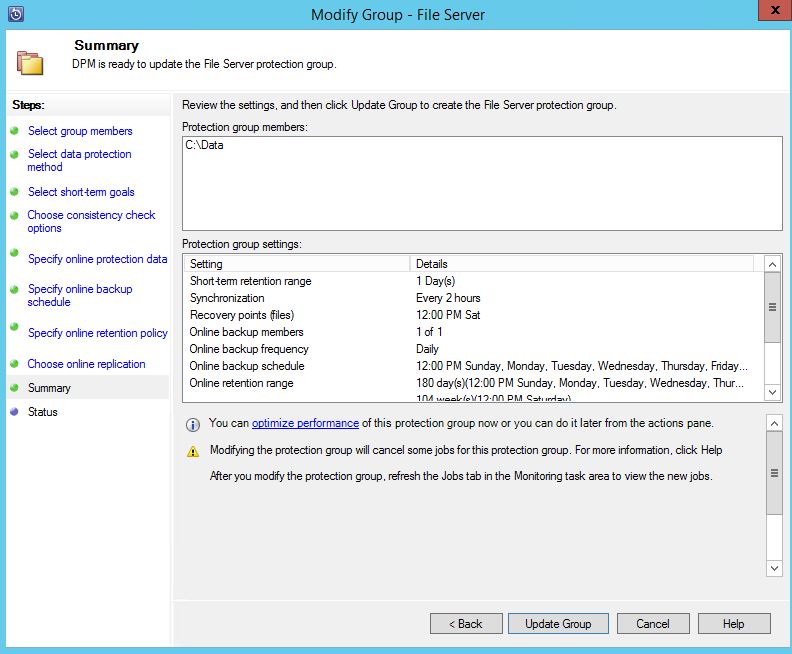
- Closely monitor the progress of the online backup from monitoring tab.
References
https://azure.microsoft.com/en-us/documentation/articles/backup-azure-dpm-introduction/
https://blogs.technet.microsoft.com/systemcenter/2014/03/16/using-azure-backup-with-dpm/
Hope this information is useful
Asitha De Silva
