Azure AD Domain services is where you can get Active directory as a service from Microsoft in Azure. From my previous post (here) I have talked about what is domain service, how it works, its features and benefits to the organization while covering bit about pricing. Azure AD Domain Services | What’s New post will provide an introduction to domain services with a better understanding. Then from this post you can actually implement by your own to test the service.
Enable Azure AD Domain Services
Previously you cannot enable Azure AD domain services from new azure portal and it will only support virtual networks created from the classic portal. But with new changes domain services, its fully support Resource Manager. Enabling Azure AD domain service is a wizard based setup with following steps.
- Login to the Azure tenant where you have the Azure Active Directory
- Click New and type Azure AD Domain services and Create

- From the basic configurations settings, provide DNS name, Subscription and the Resource group
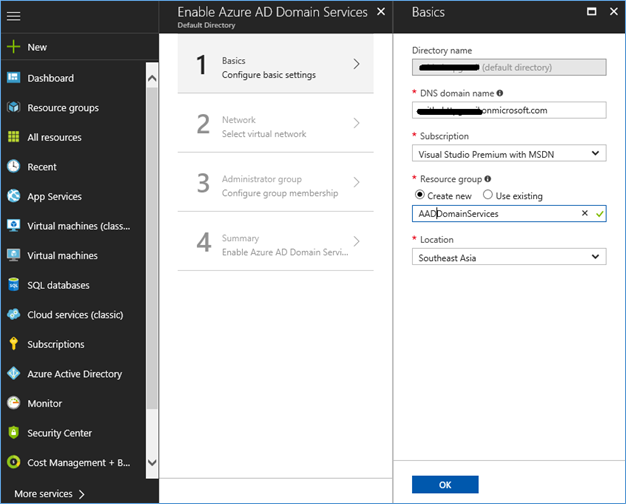
NOTE: Microsoft guidelines for selecting Domain names
Built-in domain name: you can use the .onmicrosoft.com but you can expect the issues such as creating public DNS records or obtaining certificates from public CA because Microsoft owns the domain.
Custom domain name – you can use your own routable domain
None routable domain – Microsoft not recommend using none routable domain names such as .local. It can cause issues with DNS resolution.
Avoid Domain conflicts – ensure domain name used in following conditions
- If you already have an Active Directory domain with the same DNS domain name on the virtual network.
- If your virtual network is connecting to the on premise network, avoid using same domain name which is used in on premise environment.
- You have an existing cloud service with that name on the virtual network
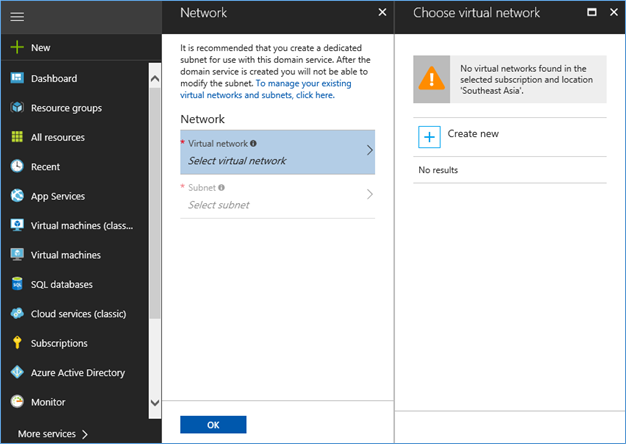
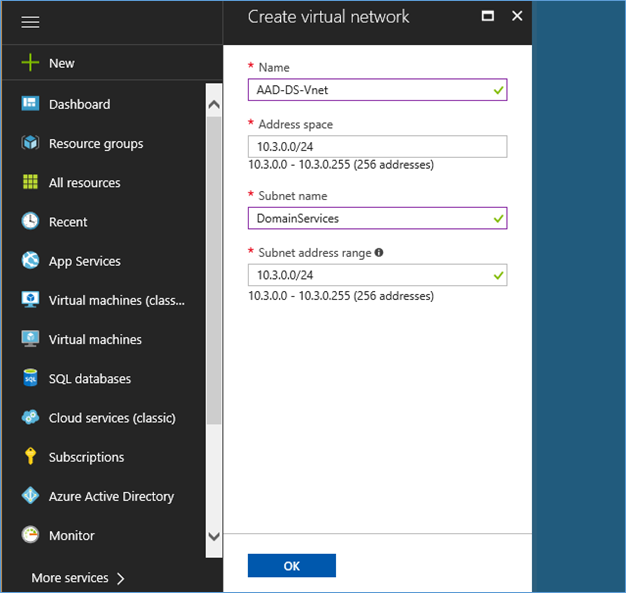
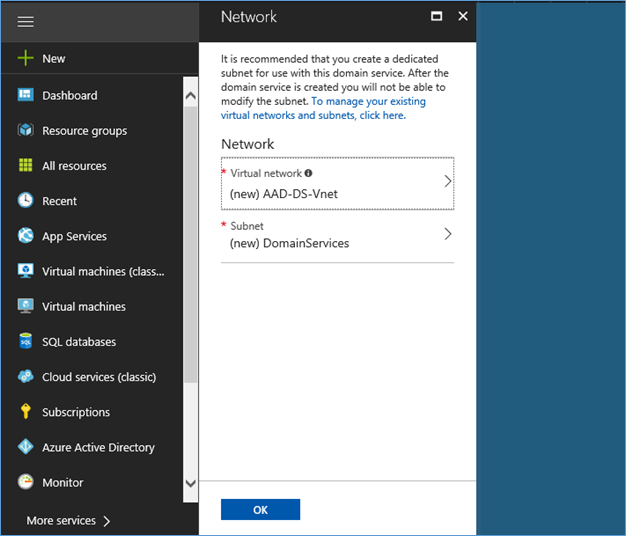
- Next step is to select the virtual network where the domain services will be deployed to. You can create a new network or select a existing network
NOTE: Guidelines for selecting a subnet
Classic virtual networks not supported
- You cannot move your managed domain to a different virtual network after you enable Azure AD Domain Services.
- It is recommended to create a new subnet only for Azure AD Domain services
- Do not select the Gateway subnet for deploying Azure AD Domain Services, because it is not a supported configuration.
- Subnet should have at least 5 available addresses.
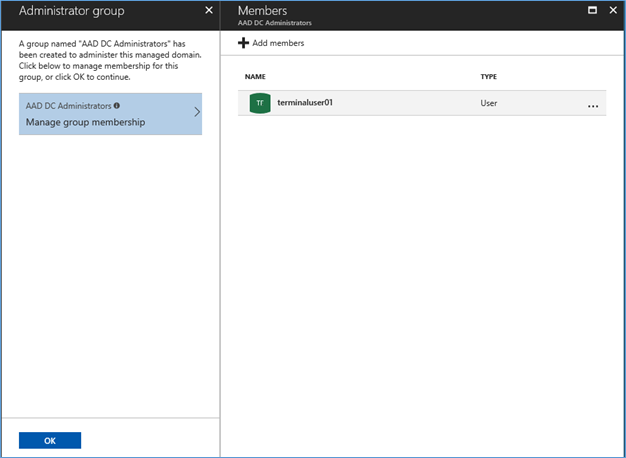
- This step configure an administrator group called AAD DC Administrators which have power to do domain join and other privileged functions. Once a machine got domain joined, this administrator group become local administrators of the machine so users in this group have admin privileges to the domain joined machine
Select the members and click OK to create the group
NOTE:
There is no Domain Administrator or Enterprise Administrator permissions on the managed domain. However you can have permissions to operations such as joining computers to the domain, belonging to the administration group on domain-joined machines, and configuring Group Policy
- Click OK in summery to proceed with the installation

- Installation will complete in few minutes, you can open the Domain services by clicking More Services- Azure AD Domain Services and select the domain service name.

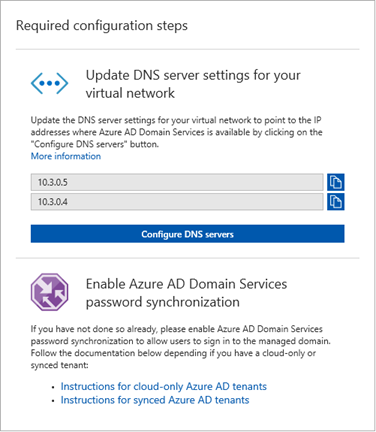
Update DNS Settings
After successfully deploying Azure AD Domain Services, in the console you can see an option to update DNS server settings for the virtual network. These two IP address are the managed domain controllers and you have to update it as the DNS address in the Virtual network.
- Note down the DNS address and click configure DNS server
- Click Custom and add the two DNS address to the space
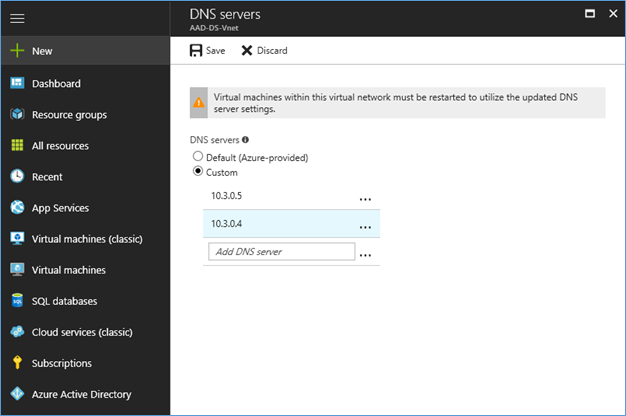
- Click Save, it will add two DNS IP address to the Virtual network. If you already have machines in this network, those need a restart to apply new DNS.
Enable Azure AD Domain Services password synchronization
Enable synchronization of credential hashes required for NT LAN Manager (NTLM) and Kerberos authentication to Azure AD Domain Services. Configuring domain service Password synchronization is different for cloud only accounts created in Azure AD and accounts synchronized from On Premise Active directory.
Cloud only accounts created in Azure AD
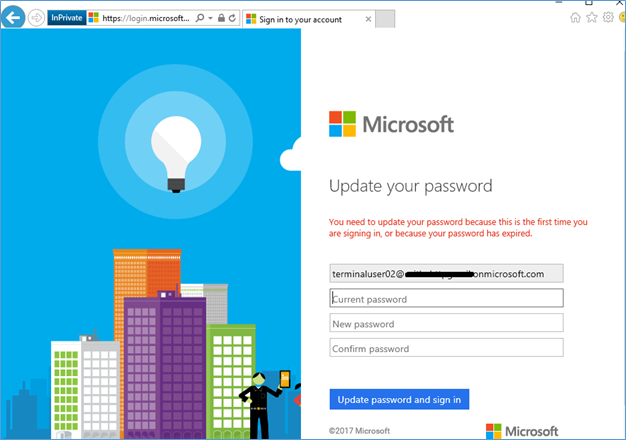
Azure AD does not generate or store credential hashes in the format that's required for NTLM or Kerberos authentication, until you enable Azure Active Directory Domain Services for your tenant. So after enabling domain services in your tenant all users have to reset their passwords to generate and sync the credential hashes required for Kerberos and NTLM authentication. There are two ways to make users change their passwords.
- Expire the password for all users.
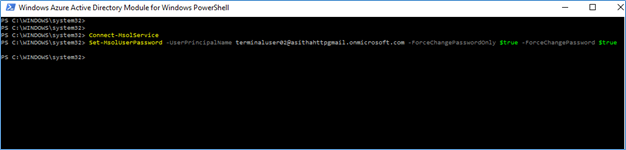
Password can be expired using PowerShell, this can be done by single user, user group or to all users. Then it’s mandatory for users to reset their passwords.
To a single user-
Set-MsolUserPassword -UserPrincipalName [email protected] -ForceChangePasswordOnly $true -ForceChangePassword $true
For group of users –
Get-MsolUser -All | ? {$_.Country -eq "USA"} | Set-MsolUserPassword -ForceChangePasswordOnly $true -ForceChangePassword $true
For All users -
Get-MsolUser -All | Set-MsolUserPassword -ForceChangePasswordOnly $true -ForceChangePassword $true
Ask users to change their password
Users can change their passwords from Azure Access panel https://myapps.microsoft.com/
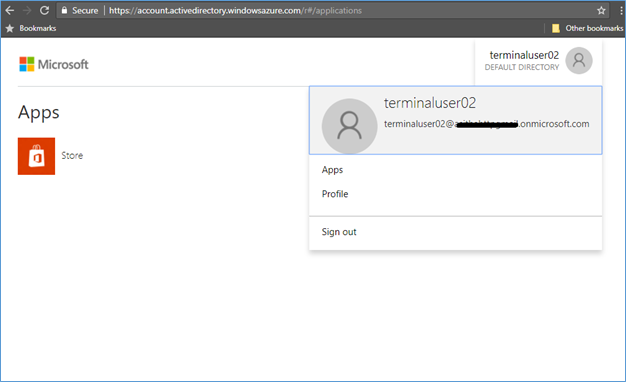
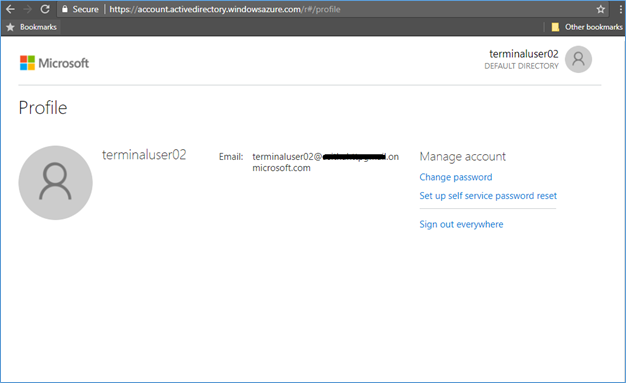
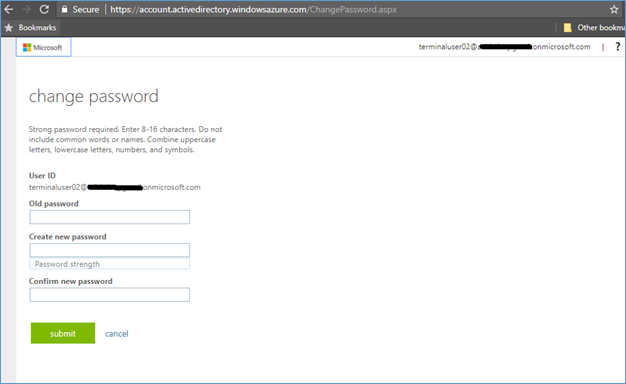
Not only from Azure Access panel, users can change their password from Office 365 portal also.
User accounts synced from On-premises AD
If you have an Azure AD which is synchronizing with on premise Active Directory, still Azure AD is does not store credential hashes in the format that's required for NTLM or Kerberos authentication. . So after enabling domain services you have to make few changes to the AD connect service to sync credential hashes which required by the domain services.
$adConnector = "<CASE SENSITIVE AD CONNECTOR NAME>"
$azureadConnector = "<CASE SENSITIVE AZURE AD CONNECTOR NAME>"
Import-Module adsync
$c = Get-ADSyncConnector -Name $adConnector
$p = New-Object Microsoft.IdentityManagement.PowerShell.ObjectModel.ConfigurationParameter "Microsoft.Synchronize.ForceFullPasswordSync", String, ConnectorGlobal, $null, $null, $null
$p.Value = 1
$c.GlobalParameters.Remove($p.Name)
$c.GlobalParameters.Add($p)
$c = Add-ADSyncConnector -Connector $c
Set-ADSyncAADPasswordSyncConfiguration -SourceConnector $adConnector -TargetConnector $azureadConnector -Enable $false
Set-ADSyncAADPasswordSyncConfiguration -SourceConnector $adConnector -TargetConnector $azureadConnector -Enable $true
It will take some time depending your directory size and you can use the same password without a change.
This will complete the installation and configuration required to set up the Azure AD Domain services. From my next post I’m hoping to write about how to do a domain join, group policy deployments and how to manage Azure AD Domain services to your need.
Hope this post is useful
Cheers
Asitha De Silva
References
Microsoft Ignite 2017
Technet
https://docs.microsoft.com/en-us/azure/active-directory-domain-services/active-directory-ds-getting-started
