This is a bit simple article about how to install and configure File Server Resource Manager in Windows Server 2016 with creating and managing quotas, file screening and storage reports.
File Server Resource Manager – is a Windows server role that enables to manage and classify data stored on file servers. It includes the following features:
- File Classification – You can classify files and apply policies based on this classification
- Quota Management – Quotas allows to limit the space that is allowed for a volume or folder, and they can be automatically applied to new folders that are created on a volume
- File Screening – This is to control what type of files that user can store in the file server. You can limit using file extensions such as mp3, .avi to store in the file server.
- Management Reports - Reports can be generated to monitor access to files, disk usage and how data is classified.
Installing File Server Resource Manager
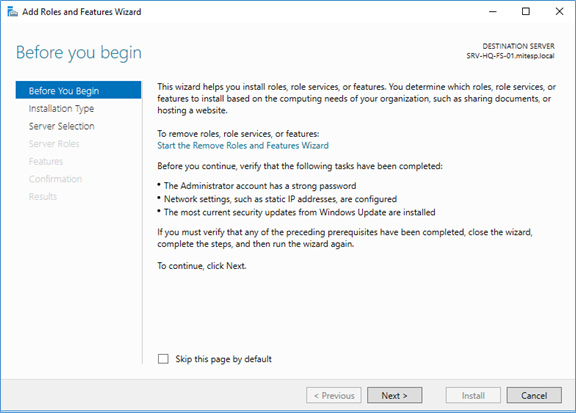
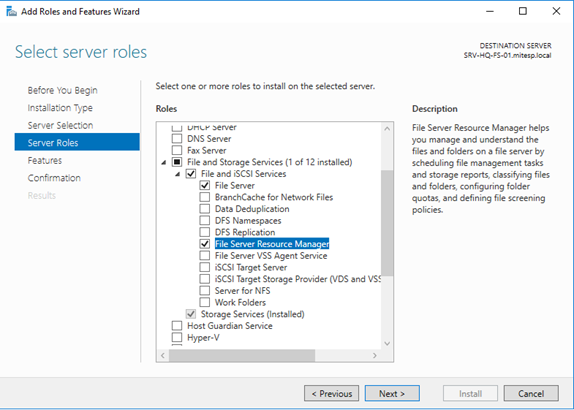
FRSM role on windows server 2016 can be installed from GUI or PowerShell, here I’m installing it using GUI server manager.
- Login to the Server, Open Server Manager, select Add Roles and Features
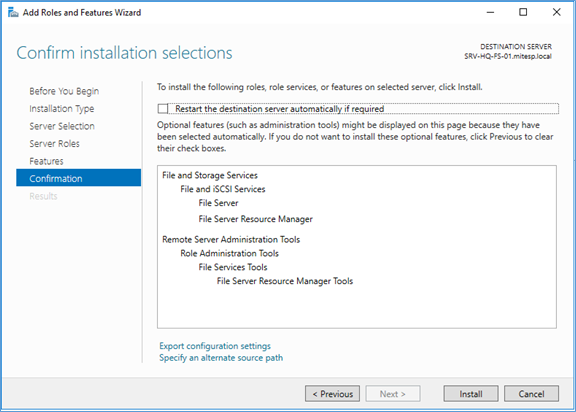
- From the Server roles, select File Server Resource Manager and next to all other steps and install
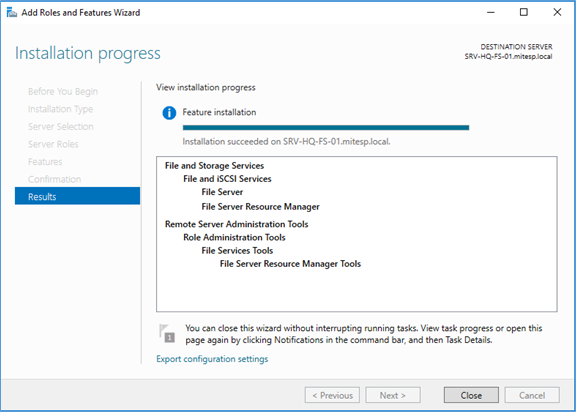
- After installation completed open File server resource manager from Administrative tools
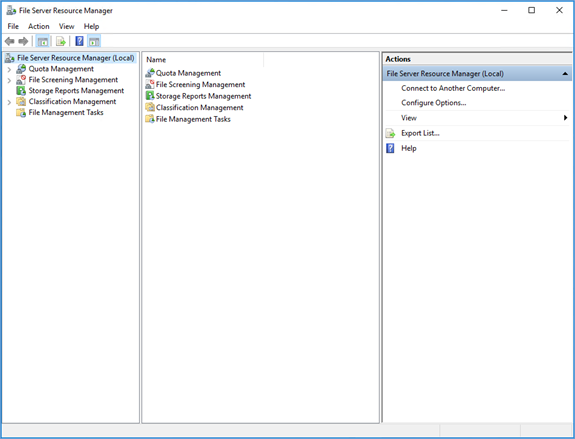
Configuring FSRM
Configurations on file server resource manager is not much of a complex process. There are three main areas where you can configure the features.
- Quota management
- File screening
- Storage reporting
Configuring Quota
Quota restrict the amount of disk space allowed to a folder or a drive. Later you can assign this to a user or a group using file share access. Quota is useful when you are giving a personal drive in file server to users. In example you can restrict all users will get maximum of 2GB of a personal drive. When creating quota there are two differences.
- Quota on the path – this is where quota is applied only to the main folder, as example if you apply the quota to a main folder and users were mapped subfolders of this main folder, then all users have to share the same quota of the parent folder
- Auto apply template and create quota – by this way parent and all subfolders are under the quota management, if you apply 5GB maximum quota to the parent folder, all subfolders will have individual quota of 5GB. This way if you created subfolder for users they will have private quota of 5GB each.
Quota Templates
Before creating quotas, you have to either create a quota template or select predefined template. To create quota template
- Right click on the quota template and create new

- Put the name and description with the space limit. If you select hard quota, you cannot exceed the specified amount, but soft quota user can exceed and can be notified.
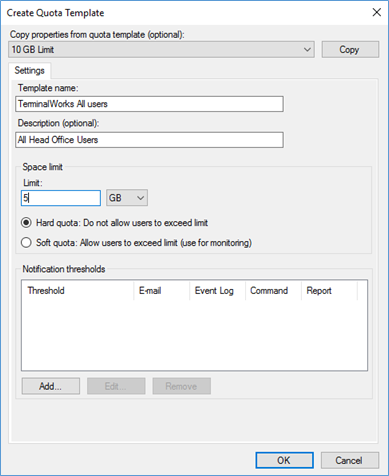
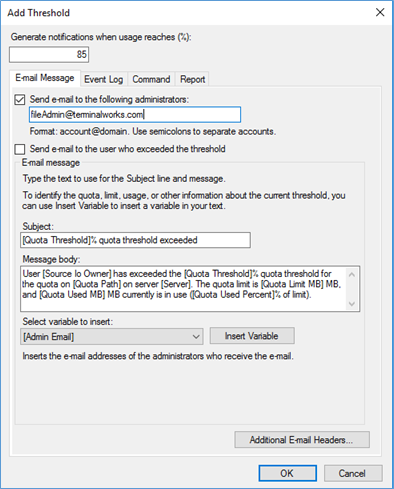
- Notifications can be send via Emails once quota reached specified threshold. Also it can be configured to run a script, command or log an event
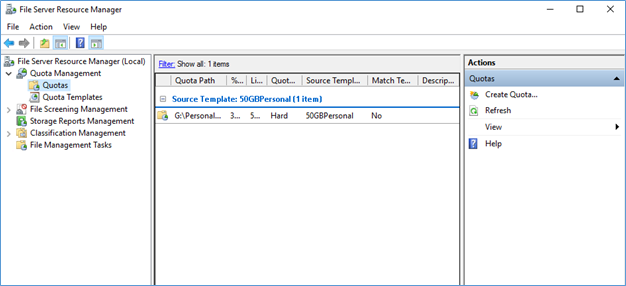
Create Quota
Once you have created the quota template or decide to select an existing quota template, you can create the quota.
- Right click on quota and select create Quota

- Select the following information
Quota Path – folder or parent folder quota applied to
Create quota on path or auto applied template (this has explained in above)
Select the quota template
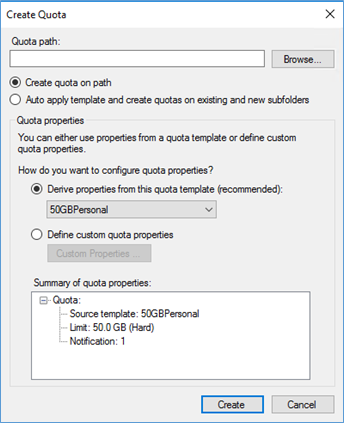
- Once the quota is created you can see it from the console
Configuring File Screening
File screening is where you can restrict certain file types saved in the specified location. File screening is carried out by the file name not their contents. You can filter files by file extensions or other parts of the file. There are two type of file screening
- Active Screening – Do not allow users to save unauthorized files
- Passive Screening – Allow users to save files but can be monitored.
When configuring file screening, you have to create File Groups, Screening templates and file screens
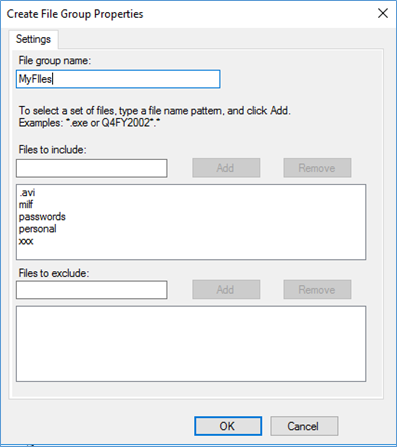
Create file groups
File groups is where you define a pattern of files and link together as a group to use in file screening. You can use existing groups or create a new groups. As I told before file screening is based on the file name, so you can define file extensions and file names to screen files.
Right click on file groups and create new file group, define a name and add parts of the file names or file extensions in file to include. You can also add exclusions
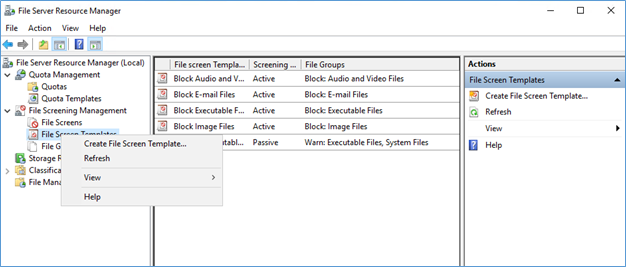
Create File Screening Template
Before configuring file screening, you have to either create a file screening template or select predefined template.
- To create a file screening template right click on it and create new
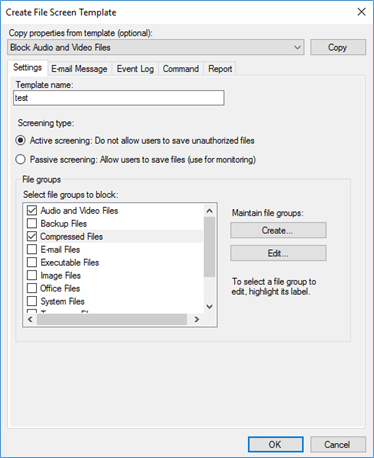
- In create template window, fill the following
Template Name
Screening type – Active or Passive screening
Select file groups
Email tab can be used to send notifications when attempt to save file that is unauthorized.
Event log tab can be used log unauthorized actions
Command tab can be used to run a command or a script when triggered
Reports tab can be used to generate reports on activities.
Create file screening
File screening can be applied to a folder or a volume, select the path and the template if you created before. And create

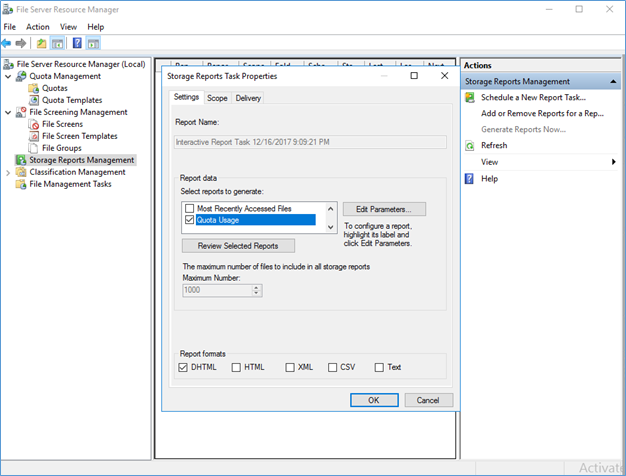
Generate reports
There are number of reports you can generate regarding the file server management. Schedule periodic storage reports that allow you to identify trends in disk usage, Monitor attempts to save unauthorized files for all users or a selected group of users and generate storage reports instantly.
To generate reports open storage report tasks and generate a report, DHTML report will be saved and prompt to open.
These are the more common features what we can use with File Server Resource Manager 2016. There are also file server classifications and file server management tasks you can perform (here)
This post is all about implementing and configuring File Server Resource Manager 2016. But in most environments after implementing file servers you have to implement a share folders and map folders as drives to groups or individual users. From my next post I will share details on best practices on mapping folders to users centrally.
Hope this post is useful
Cheers
Asitha De Silva
