From my previous post of Modern Day File Server with Azure File Sync, I have discussed the technology behind the Azure File Sync, benefits of integrating with the file server and capabilities of azure sync with work scenarios. Now we are going to implement it. Remember it’s still in public preview and your region might not have it, if so just change the region.
Prerequisites are simple, first, your region should support Azure File Sync and you should have a storage account in Azure. Also to test the local file sync, you should have a local file share.
Creating File Share and Storage Account
- Log in to the Azure portal, in More services, type Storage, and open Storage Accounts blade
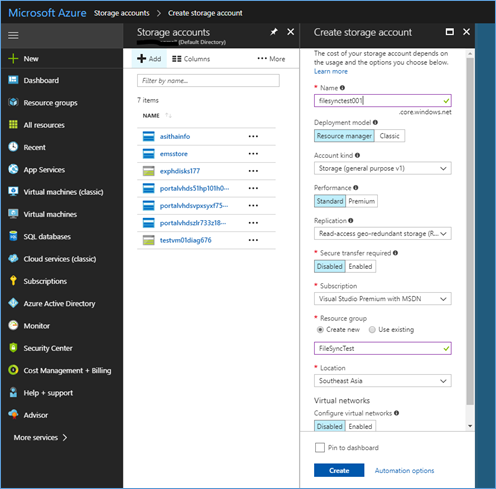
- Click Add
- Fill the details in the Create storage account blade
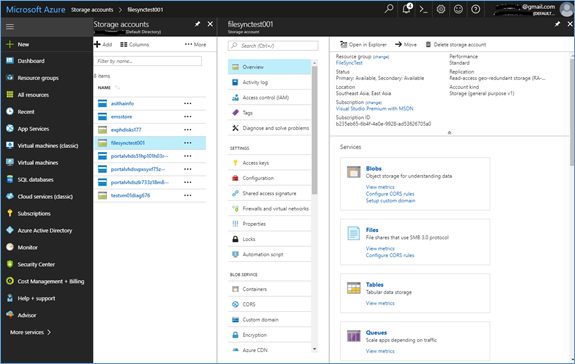
- After storage account created, click the storage account. You may have to refresh the console
- Inside of the storage account click Files
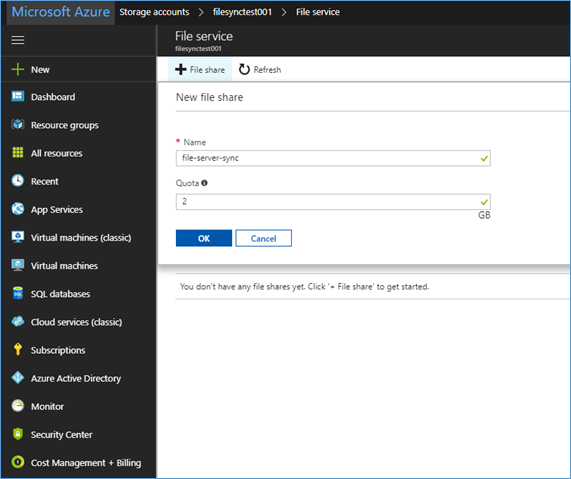
- Inside the file service, click create file share plus icon, fill the file share name and the capacity. Click OK to create the file share
This will complete the prerequisites, next do the following steps
Enable File Sync
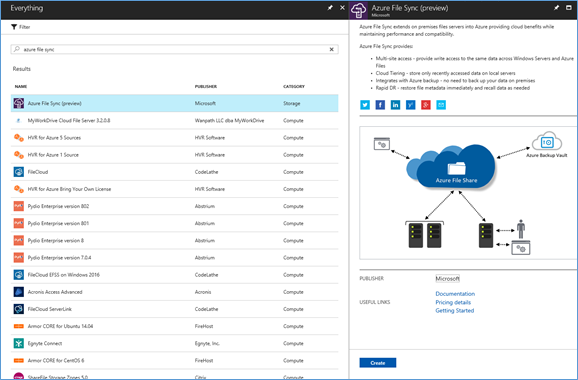
- Log in to the Azure portal, Click new and type “Azure File Sync”
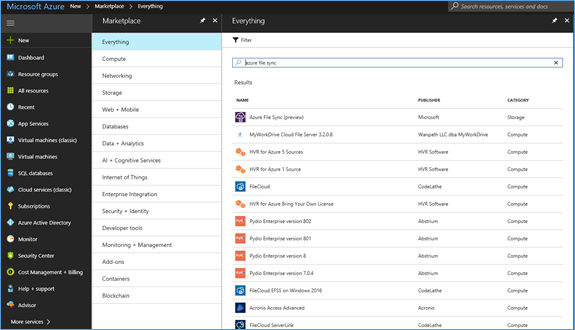
- Select the File Sync and Create
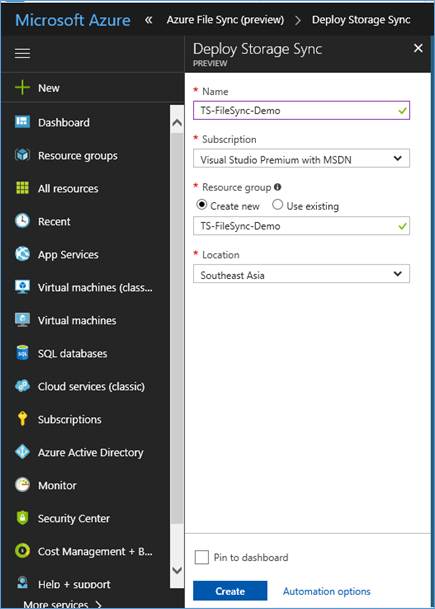
- Add a Name, Select subscription and the region to create
Configuring Sync Group
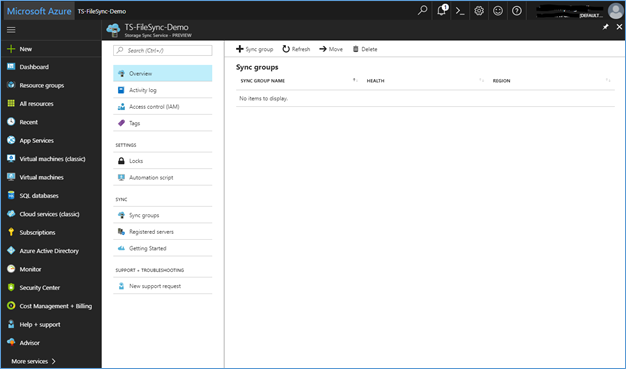
- Login to the Azure portal and open the previously created Azure File Sync Storage Sync Account
- Click Create Storage Group icon
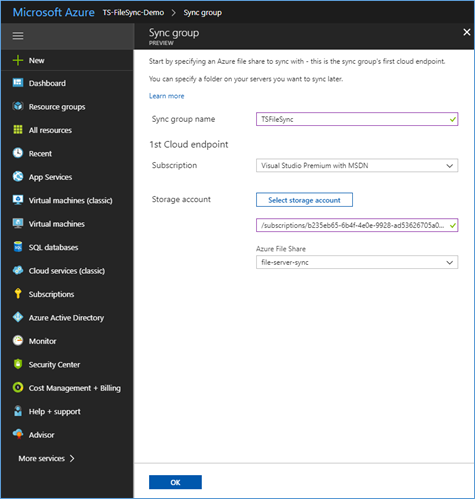
- On sync group blade, type a name for the sync group and select the previously created Storage Account and Azure File Share
Configuring Local File Server to Sync
When configuring a local server to sync its data to Azure, you need to download and install the Azure File sync agent from Microsoft downloads. And before installing the agent, you need to install the Azure PowerShell and turn off the Internet Explorer Enhanced Security Configuration.
- Log in to the local server where you are going to sync with Azure
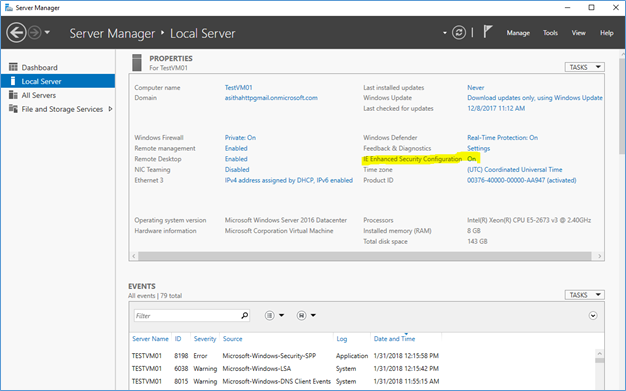
- On Server Manager select Local server
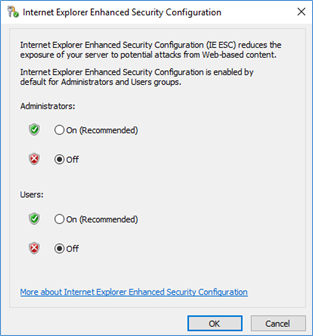
- Click on the Internet Explorer Enhanced Security Configuration, and turn off to both Administrators and Users
- If you are running windows server 2012R2, then you have to install PowerShell 5.1.*. PowerShell 5.1 is default on windows server 2016. Download and install PowerShell 5.1 from https://www.microsoft.com/en-us/download/details.aspx?id=54616
- Next, you have to install the Azure PowerShell on the server. follow the below article for a full description
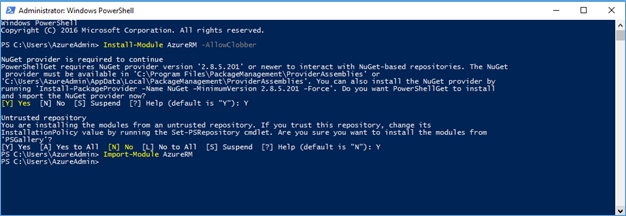
- https://docs.microsoft.com/en-us/powershell/azure/install-azurerm-ps?view=azurermps-5.1.1Install the Module - Install-Module AzureRM –AllowClobber
Load the AzureRM module - Import-Module AzureRM
Next step is to install the Azure File Sync Agent. Go to the following link and download the agent installation
- https://www.microsoft.com/en-us/download/details.aspx?id=55988
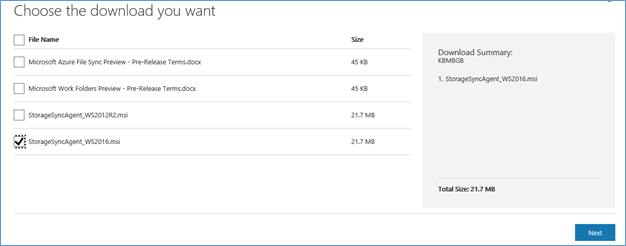
Run the installation with default settings
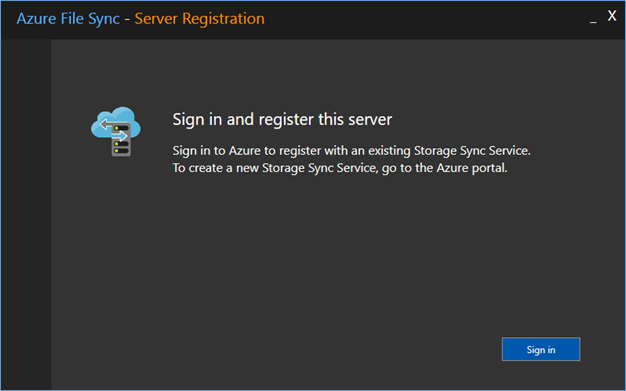
When installation completes configuration wizard will pop open, sign in using Azure credentials
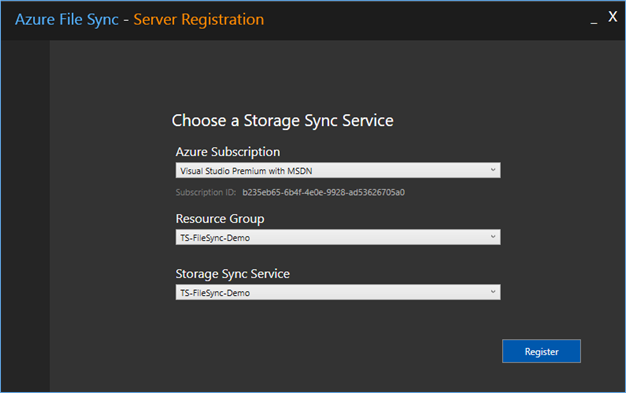
Select the Azure Subscription and the previously created Resource group and storage sync service account, you need to sign in again
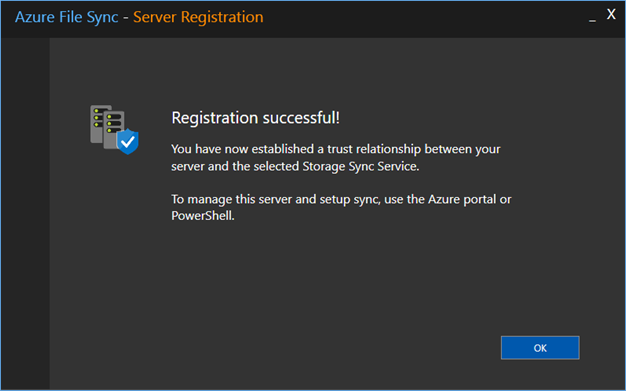
After completing the agent installation, log in again to the Azure portal to add the server endpoint to the Sync group
Open Sync group click Add Server Endpoint
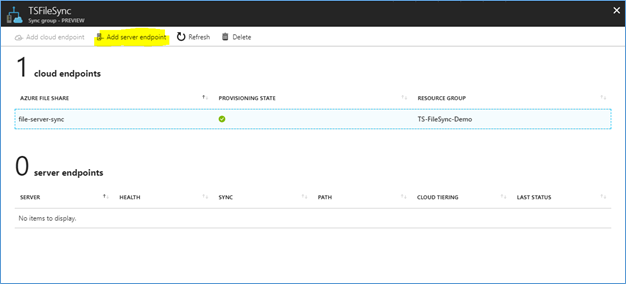
Select the registered server and type the path name where you need the data to be synced.
Cloud Tiering - This is to maintain the free space in the local file server. If you add 50% to the tiering value, when drive exceeds the specified free space, the tiering engine will kick in and delete the additional data from local drive to maintain the free space.
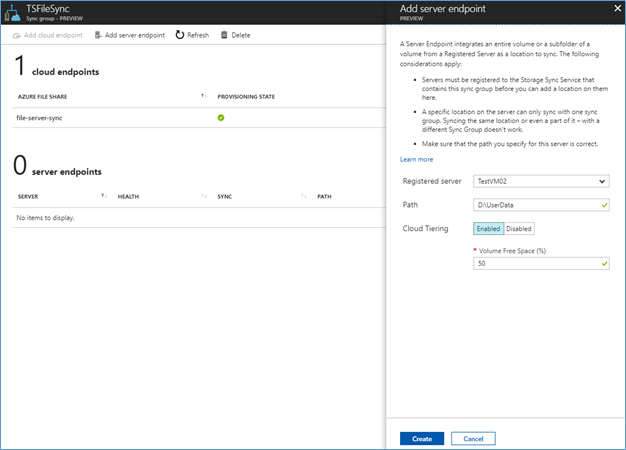
Note – you cannot sync the system drive (C :)
After sync completes, you can see both cloud endpoints and server endpoints are in good health

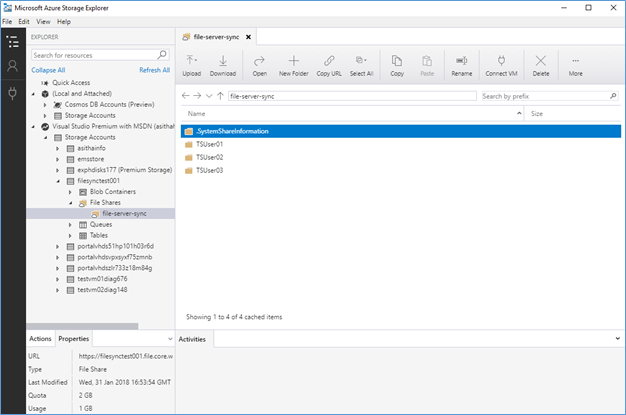
To view the files that sync to Azure I’m using Microsoft storage explorer, download and install using the following link
https://azure.microsoft.com/en-us/features/storage-explorer/
After login to the correct storage account using storage explorer, you can see the files which have sync using Azure Sync
Hope this post is useful
Cheers
Asitha De Silva
References
Microsoft TechNet, Microsoft ignite 2017 contents
Don't forget to follow us on our social networks to keep track of all the latest blog posts!


