Installing Microsoft Office from SCCM is not something new, there are many ways to do this. It was supported from long old days from SCCM 2007. But nature of this product is not to upgrade its previous version when you install a new version. In the example when you have Office 2016 installed on your PC, it will not remove or upgrade when you install Office Pro Plus, both products will run side by side.
So the answer is simple, you have to uninstall the current version and install the new one. There are many ways to do this and I found several blogs explaining this step by step. But most of them are very complex and not simple to deploy from SCCM. So, I have combined a few of them and came up with this solution. I used the Offscrub scripts with PowerShell command and deployed it using SCCM Task Sequence.
This solution first uninstalls the current Office version, Offscrub scripts supports Office 2003 to 2016. Then it will restart the machine. After the restart, the installation of the latest Office 365 Pro Plus version will start using the latest Office 365 servicing package. I tried this in production and it worked like a fairy tale.
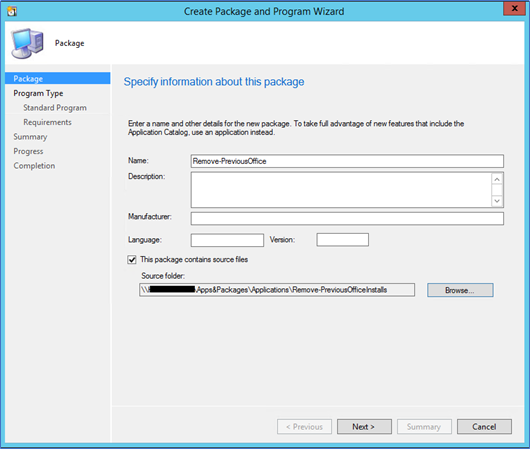
Create the Office Uninstall package from Offscrub Scripts
- Download the latest Offscrub scripts package from Github
https://github.com/OfficeDev/Office-IT-Pro-Deployment-Scripts/tree/master/Office-ProPlus-Deployment/Remove-PreviousOfficeInstalls
- Copy the content to a folder in SCCM Server

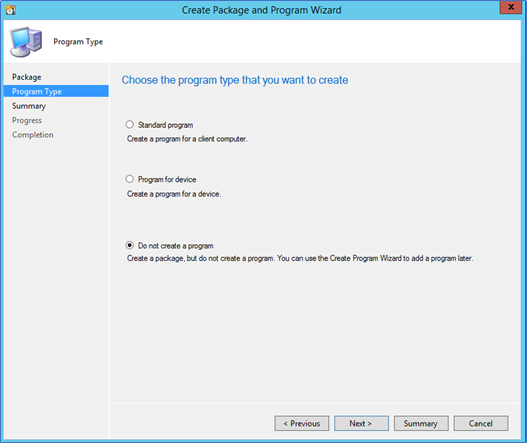
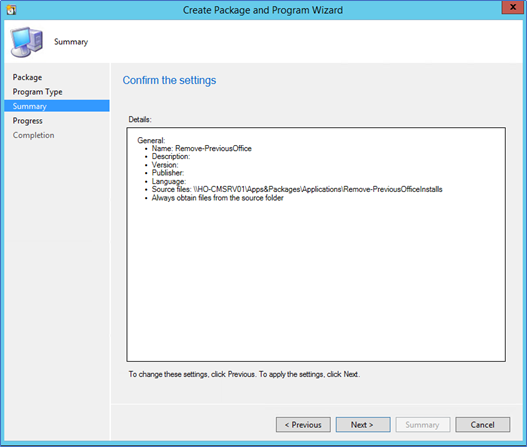
- Create a package using this content, make sure to select do not create a program
Download and package the latest Office Pro Plus from Office 365 client servicing
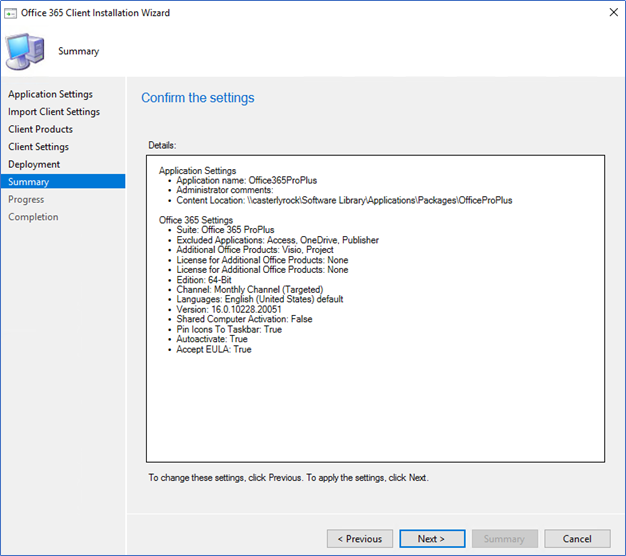
- From SCCM console navigate to Software Library – Office 365 Client Management.
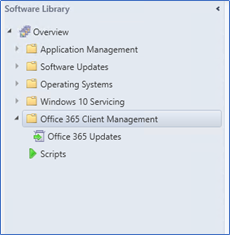
- Click the Plus sign of Office 365 Installer, this will let you download and create the latest Office Pro Plus package.

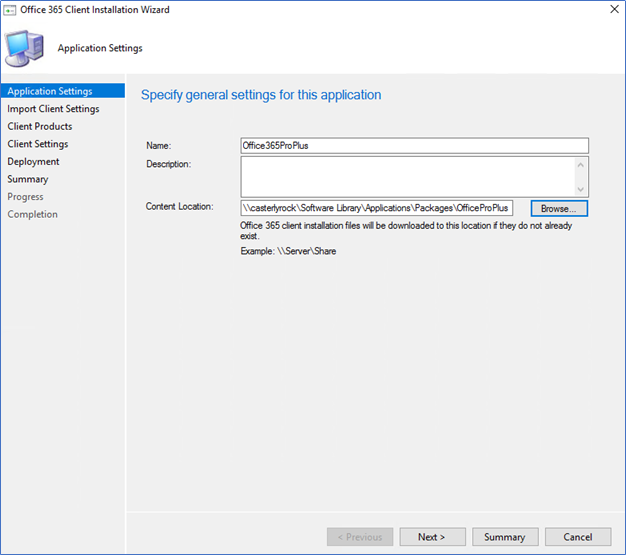
- Select the Package source and the name.
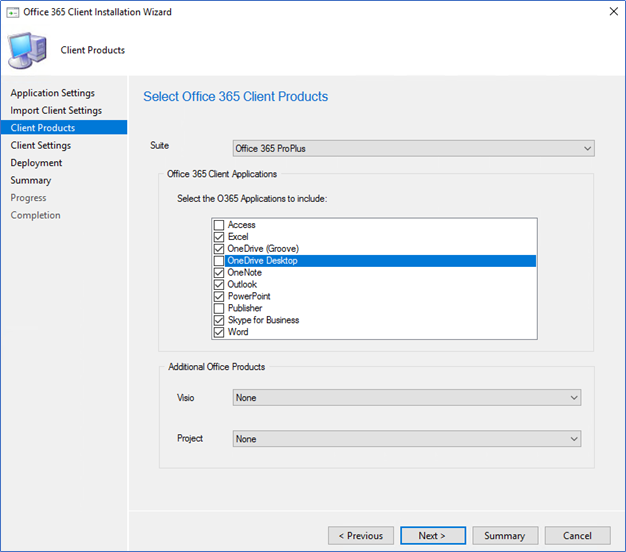
- Select the required Office products
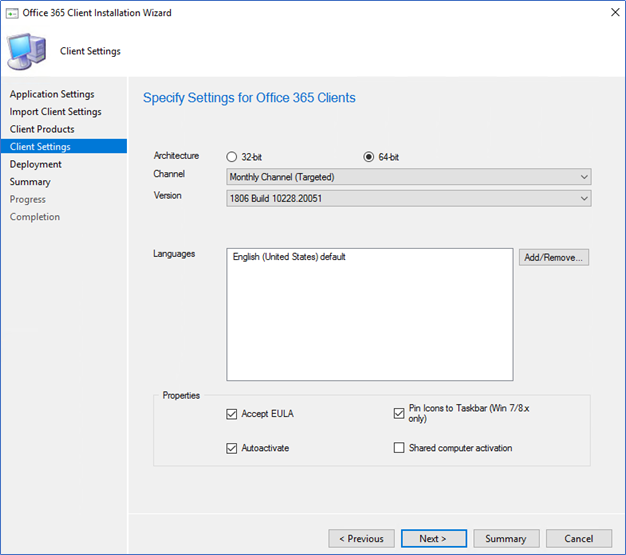
- Also Select the Office architecture (32 or 64bit), Channel and the version.
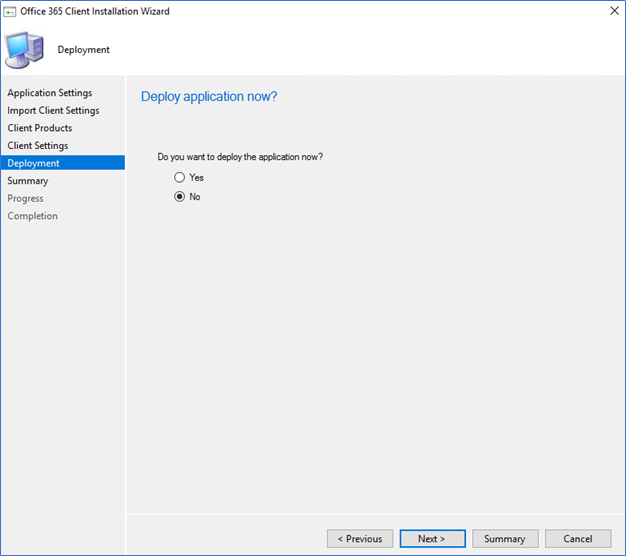
- Select No to the deploy application now
Create a Task Sequence to Uninstall and Install Office Pro Plus
Deploying the Uninstallation and installation of Office is much more reliable with Task Sequence deployment, here I have added a restart after the uninstall. So, installation starts fresh. After the restart, it may take few minutes depending on your environment to start the installation. Also, I deployed the task sequence as available, this will give more control to the system admin.
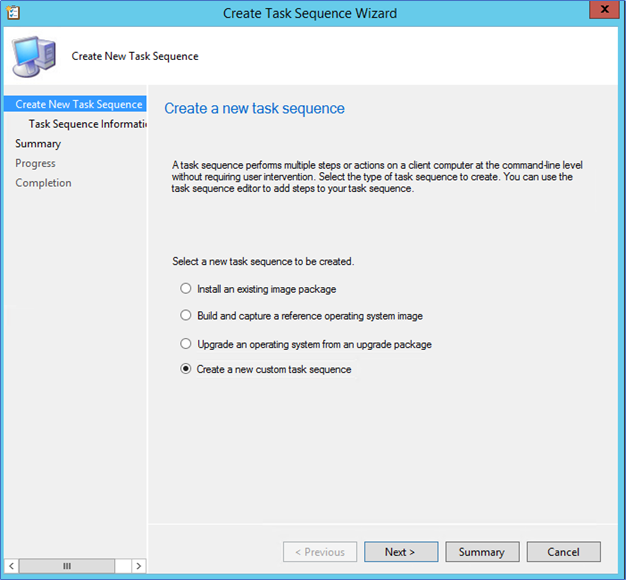
- Create a new custom task sequence.
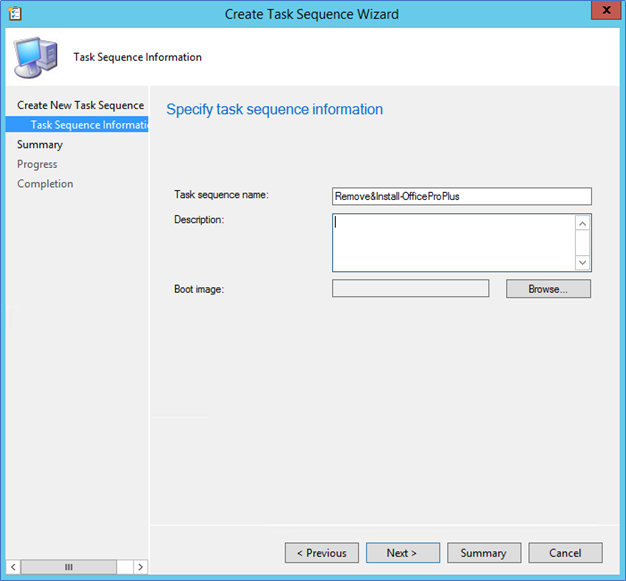
- Give a name and you don’t need to select a boot image to this deployment.
- After completing the task sequence creation right click edit the task sequence.
- Add the Uninstall step as below screenshot and add the PowerShell command exactly as below.
powershell.exe -ExecutionPolicy Bypass -Command .\Remove-PreviousOfficeInstalls.ps1 -Quiet $False -Remove2016Installs $True -KeepUserSettings $True -NoReboot $True
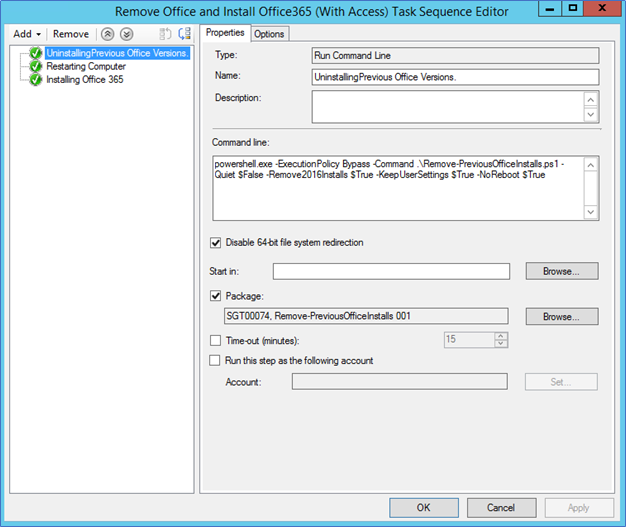
- Browse and add the Office removable package created previously

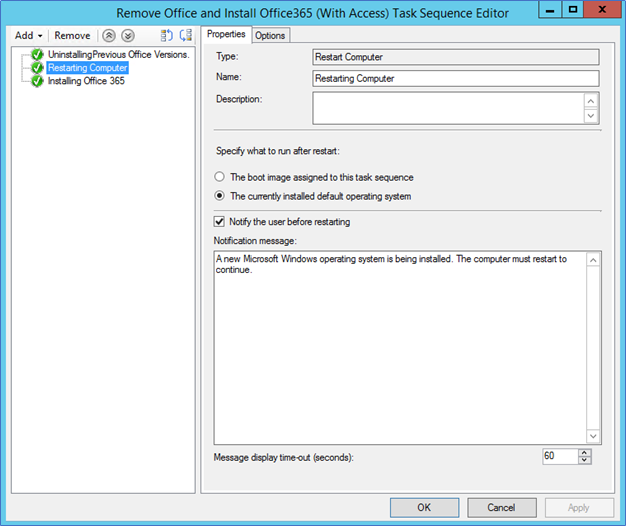
- Add the Restart Computer
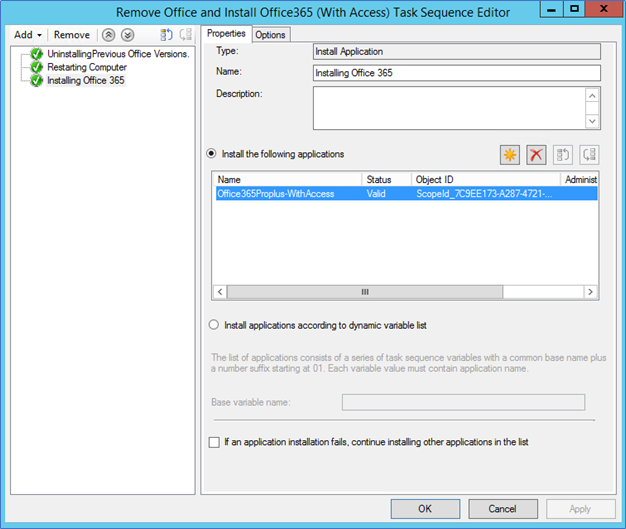
- Add the Office Installation package created with Office 365 Client servicing.
- Deploy the task sequence to the relevant collection.
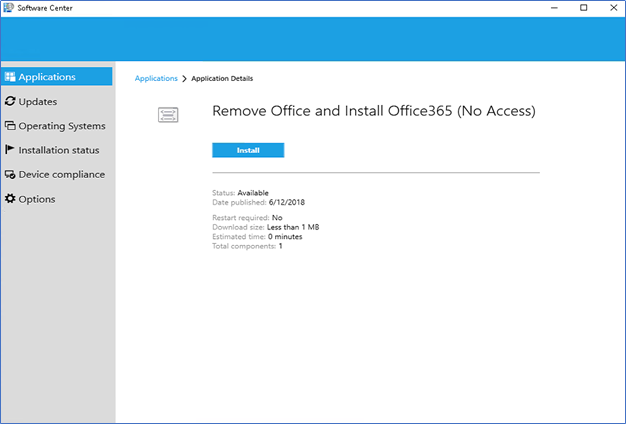
- After some time (depending on your Computer policy refresh time and software deployment available time) client will get the package to their Software Center.
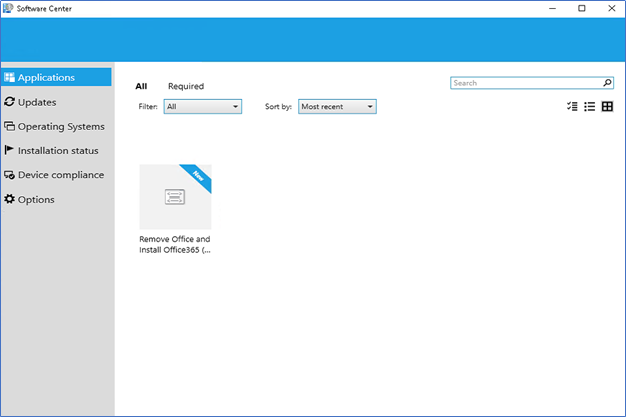
- Click install to run the package.
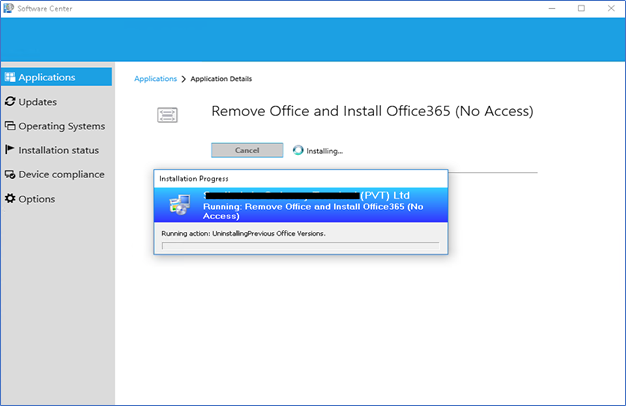
- This will first start the uninstallation, then it will restart the computer and automatically Installation will start.
That’s it, hope this post will support your migration to Office 365.
Cheers
Asitha De Silva
