SCCM Application Approval feature is evolved with Configuration manager current branch 1806 and 1810. From the first part of this blog post, I have described “Approve application requests for user per device” feature which was released with the 1806 version. Make sure to check that post for more information on implementing and configuring the feature. In this post, we shall discuss the Email notification enhancement released with the Current branch 1810 to support the application approval.
Email notifications for application approval requests
Before this enhancement was released, Admin which handles the SCCM, needed to keep checking whether any new application requests are made from the Console. Now after configuring the Email notifications, Admins, where you configured the mentioned feature, will receive an Email once the user made any Application Request, and Admin have the facility to Approve or Deny while clicking the link in the Email. They are not required to login to the console.
Prerequisites – before configuring the Email notifications you should enable the Approve application requests for a user per device. Read the Part 1 of this blog post for that, also you should be running SCCM Current branch 1810 version.
Configuring Email Notifications
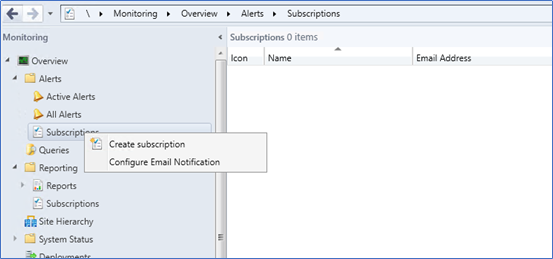
- Login to the SCCM Console and navigate to Monitoring – Alerts – Subscriptions
- Right click on subscriptions, click Configure Email Notification
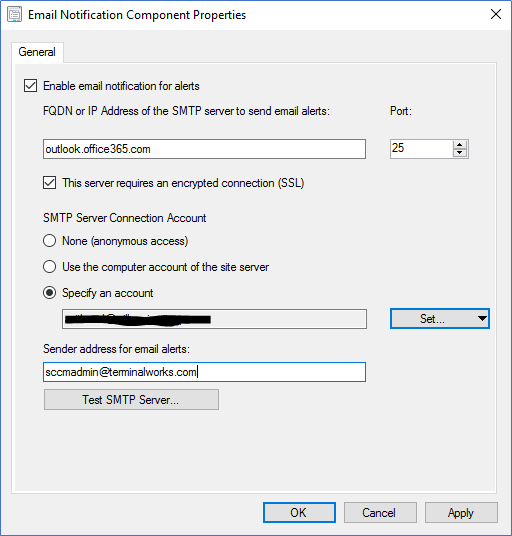
- Next, you need to configure the following options,
Enable Email Notification for alerts - Tick
FQDN or IP Address of the SMTP server to send email alerts – This is the server address of your email server, here I’m using Office 365 so my SMTP server is outlook.office365.com
Port - fill the port according to your environment, the default is port 25
SMTP Server Connection Account – according to your email infrastructure you can select this option, I’m using Office 365 and to make things easy I’m specifying an account to connect.
Sender address for email alerts – this is the email address where alert emails are sent from
- You can test the email notification by clicking Test SMTP Server, and type your email address
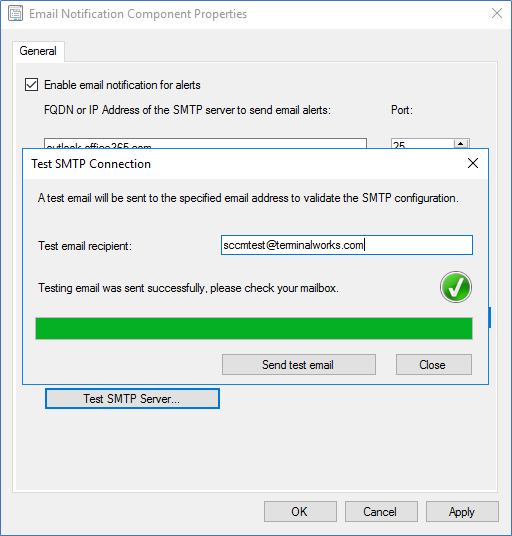
- Click apply and you are done with the configurations.
Deploy an application with Email Notification
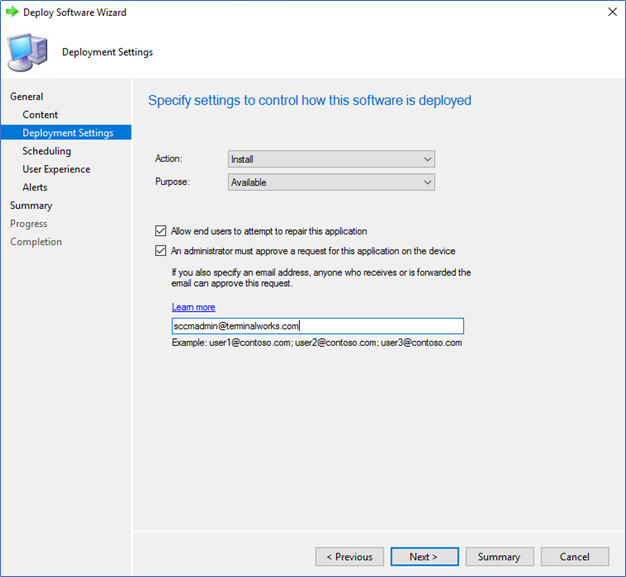
In Part 01 of this post, I have discussed on deploying an application to users with Require Administrator approval. When you configured the Email notifications, there is a new step where you need to put the email addresses that notifications will forward. All other steps are the same as before.
Note – Make sure you have closed and reopened the console after configuring the Email notifications. Also, there are no options to change the notifying email address after creating the application deployment. If you want to change, you need to re deploy the app.
When you are deploying the app, In the deploying settings you can see a new text box where you can type the email address of the notifier, you can type one or many email addresses.
Testing the Notifications
After configuring the above settings, when a user requests the approval for an application, the admin will get an email like this with hyperlinks to approve or deny. Admin clicks that link for the relevant approval.
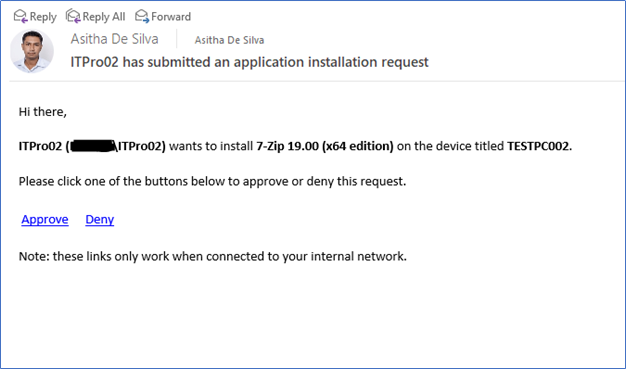
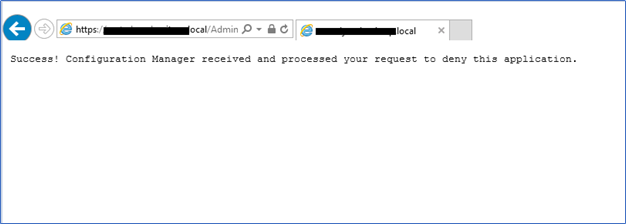
Admin has to use the link from the local network,
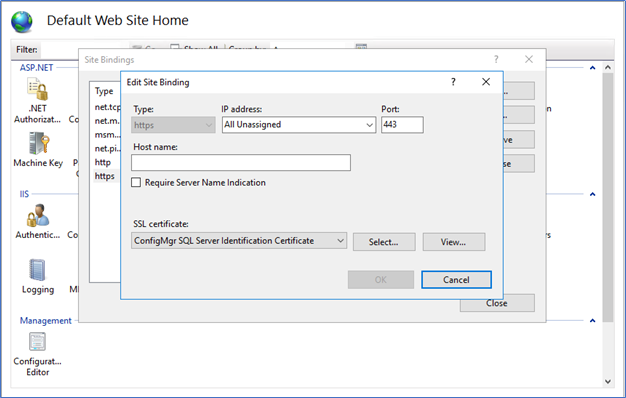
Note – If you get an TLS error on the page, please check the IIS Site binding, it should be similar to this.
Hope this post is useful
Cheers
Asitha De Silva
