From my previous blog post of Working Remotely and Efficiently with Microsoft Technologies, I have discussed how effectively we can use Microsoft technologies in work from home scenarios, also I touched the Overview and features of Windows Virtual Desktop.
Implementing Microsoft Virtual Desktop is a detail discussion and I have divided it into the following topics.
- Fulfilling the requirements and prerequisites
- Creating WVD tenant and configurations
- Implementing Host Pools
- Connecting through different platforms
- Creating and managing App Pools
- Configuring User profiles
- Configuring security features, MFA, Conditional Access, RDS Custom policies
- Deploying management tools
From this post, I’m hoping to cover configuring prerequisites and Windows Virtual Desktop tenant creation as the first step of implementing WVD.
Windows Virtual Desktop is a full cloud Azure-based DAAS/PAAS solution. It is having both features of Remote desktop solution and Virtual desktop solution. WVD offers full desktop virtualization with Windows 10 Images, this has been more enhanced with multi-session Windows 10. Not only desktops, but you can also move your RDS environment to WVD with the same experience while reducing complex deployment components.
Architectural components of WVD can divide into main three pillars. End-User, Microsoft managed, and Partner/Customer managed. End users can connect through their favorite devices such as Android, Mac, Windows devices by using the virtual desktop app or web browser. Microsoft will manage Gateway, Web access and brokering roles, these are in highly available, load-balanced managed services. From customer or partner end, we have to manage the Windows 10 multisession images, VM Pools, App publishing, User profiles, Azure and on-premise Active Directory and connectivity to the on-premise datacenter.

Also, we have control over the VM pool where we can scale up or scale down, Auto shutdown and scheduling VM start. With the use of Azure AD, security features such as Conditional Access, Multi-factor Authentication can be utilized. RD custom controllers such as blocking clipboard copy-paste, restricting driver redirection and printer mapping also can be controlled.
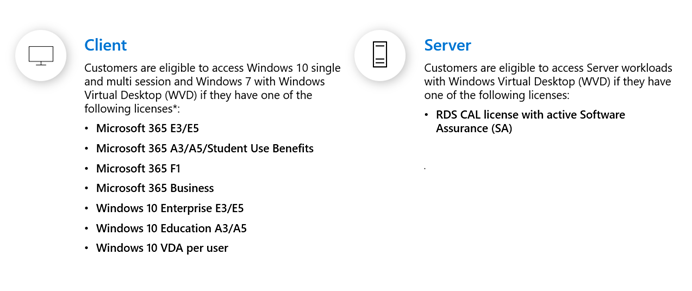
Before Implementing - Licensing Prerequisites
If you are planning your WVD environment to run Windows 10 Enterprise multi-session or Windows 10 Enterprise Desktops you should have the following client licenses with your users. If you want to run Windows Server 2012 R2, 2016, 2019 WVD environment you should have RDS CAL’s. if you already have an RDS environment with licenses, you can bring that workload into WVD Azure.
Other Requirements
Azure Active Directory
WVD uses Azure Active Directory authentication. AAD Free version is supported with Multi-factor authentication, however, if you want more granular control with Conditional Access you need to have Azure AD Premium.
Azure AD Connect
Your on-premise active directory users should be synced to Azure Active directory through AAD Connect.
Azure Subscription with Global Admin rights
Azure Site to Site VPN with your on-premise environment – Only required if you want to connect to the on-premise environment.
Windows Active Directory
Active directory domain join is required for the host pool VM’s, you can either place an additional domain controller in Azure VM or let the domain traffic flow through site to site VPN to on-premise AD environment.
Network requirements (here)
Configuring Azure Tenant to implement WVD
When you are ready with the infrastructure requirements such as Azure Subscription, Azure active directory with AAD Sync, Active directory domain and license requirements, you can start the implementation. The first step is to get ready the azure tenant to introduce Windows Virtual Desktop.
- First, you need to grant permissions to the Windows Virtual Desktop service to let it query Azure Active Directory for administrative and end-user tasks. Type the following URL in the browser.
https://login.microsoftonline.com/common/adminconsent?client_id=5a0aa725-4958-4b0c-80a9-34562e23f3b7&redirect_uri=https%3A%2F%2Frdweb.wvd.microsoft.com%2FRDWeb%2FConsentCallback
or replace the <tenant> with your Azure AD Domain name, open the following URL
https://login.microsoftonline.com/{tenant}/adminconsent?client_id=5a0aa725-4958-4b0c-80a9-34562e23f3b7&redirect_uri=https%3A%2F%2Frdweb.wvd.microsoft.com%2FRDWeb%2FConsentCallback
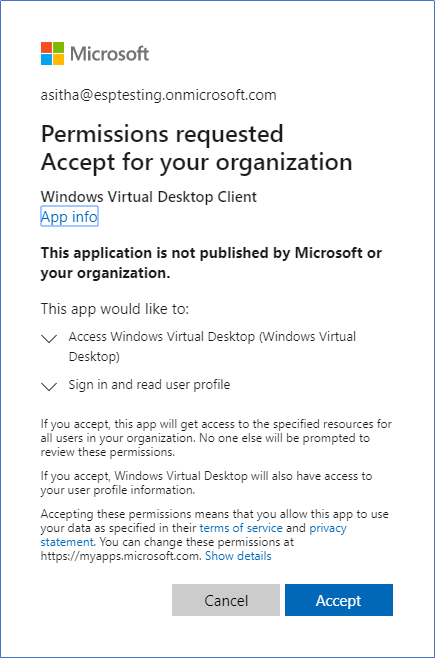
- Sign in with Global Admin credentials.
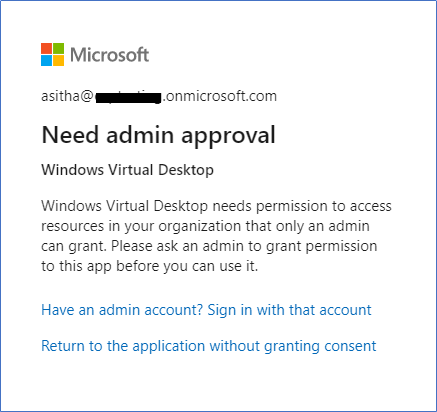
- Click Accept
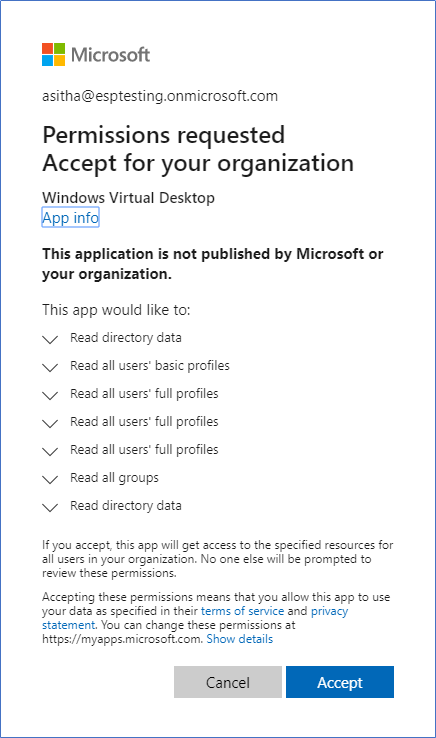
- Next, run the following URL in browser to provide admin consent flow to the Windows Virtual Desktop client app. Sign in using global admin credentials.
https://login.microsoftonline.com/common/adminconsent?client_id=fa4345a4-a730-4230-84a8-7d9651b86739&redirect_uri=https%3A%2F%2Frdweb.wvd.microsoft.com%2FRDWeb%2FConsentCallback
or replace the <tenant> with your Azure AD Domain name, open the following URL.
https://login.microsoftonline.com/{tenant}/adminconsent?client_id=fa4345a4-a730-4230-84a8-7d9651b86739&redirect_uri=https%3A%2F%2Frdweb.wvd.microsoft.com%2FRDWeb%2FConsentCallback
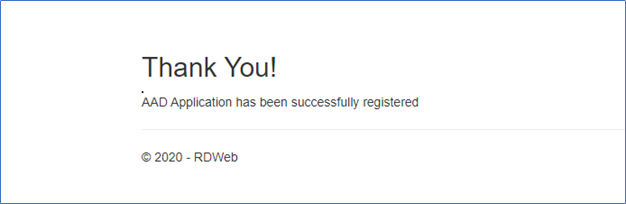
- Click Accept
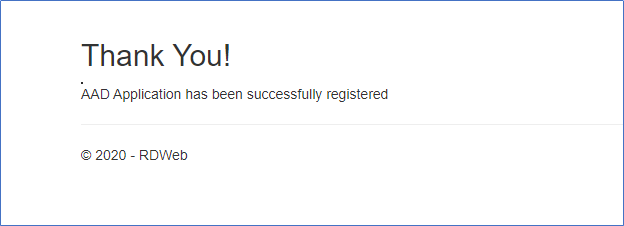
- After giving permissions, navigate through Azure Active Directory of your subscription and open Enterprise Applications, you can see two application created as Windows Virtual Desktop and Windows Virtual Desktop Client

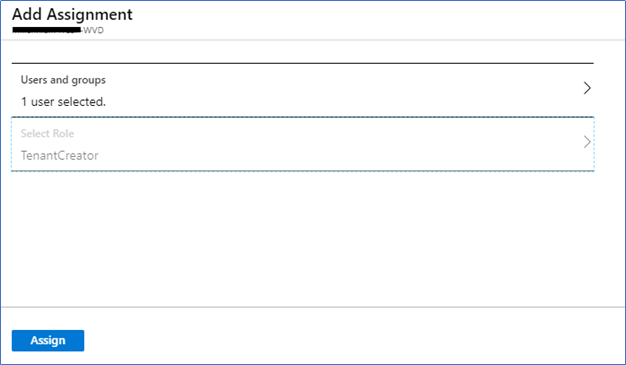
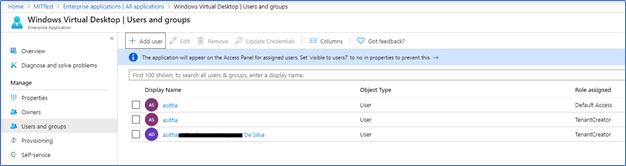
- Click Windows Virtual Desktop application and you can see your global admin is listed in Users and Groups section with Default Access rights. But these rights are not enough for WVD tenant creation. You need to assign Tenant Creator role. Click Add User and assign Tenant Creator role
Creating WVD Tenant
- Tenant creation only supports through PowerShell commandlets. So, you need to install the Azure PowerShell and Install the WVD PowerShell module.
To install the module run
Install-Module -Name Microsoft.RDInfra.RDPowerShell
Next, to Import
Import-Module -Name Microsoft.RDInfra.RDPowerShell

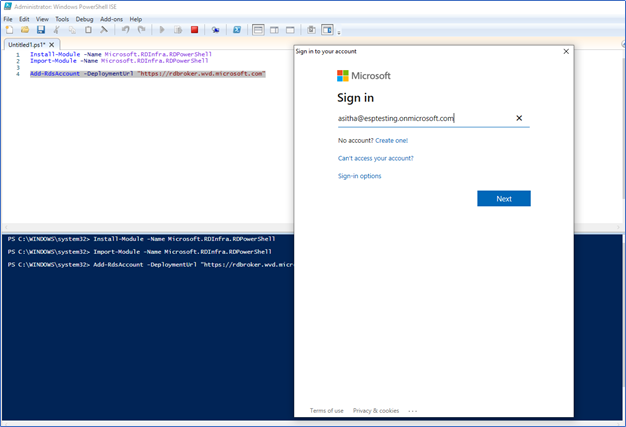
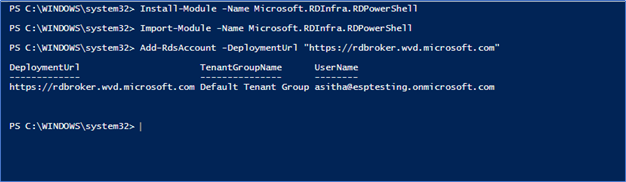
After importing the module, run the following command to Sign in to the WVD Service using the Tenant Creator account.
Add-RdsAccount -DeploymentUrl https://rdbroker.wvd.microsoft.com
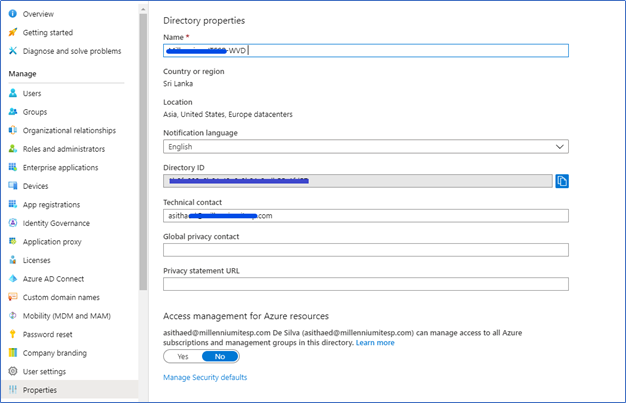
Next step is to create a new Windows Virtual Desktop tenant associated with the Azure Active Directory tenant. To run that command, you need to have the Azure AD Directory ID and Azure Subscription ID. You can find both by following.
Azure AD Directory ID - Azure Active Directory – Properties – Directory ID
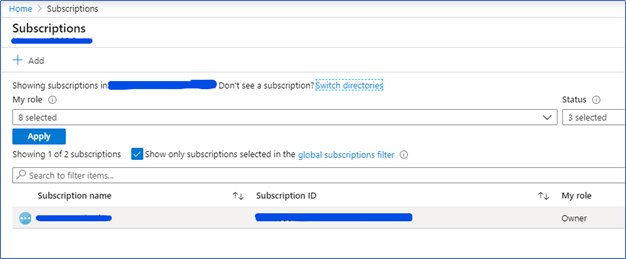
Azure Subscription ID – Subscriptions, select the relevant subscription and copy the ID
- Run the following command while filling Tenant Name, Directory ID and Subscription ID. Tenant Name can be a name to represent your company but it should be globally unique.
New-RdsTenant -Name <TenantName> -AadTenantId <DirectoryID> -AzureSubscriptionId <SubscriptionID>

Now the RDS Tenant creation is completed. The user who created the tenant have the RDS Owner rights. However, it’s better to have another user with the same rights.
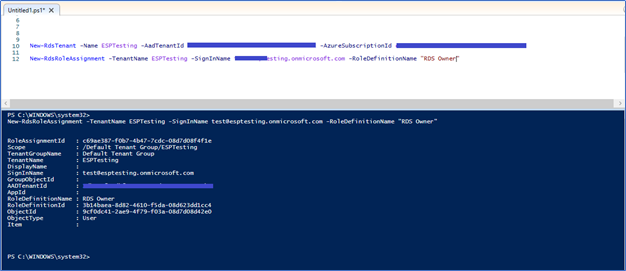
Add an Administrative access user to WVD Tenant
Run the following command with the users UPN who require Administrative Access (RDS Owner)
New-RdsRoleAssignment -TenantName <TenantName> -SignInName <Upn> -RoleDefinitionName "RDS Owner"
With this, we have completed the installation of WVD Tenant. Next step is to create a host pool and test the VM access through Windows, Web and other mobile clients. Let’s do that in next post, stay tuned 😊
Hope this post is useful
Cheers
Asitha De Silva
