From my previous articles of Windows Virtual Desktop series, I have discussed step by step on Implementing prerequisites, configuring Azure tenant, Creating WVD tenant, and creating Windows 10 multisession Host pools. Also, I have covered how to access the host pool through Web, Client app, and mobile devices such as Android or iOS. From this article, I’m continuing the additional configurations of Windows Virtual Desktop to discuss step by step on configuring User Profiles using FSLogix profile containers and Azure Files while using the Local Active Directory Authentication. Please refer to the previous posts if you miss any configurations.
01 – Working remotely and efficiently with Microsoft technologies
02 - Windows Virtual Desktop | Configuring Prerequisites and WVD Tenant Creation
03 - Windows Virtual Desktop | Create Host Pool and Access through Web, Client App and Mobile Devices
If you are familiar with Remote Desktop or VDI solution, you already know User profiles can’t persist, they should configure as roaming profiles and can be accessed through any server, desktop or session where the user connecting from. The same scenarios apply to WVD. The Windows Virtual Desktop service offers FSLogix profile containers as the recommended user profile solution. Microsoft doesn’t recommend the User Profile Disk solution anymore. (UPD)
FSLogix is a set of solutions that enhance, enable, and simplify non-persistent Windows computing environments. FSLogix solutions are appropriate for Virtual environments in both public and private clouds. FSLogix solutions include:
- Profile Container
- Office Container
- Application Masking
- Java Version Control
With the FSLogix solution, Microsoft recommends the following 3 methods for User Profiles. I prefer using Azure Files so this article will cover FSLogix user profiles with Azure Files.
- Use of Virtual machine-based file share
- Create FSLogix profile containers using Azure NetApp Files
- Use of Azure File files with Azure AD DS or Active Directory.
Implementing AD Authenticated Azure files based FSLogix user profiles
Azure Files is a fairly simple solution to implement. Its scalable on-demand, you need to create a Storage Account and a file share. Storage accounts are now supported AD Join, not from GUI but using PowerShell it can be joined to the Active Directory, so we can use SSO with ACL/NTFS permissions. Before implementing user profiles, you should have an up and running WVD environment and a configured host pool. Refer to my previous posts on implementing and configuring the WVD setup.
Prerequisites
- Windows Virtual Desktop environment with Active Directory joined Host pool
- Active Directory synced to Azure AD using AD Connect
- Active Directory joining permission account, Domain Admin is better to have
- Azure administrator/contributor / delegated rights to create the storage account
- Storage Account
- Azure PowerShell with AZ and AzFilesHybrid Modules.
Getting ready the PowerShell modules
At this moment domain, join of Storage Accounts only supported through PowerShell Module AzFilesHybrid. So, it should be imported to your PowerShell together with the AZ module. Its a bit complex so I will explain in step by step. Also, you need to run this from a Domain Join machine, the same domain where your Host Pool exists. for this exercise, I’m installing the module and running the PowerShell commands through my domain controller in Azure VM.
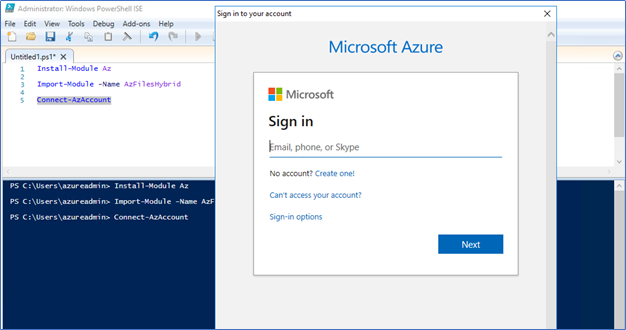
- Log in to a domain-joined machine with administrative access and open PowerShell
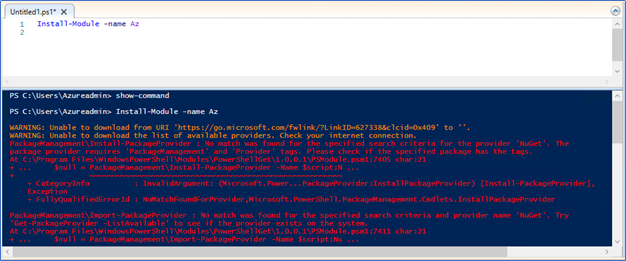
- Run Install-Module AZ
- If you are receiving following error do the step 4 and 5 or proceed to step 6
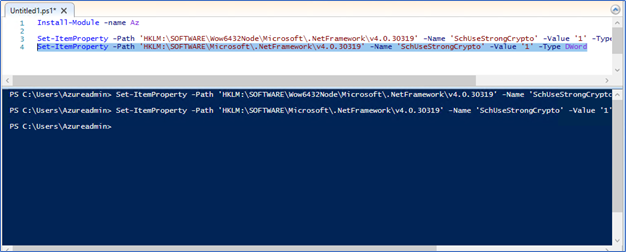
- Run the following two commands to set the TLS to TLS.1.2
- Set strong cryptography on 64 bit .Net Framework (version 4 and above)
Set-ItemProperty -Path 'HKLM:\SOFTWARE\Wow6432Node\Microsoft\.NetFramework\v4.0.30319' -Name 'SchUseStrongCrypto' -Value '1' -Type DWord
- set strong cryptography on 32 bit .Net Framework (version 4 and above)
Set-ItemProperty -Path 'HKLM:\SOFTWARE\Microsoft\.NetFramework\v4.0.30319' -Name 'SchUseStrongCrypto' -Value '1' -Type DWord
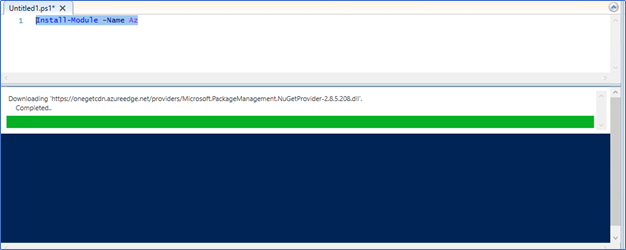
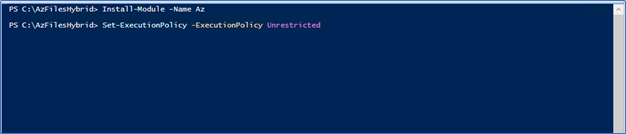
- Restart the PowerShell and run the Install-Module AZ
- Make sure to set the execution policy to unrestricted.
- Next you need to Import the module AzFilesHybrid, to do so you need to download it from GitHub, make sure to download the latest.
Download AzFilesHybrid
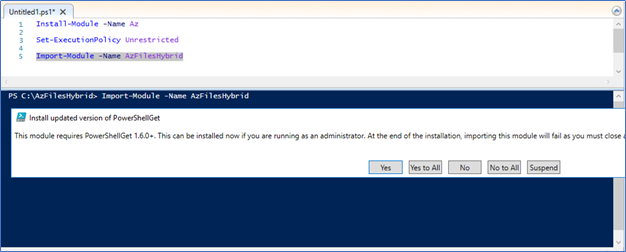
- Unzip it to the domain join pc, navigate and Run ps1
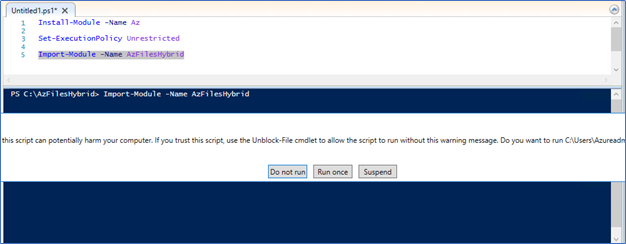
Click Run once and Yes to All
- You could get the following error If so, close all PowerShell sessions and re-open the PowerShell
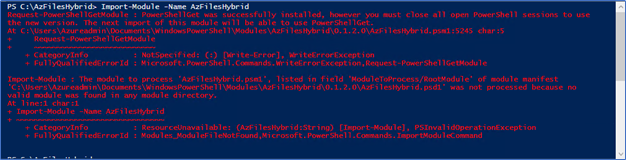
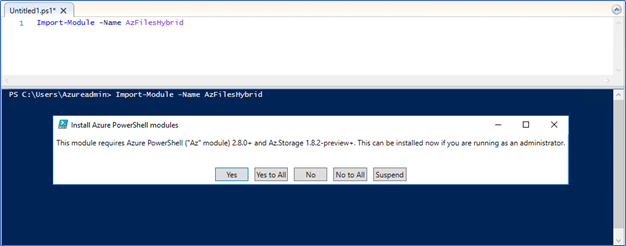
- Re-run the Import-Module AzFilesHybrid and click Yes to All
Create Storage Account, Azure Files and join to Active Directory
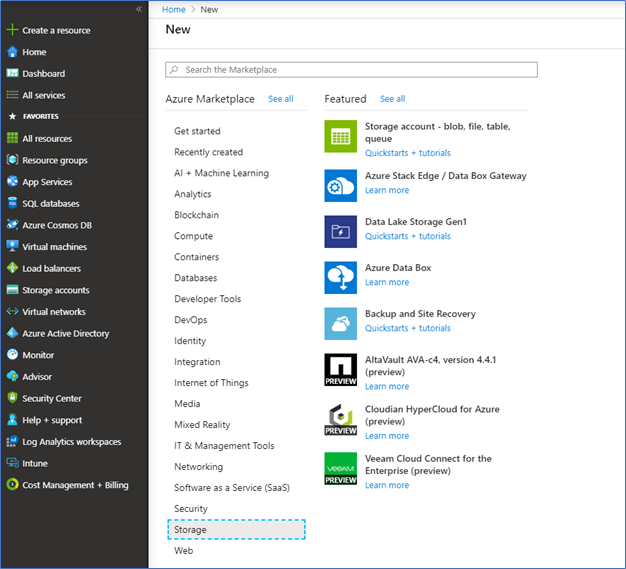
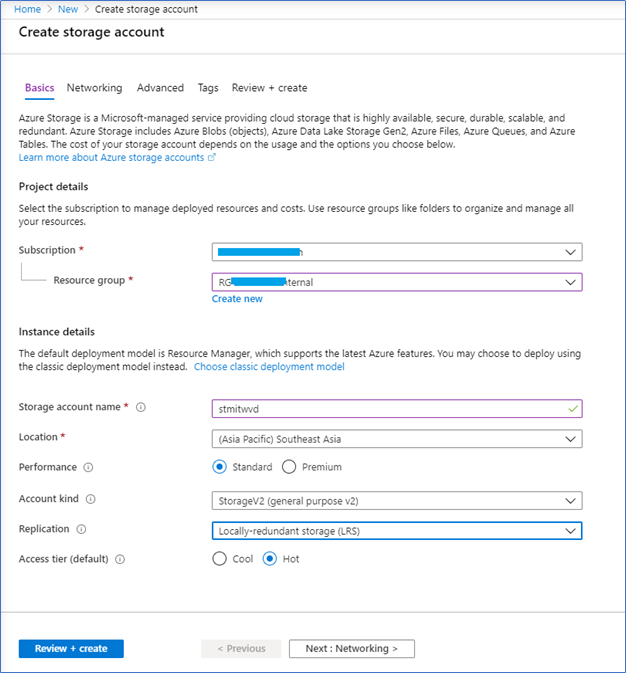
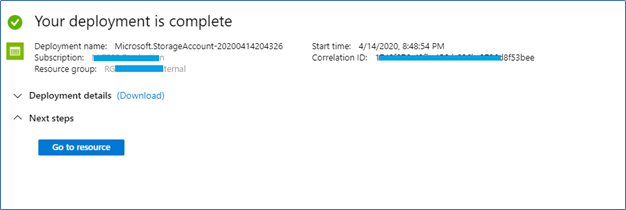
- From your Azure tenant, create a new Storage Account. Make sure to use the same subscription where your Azure AD, WVD, and Host pool resides. Fill the relevant details
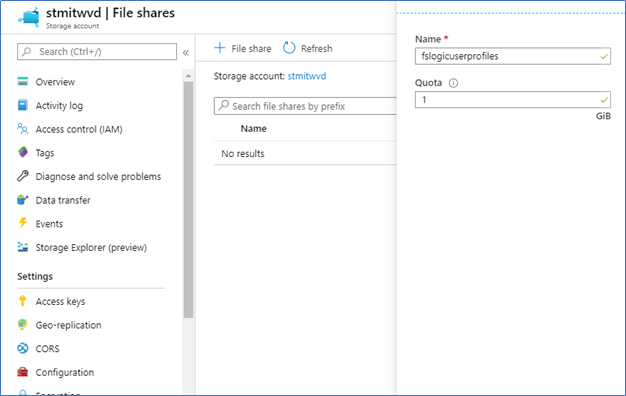
- Open the Storage Account, click File Shares, and Create New File Share.
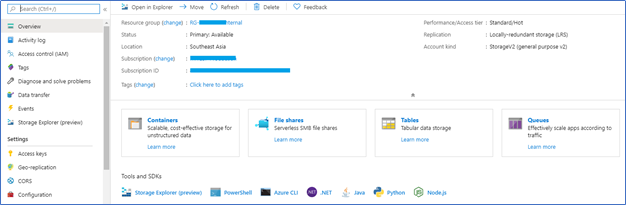
- Provide the File share name and required capacity
- Next, log in to the domain join PC where you configured the PowerShell Modules AZ and AzFilesHybrid.
- Run Connect-AzAccount and login to your Azure subscription
- Select the correct subscription where Storage Account is provisioned
Select-AzSubscription -SubscriptionId <subscription-id>
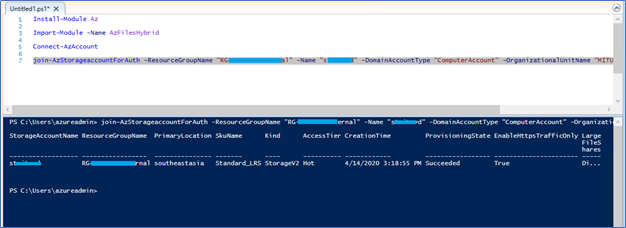
- Next, you need to run the following command to join the target Storage Account in Azure to your Active Directory environment. Specify the Storage account Resource group, Storage account name, Domain account type, and the OU
Please note you need to run this from domain-joined, domain admin (domain join rights) account.
join-AzStorageaccountForAuth -ResourceGroupName "<resource-group-name>" -Name "<storage-account-name>" -DomainAccountType "ComputerAccount" -OrganizationalUnitName "<OU--FRIENDLY-NAME>"
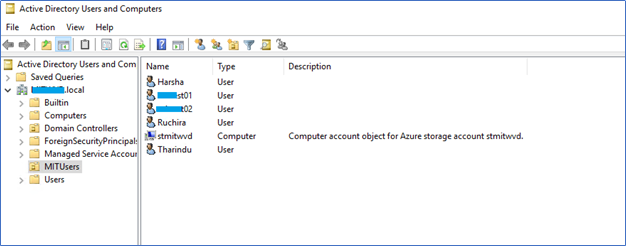
Login to the Active directory Users and Computers to make sure the Computer account is created.
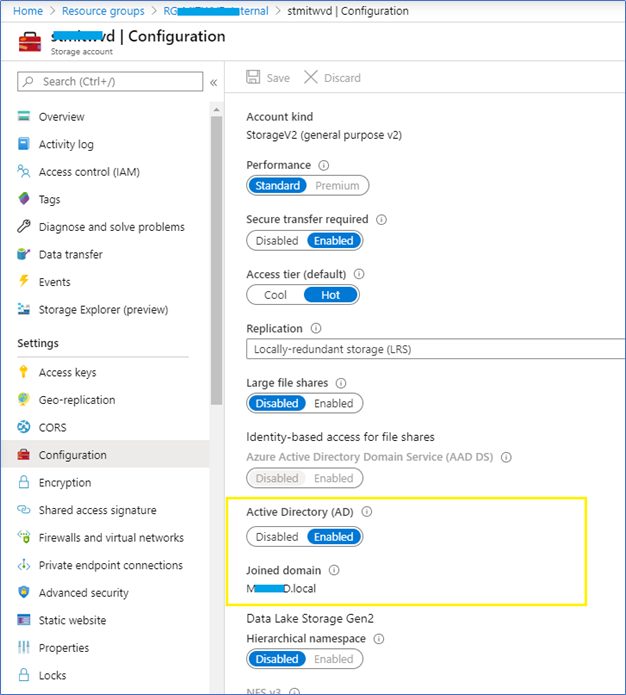
Next, find the Storage Account from Azure and open Properties. You can see Active Directory is Enabled and your domain name is displayed.
Configuring permissions via Azure portal and NTFS
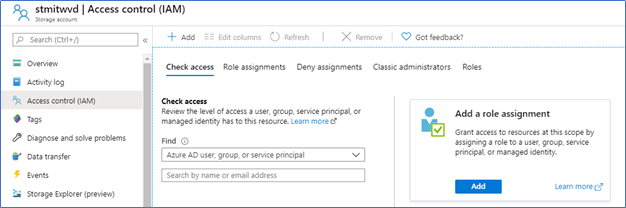
Storage Account | Access control (IAM)
- You need to grant the access rights to Azure files from the Azure portal to the relevant users, there are two permission categories.
- Storage File Data SMB Share Contributor
You can grant this role to the users with user profiles
- Storage File Data SMB Share Elevated Contributor (NTFS configurations)
This role has additional access to the NTFS/ACL permissions. This can be an administrator who set up the NTFS permissions.
- Open the storage account, click Access Control (IAM), click Add role assignment
- Assign - Storage File Data SMB Share Contributor
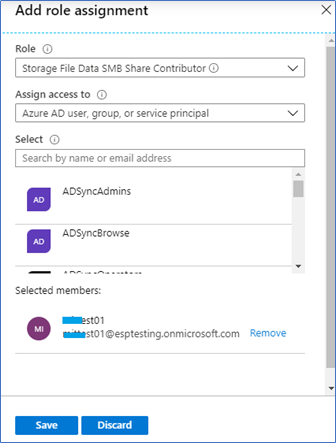
- Additionally for the Admins Assign - Storage File Data SMB Share Elevated Contributor (NTFS configurations)

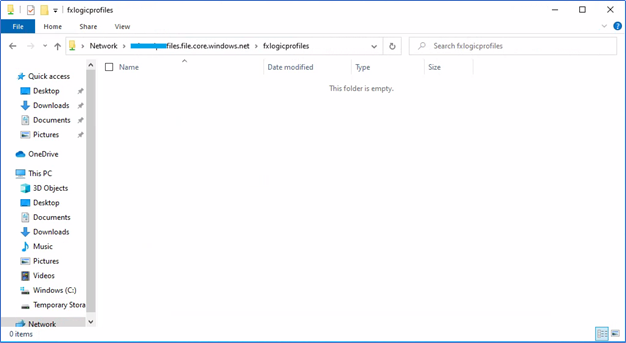
- To check the access, log in to the Domain joined VM, here I’m logging to one of my Host pool machines and access the share by using the storage account and file share name. you can grab share URL from Storage Account and File share properties, copy the URL
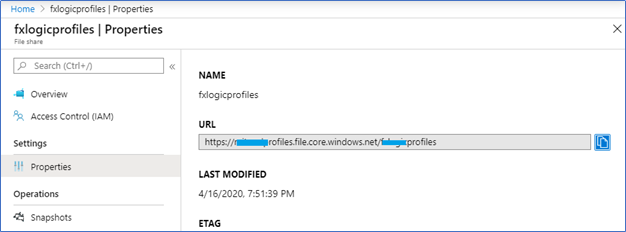
- Paste the URL in folder bar and format it as below sample file path
\\xxxx.file.core.windows.net\fileshare\
If everything correctly configured, you can access the file share.
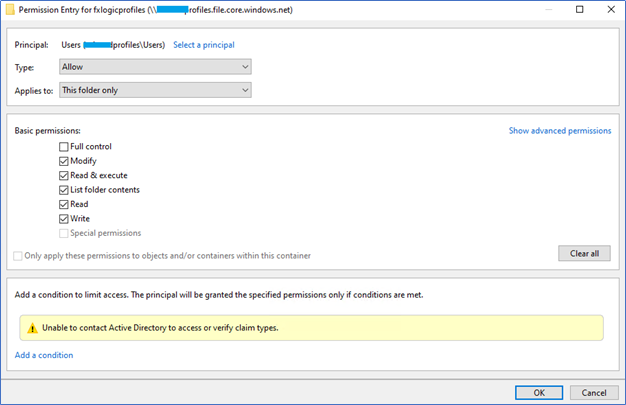
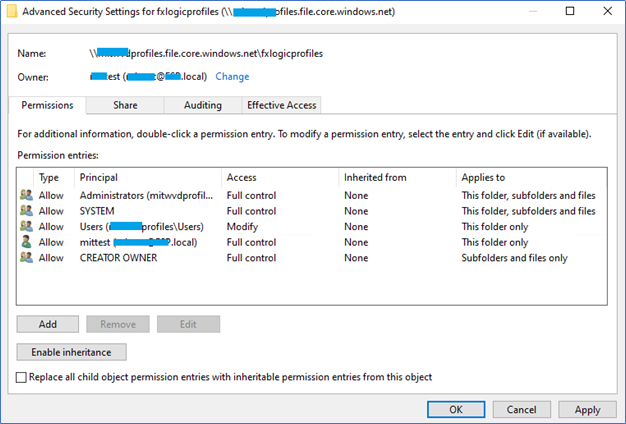
Configuring NTFS/ACL Permissions – additionally, you need to configure the NTFS permissions on the Azure files so only the owner of the specific profile can be accessed. This can be configured by the Account control list of NTFS permissions on the share.
- Right-click on the opened to share and click properties to access ACL, click advanced and set the permission as below.

You can change the current permissions according to the above rights. More - https://docs.microsoft.com/en-us/fslogix/fslogix-storage-config-ht
Here are my configurations
- We will test this after implementing FSLogix profiles.
Configure FSlogix Profile container
To implement the FSlogix profile container, you need to install the FSlogix client in the VM Pool. This is an agency where you can download and install in each VM in the pool or centrally deploy through GPO. Configurations can be managed by GPO or registry edit. For this exercise, I’m doing everything from GPO. Use the following link to download the agent and GPO Template
Download - FSLogix Agent and ADMX GPO Template
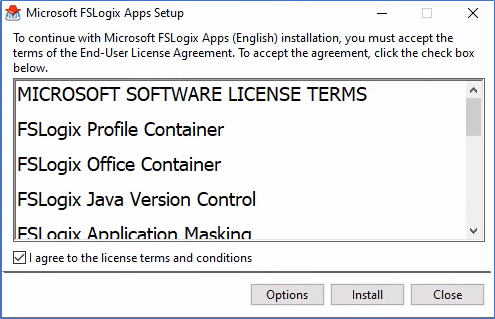
- After download extract the installation files, and navigate to FSLogix Apps
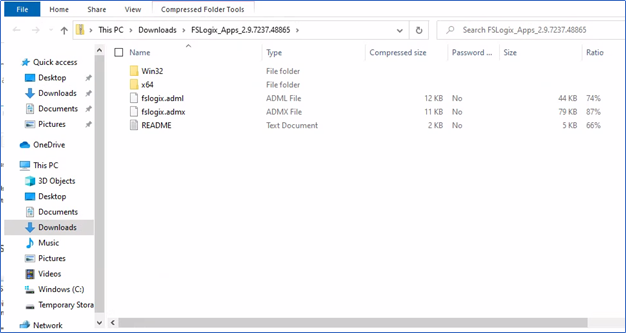
- Agent software can be found in the x64 – release folder, you can install the agent in VM directly or through a GPO.
GPO –Create new GPO - Computer Configuration -> Windows Settings -> Scripts -> Startup. Click on Show Files and place the .EXE in the folder.
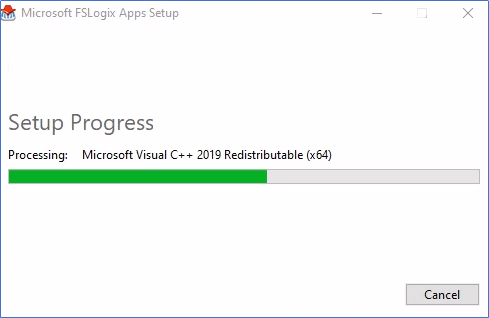
To install the agent manually, copy the FSLogixAppSetup, and run the EXE.

- Configurations can be pushed through GPO or Registry, here I’m using GPO.
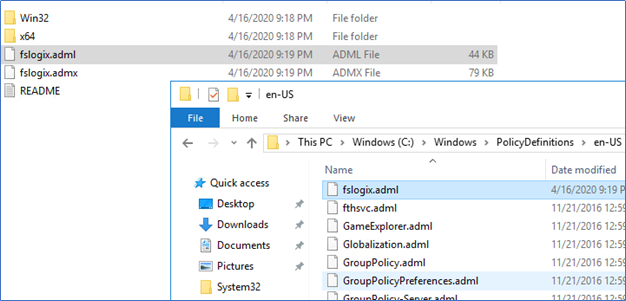
Copy Fslogix.adml file to C:\Windows\PolicyDefinitions\en-US
Copy Fslogix.admx file to C:\Windows\PolicyDefinitions
- Create new GPO and edit the configurations of Computer Configuration -> Policies -> Administrative Templates -> FSLogix/Profile Containers
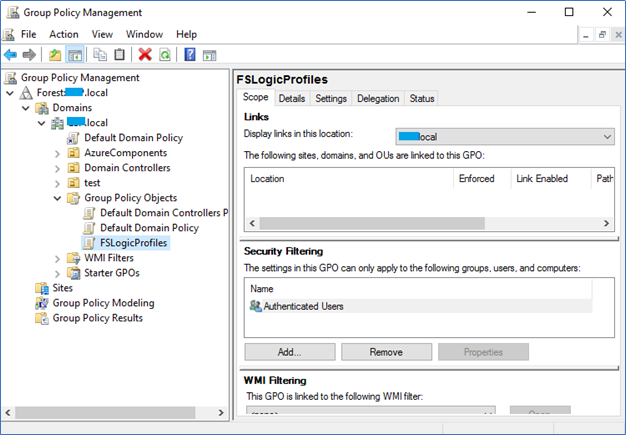
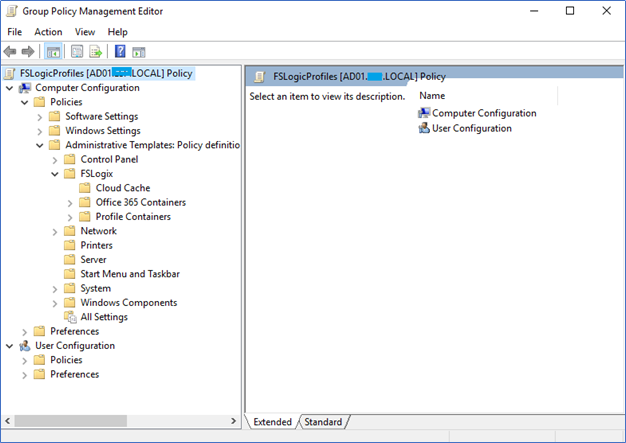
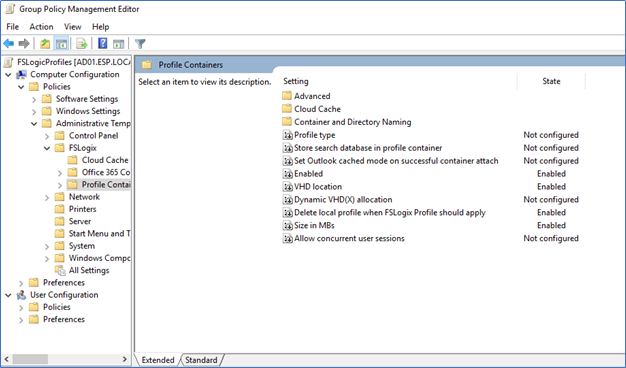
- There are many configurations available and you can configure them later. I will explain the mandatory configurations that require user profiles to work.
Enabled – Enabled
VHD Location – Enabled, VHD Location - \\xxxx.file.core.windows.net\fileshare
Delete local profile when FSLogix profile should apply
Size in MB’s – profile size
- Save and deploy the GPO to the OU where your host group resides.
- GPUpdate /force
End-User Experience
To test the end-user experience, login to the FSLogix profile pushed VM (GPO) using a user account which is having a Storage File Data SMB Share Contributor role.

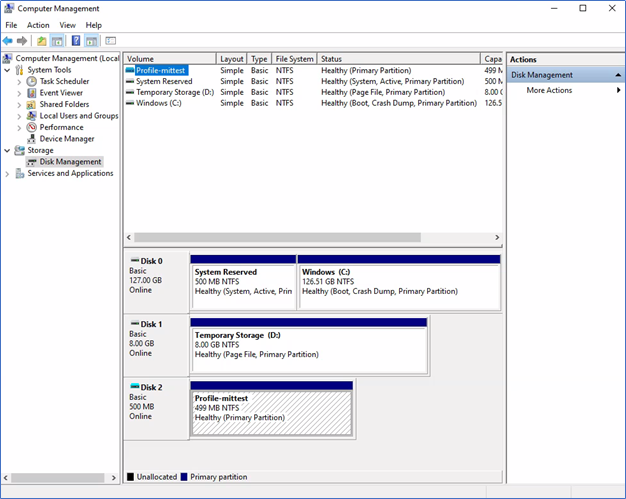
Go to disk management, when the profile is loaded, it can be located as an attached disk.
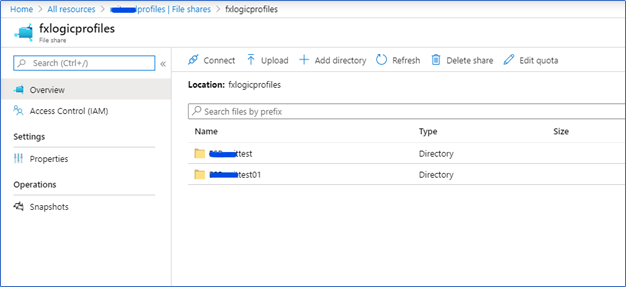
Also, from the Azure portal side, you can see a profile container is created in Azure Files.
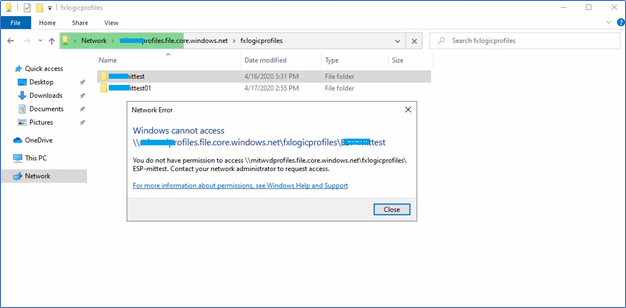
Also, don’t forget to test NTFS /ACL permissions we configured previously. Browse the file share using the file path of the profiles i.e - \\xxxx.file.core.windows.net\fileshare\ . then try to access some other profile in which the user doesn’t have access rights. It should be denied. If you can access, just go through again the above configured NTFS permissions.
With that final configuration, you are now having user profiles that are available in any VM where the user connected. Also, it’s using SSO of AD authentication and user experience is the same as they work in a local machine. My documents, Desktop, and other personal folders will automatically re-directed and saved in an Azure File share. This Azure File share can be backed up and scaleup or scale down.
I know It’s quite a long article, but I want to describe every tiny bit of information about the configurations. Hope this post is useful
Cheers
Asitha De Silva
